Tissue paper hot air balloons are one of those powerful STEM learning experiences that lend themselves so well to being cross-curricular.
 There are the construction aspects that include measurement (length & angles for example) and skills like cutting with scissors precisely, gluing and following directions. Making mistakes, learning from those mistakes and moving on (messy learning). Collaboration, since in the classroom students usually construct the balloons in pairs or small groups. The engineering design process since as students launch their balloons they can note design changes that would lead to an improved design, make changes and relaunch to check results, and so much more. Oh, and yes, one of my favorites, there are artistic design aspects as well. LEFT: Tissue paper balloon launch from 2013. Note the excitement of the kindergarteners as they chase it down! At this age teachers sometimes choose to construct a “class balloon” or two or three (but certainly more at times). Classes sometimes “buddy” as well – a 5th grade and a 1st grade for example.
Link to PDF of construction steps – also includes different sizes of tissue paper – we used 20 x 26 inch (51cm x 66cm) paper in videos below because it is what you usually find.
MATERIALS – So, what’s required for construction?
For EACH balloon:
– 18 sheets of 20 x 26 inch (51cm x 66cm) tissue paper (or note other size possibilities in PDF linked above) (100 sheet packs are around $12)
– scissors, meter stick, protractor, marker, glue stick (during construction you will use the entire stick),
Here’s the video of what you would expect to get done during the first class period – about 45 to 60 minute period.
Part 1 – below
Day 2 directions below – again, expect a typical class period more or less:
Day 3 directions below:
Day 4 directions below:
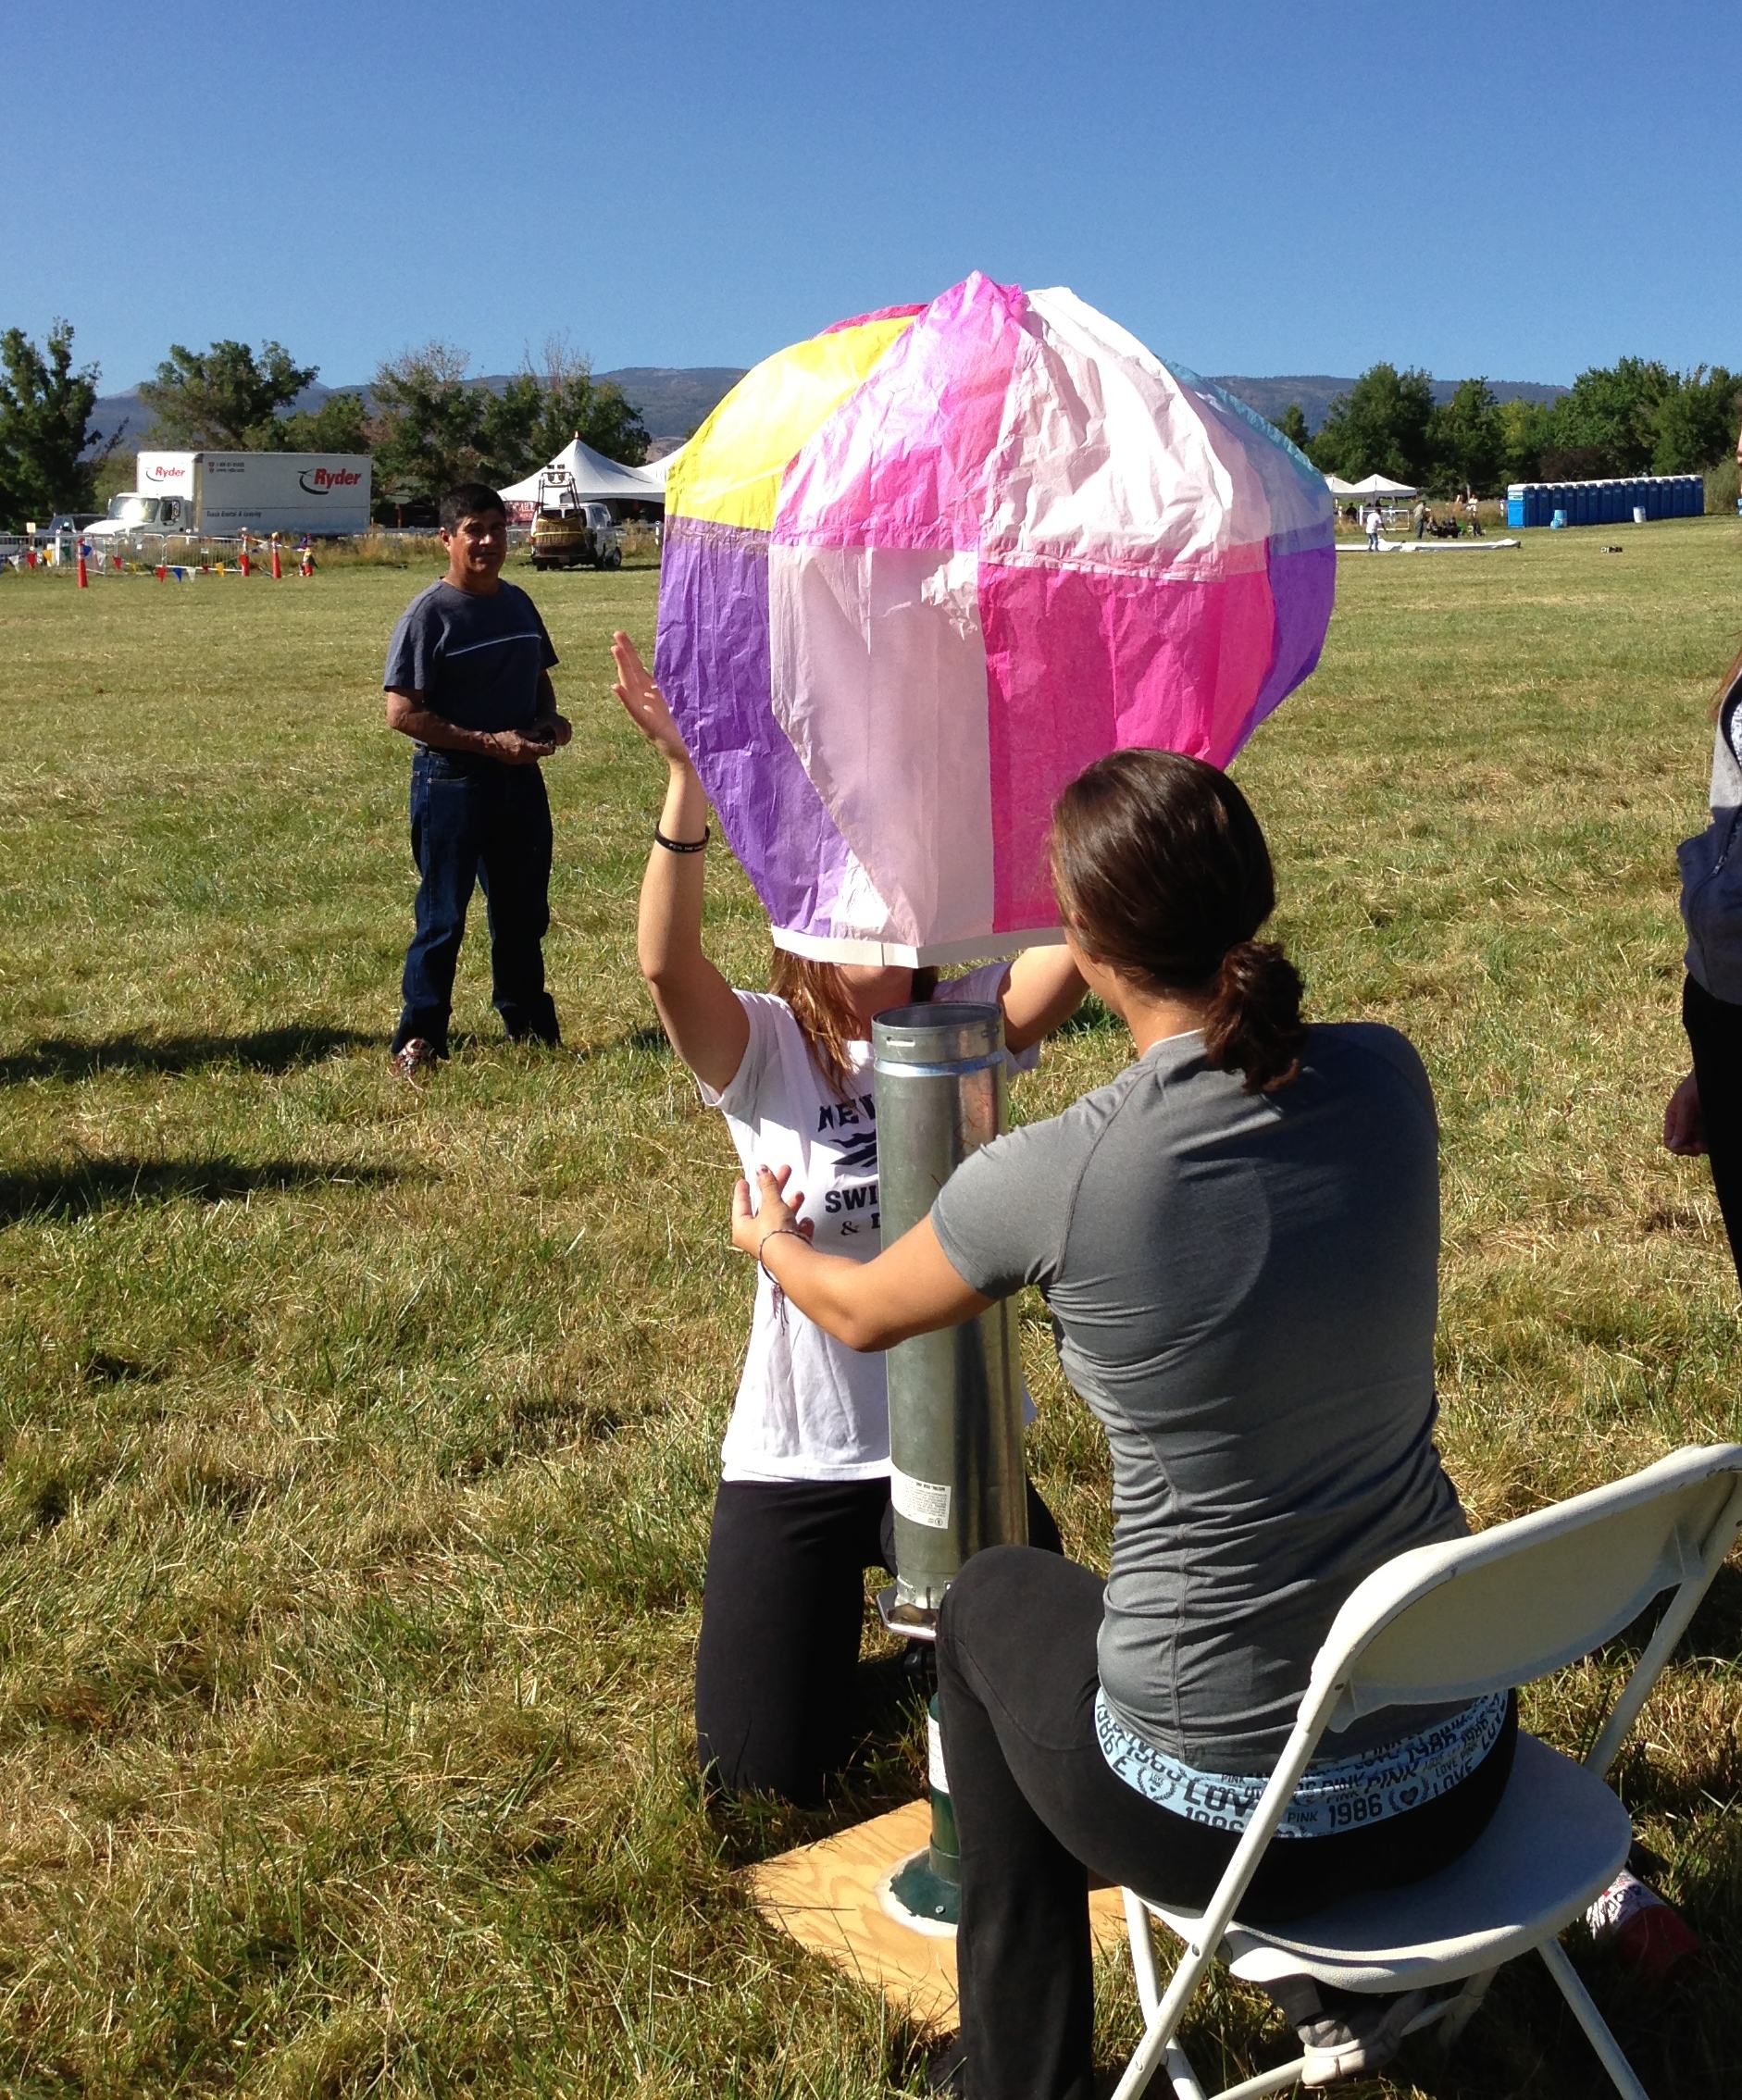
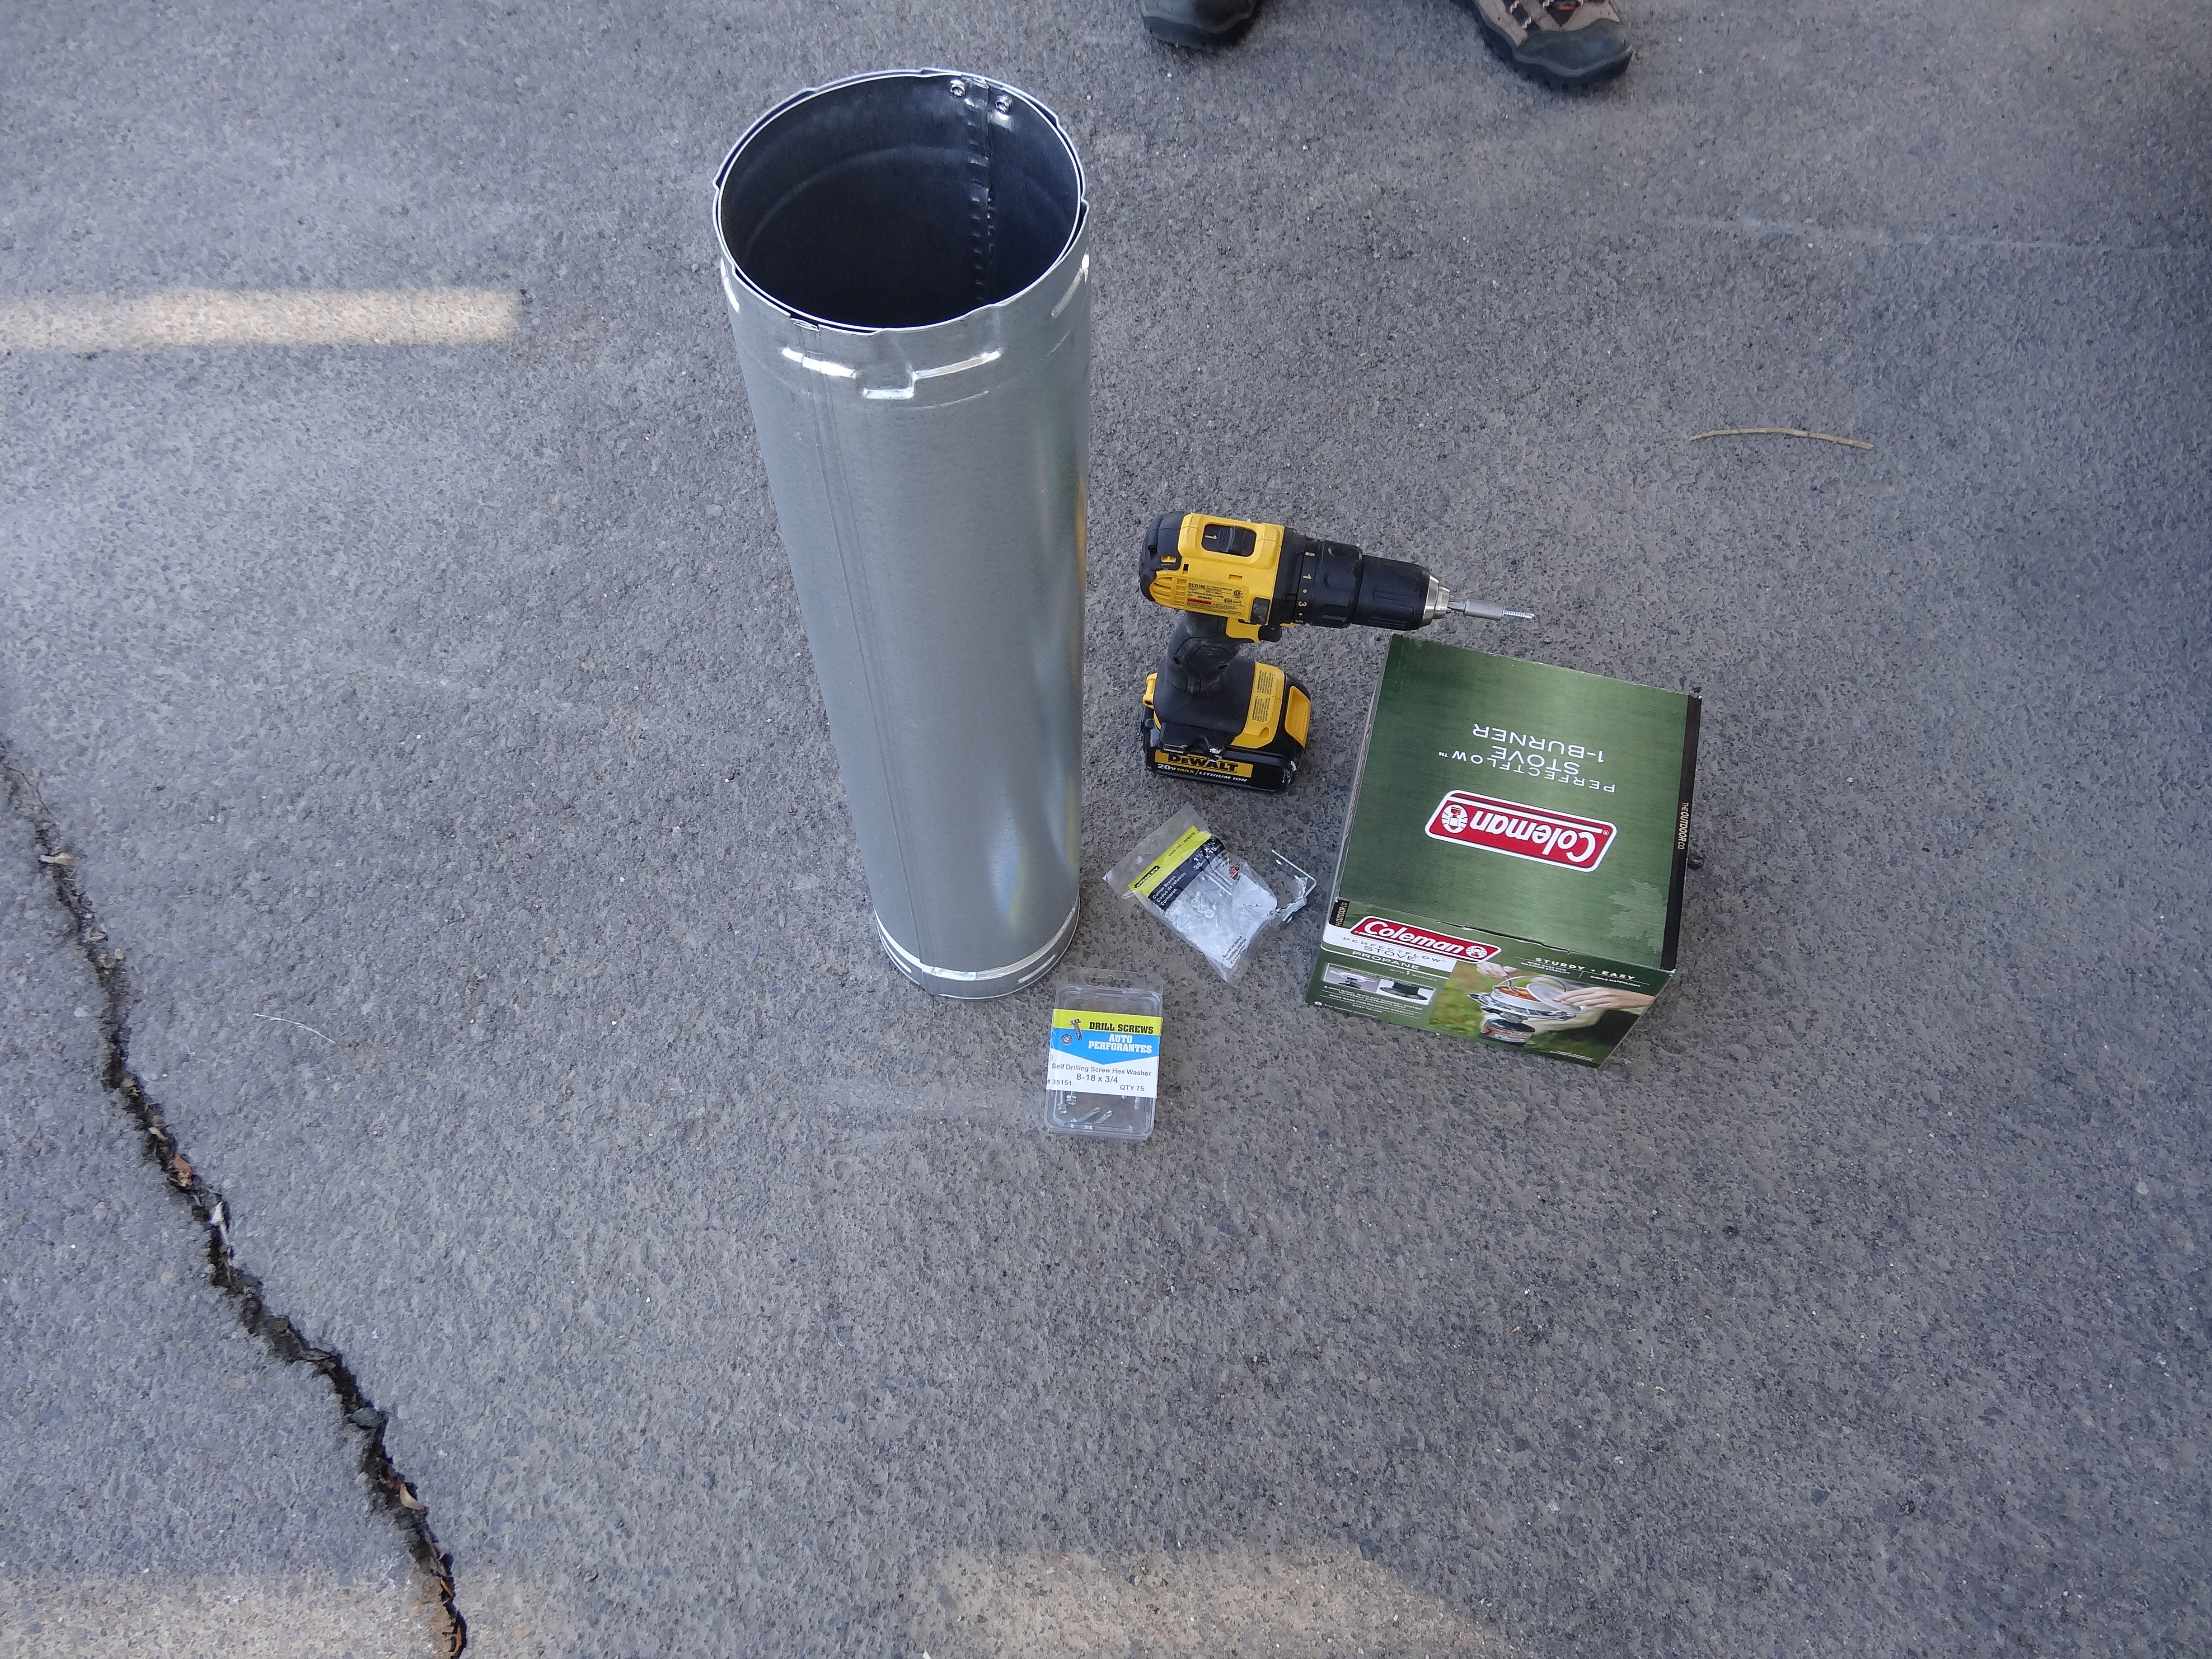
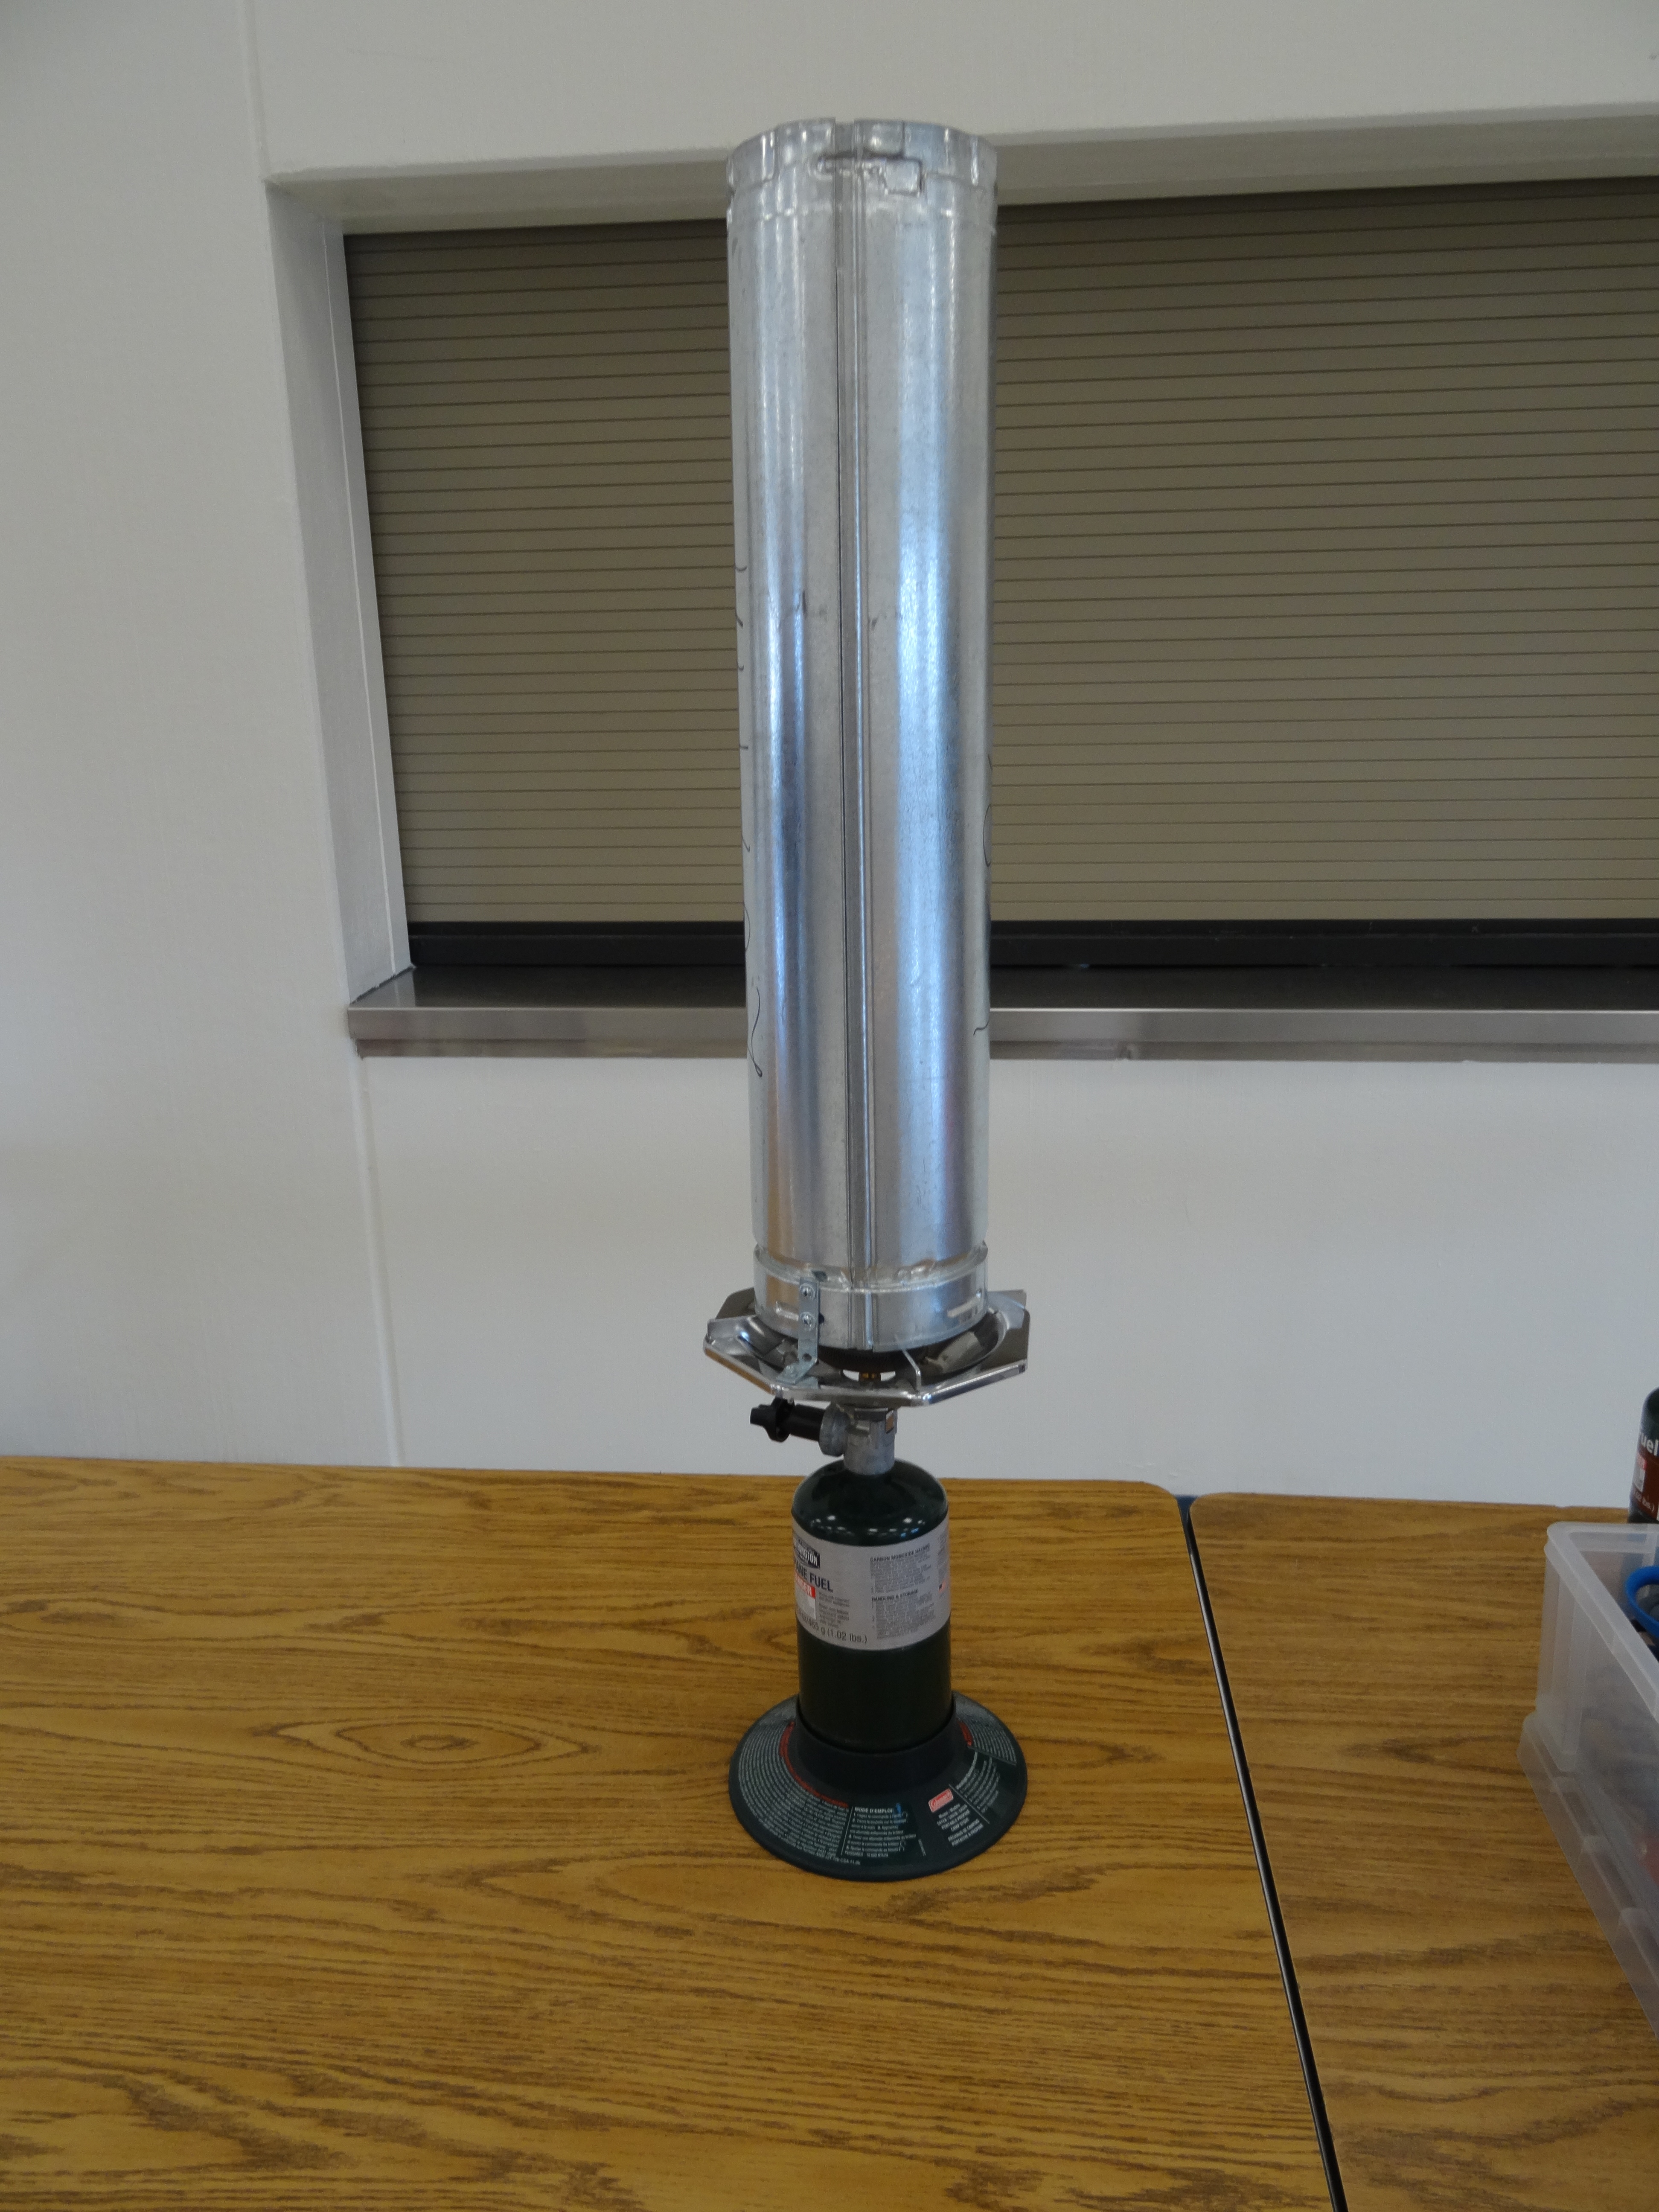
OK, so you have a finished balloon (or balloons perhaps) – how do you launch them? Here are the directions to make the launcher you see used in the video.
Materials:
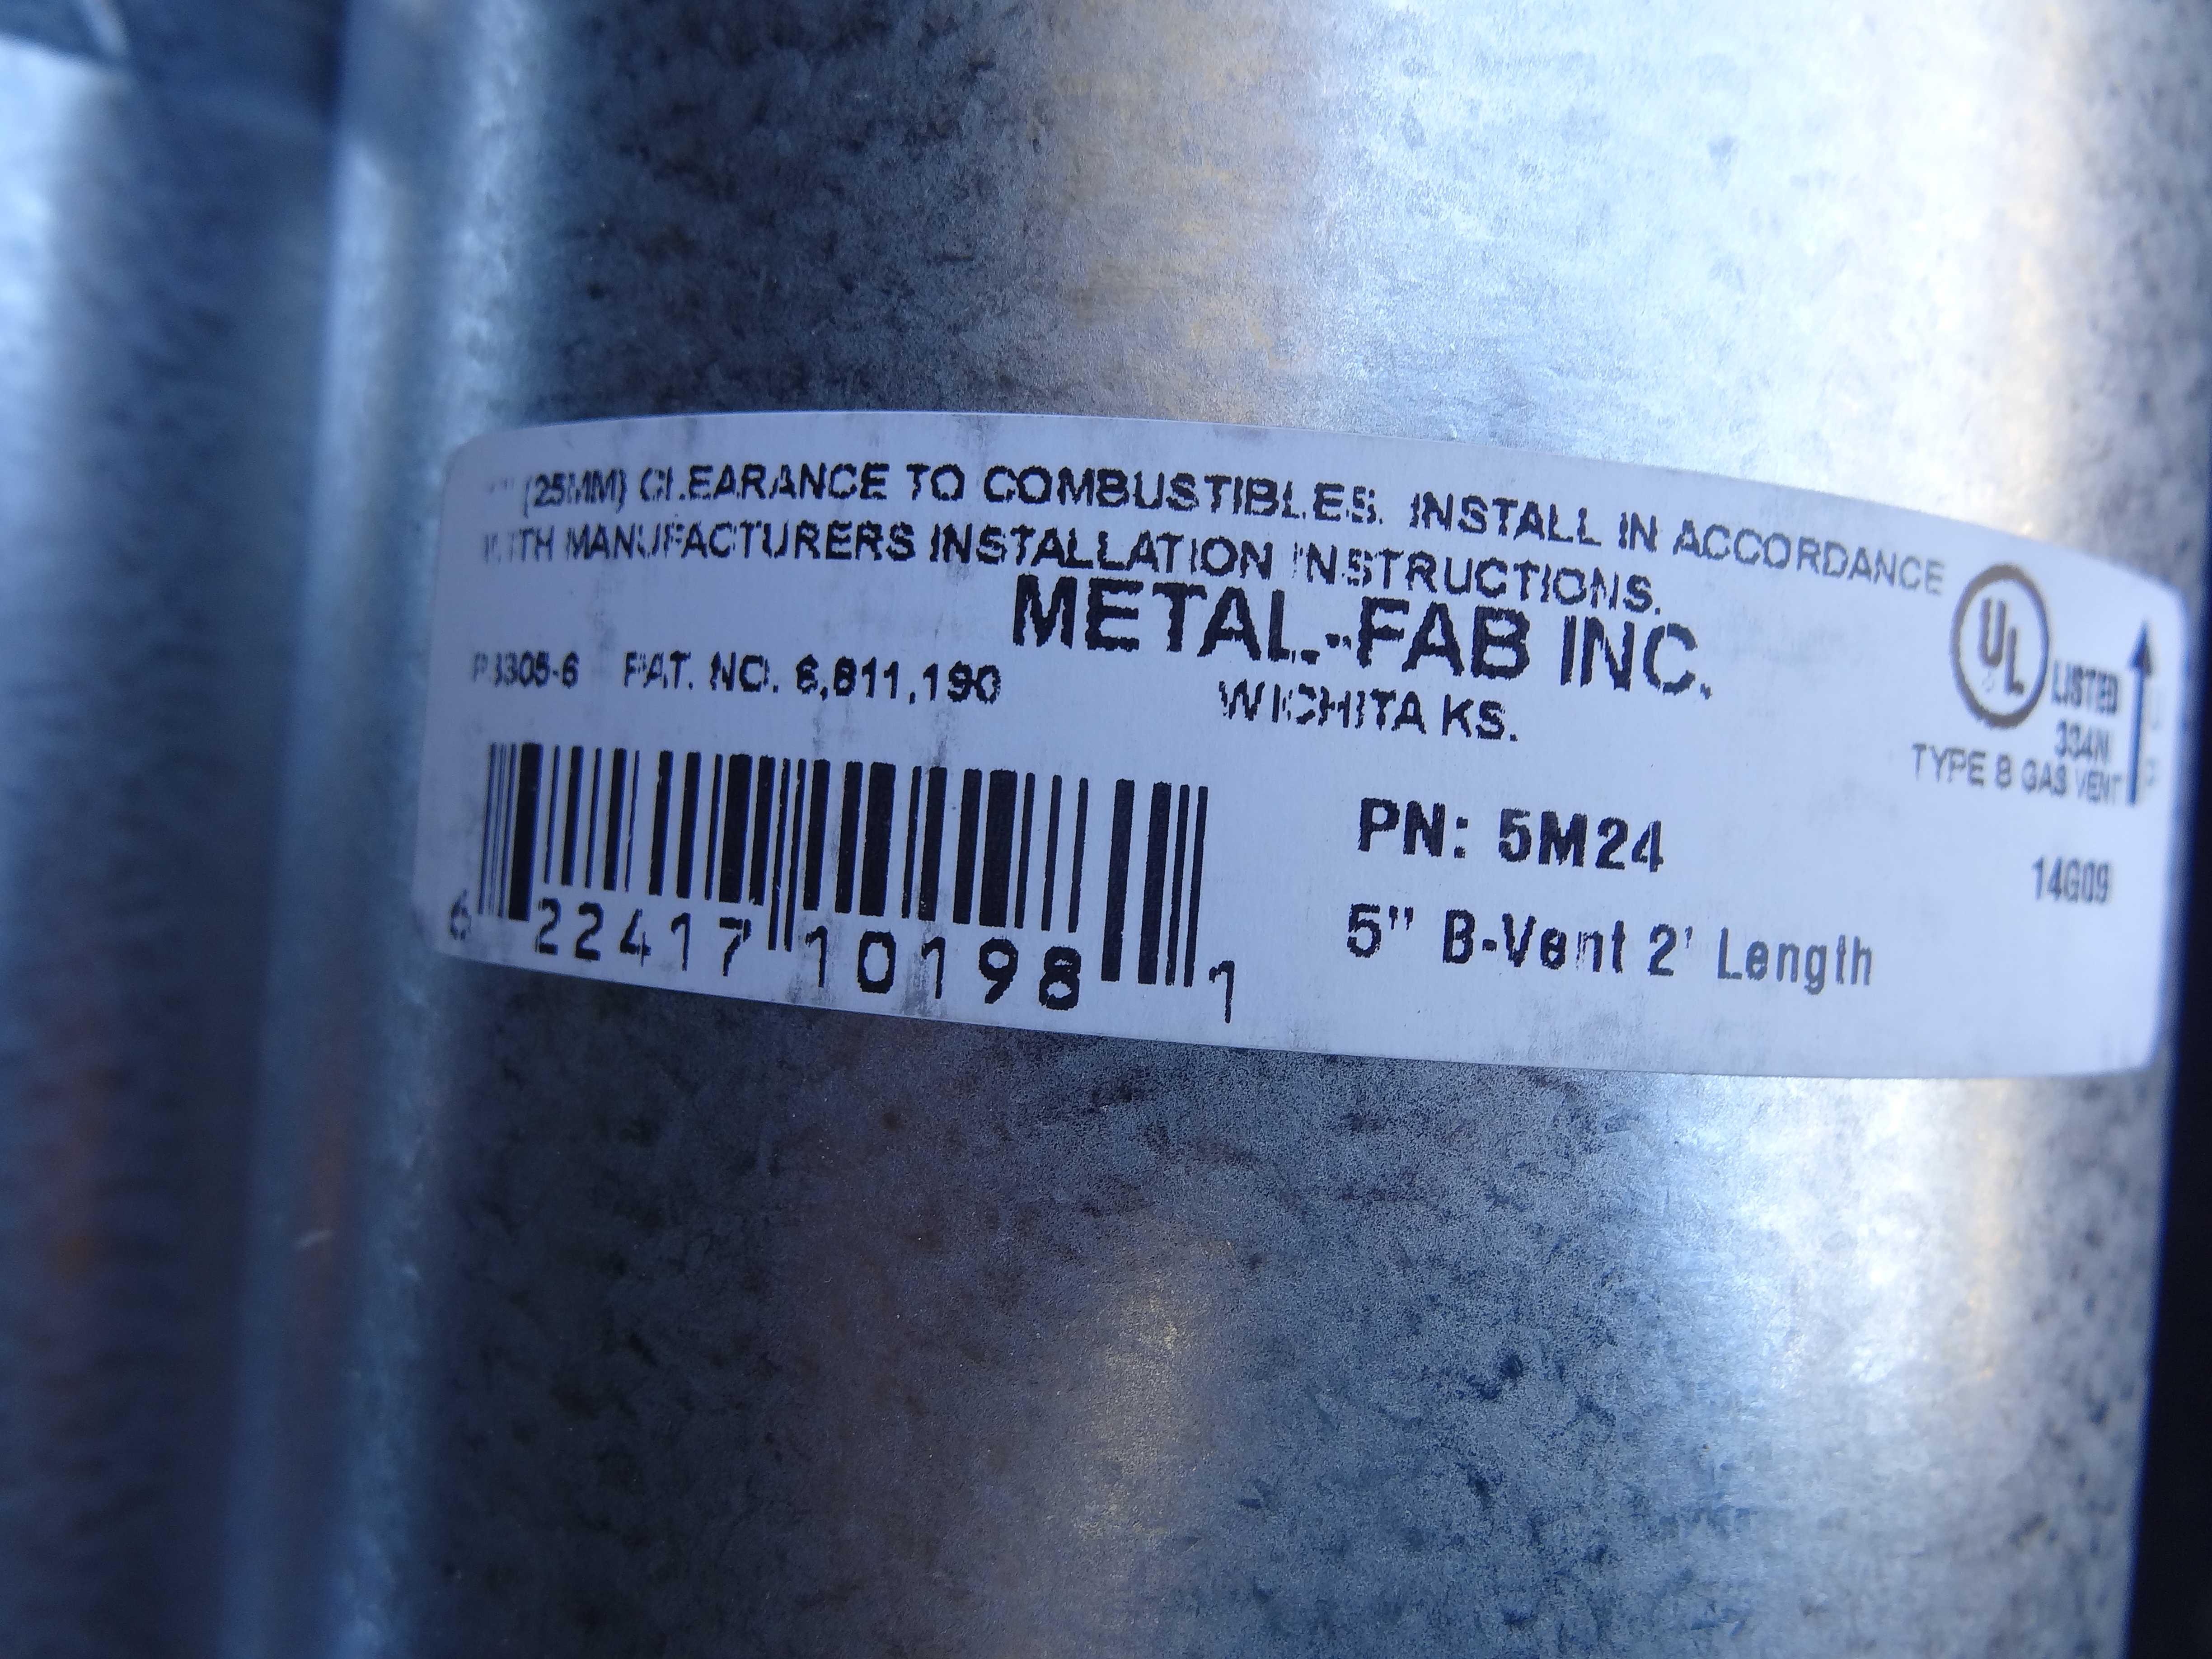
– (1) – 5 inch x 2 foot double wall stovepipe – from hardware store – about $12
– (1) – Coleman (or other brand) propane 1 burner stove – about $35
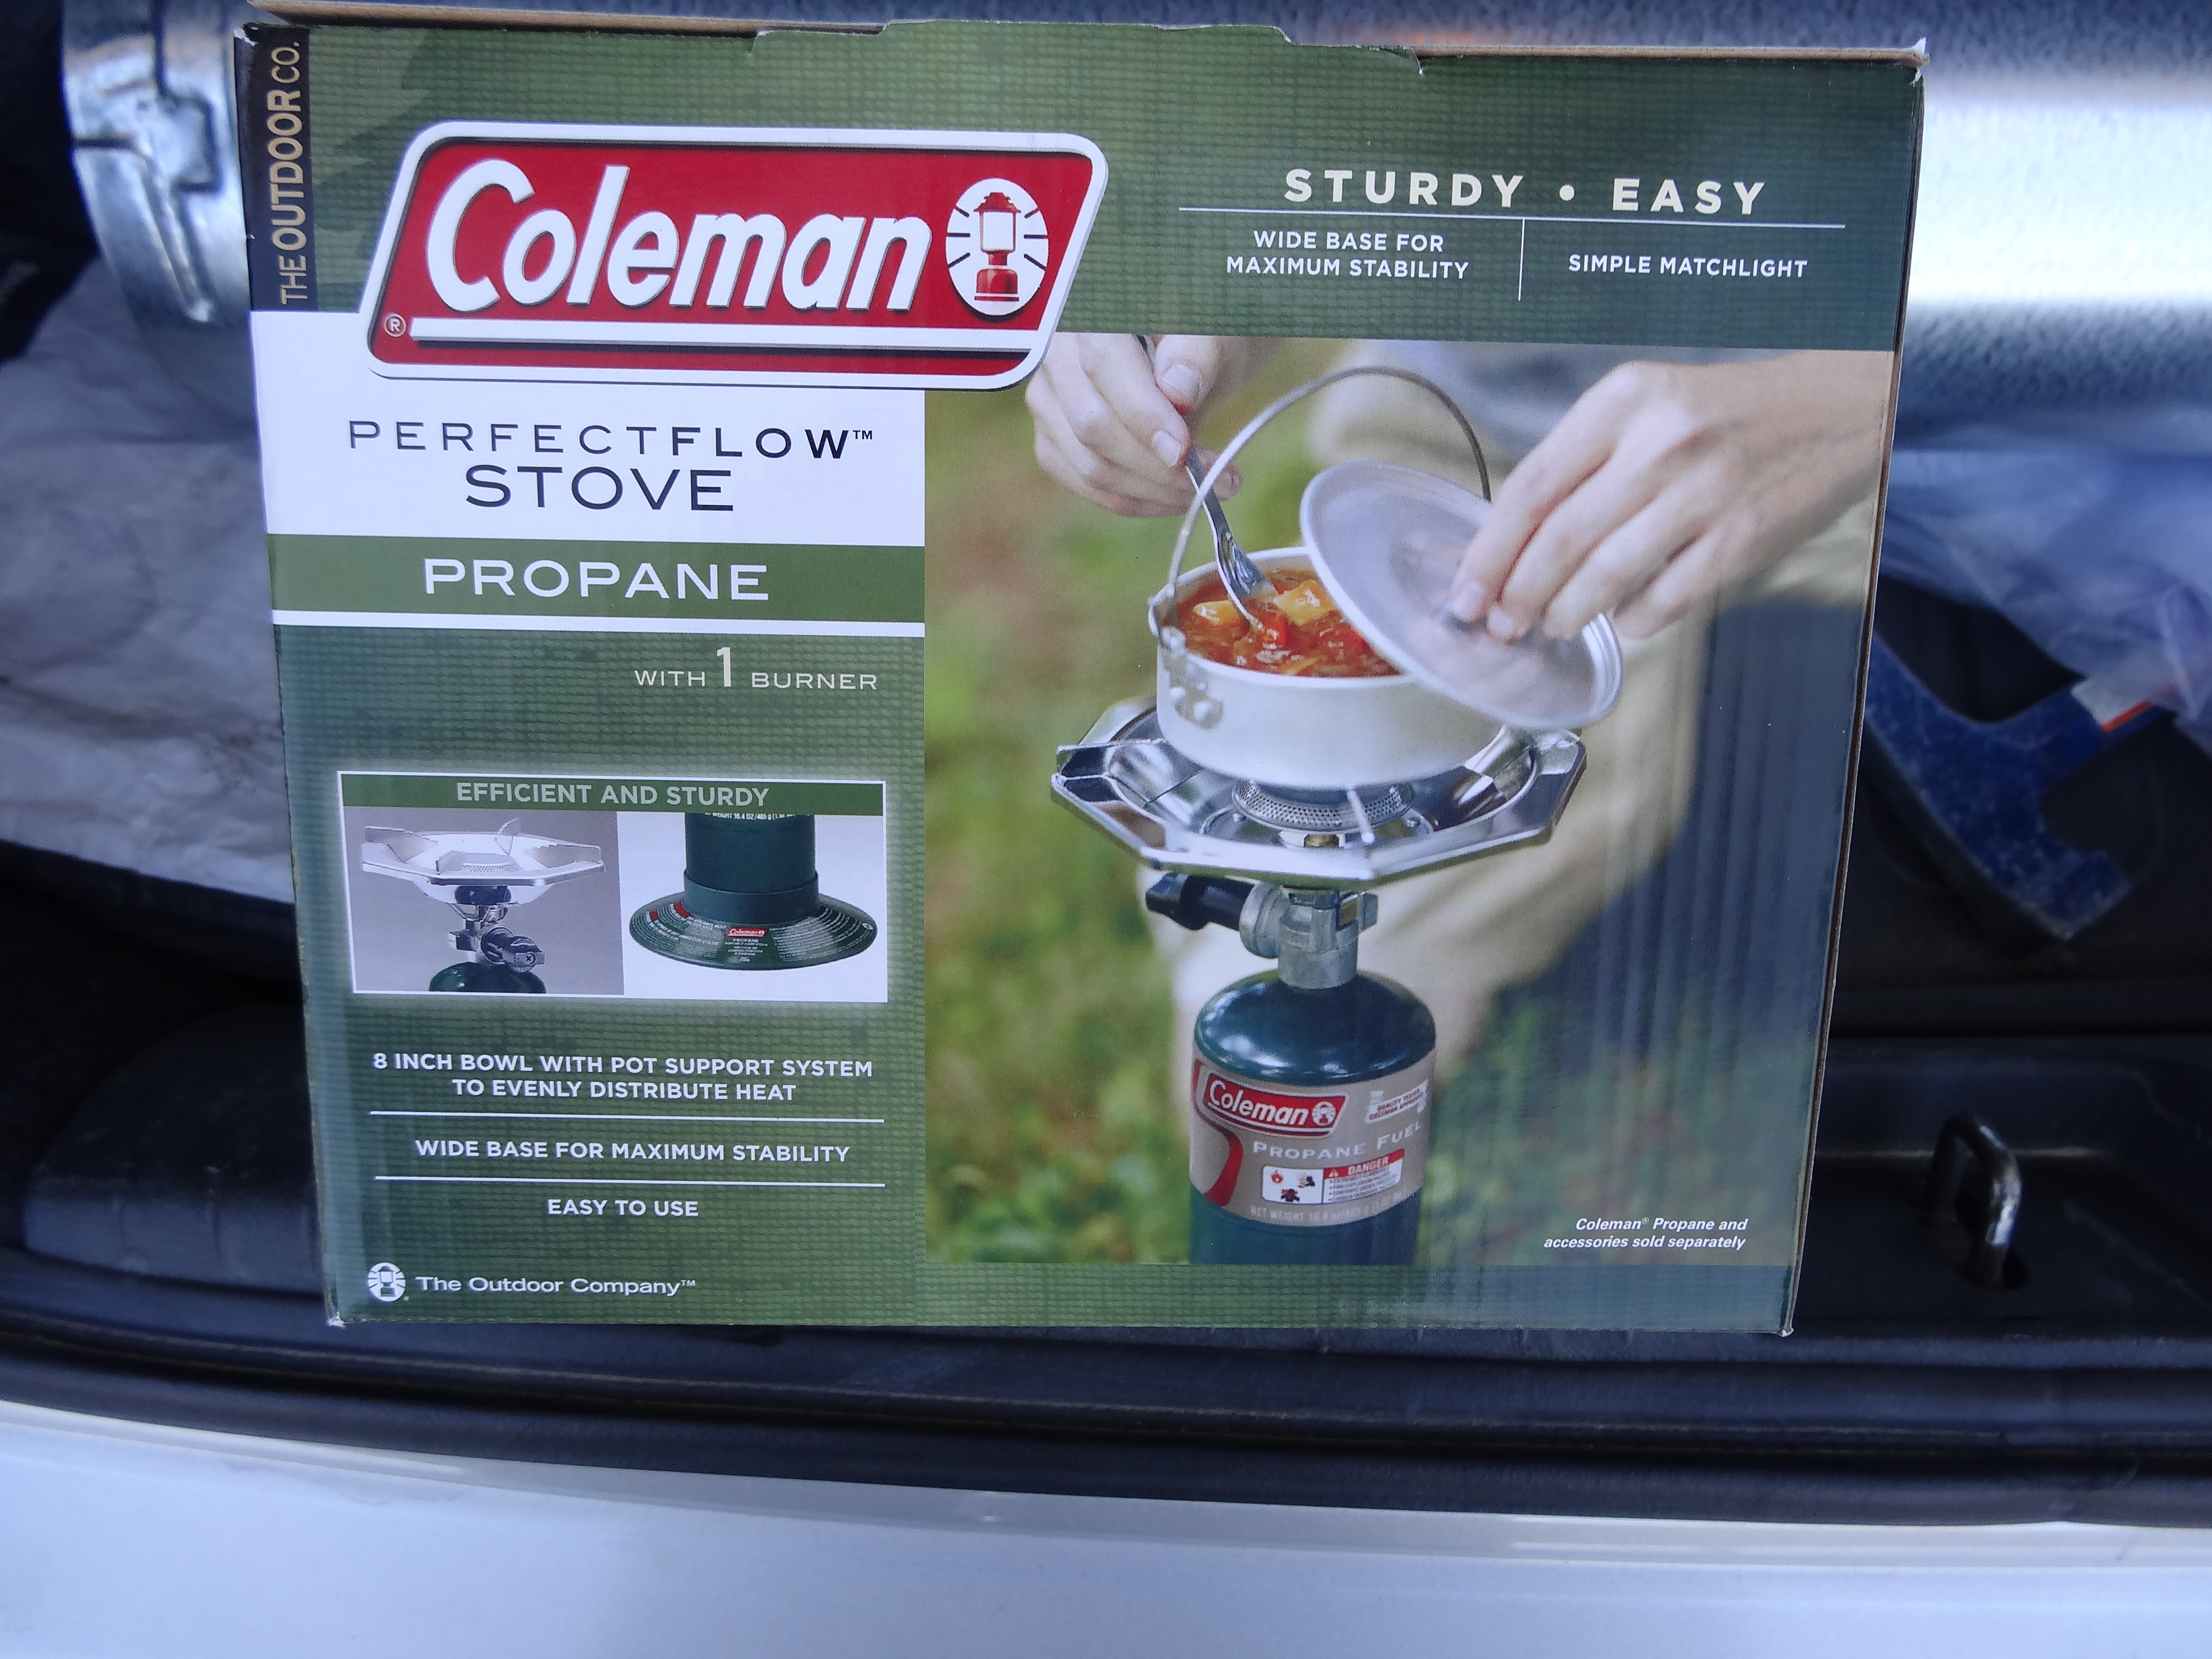
– (1) – Propane tank (see in photo above of stove)
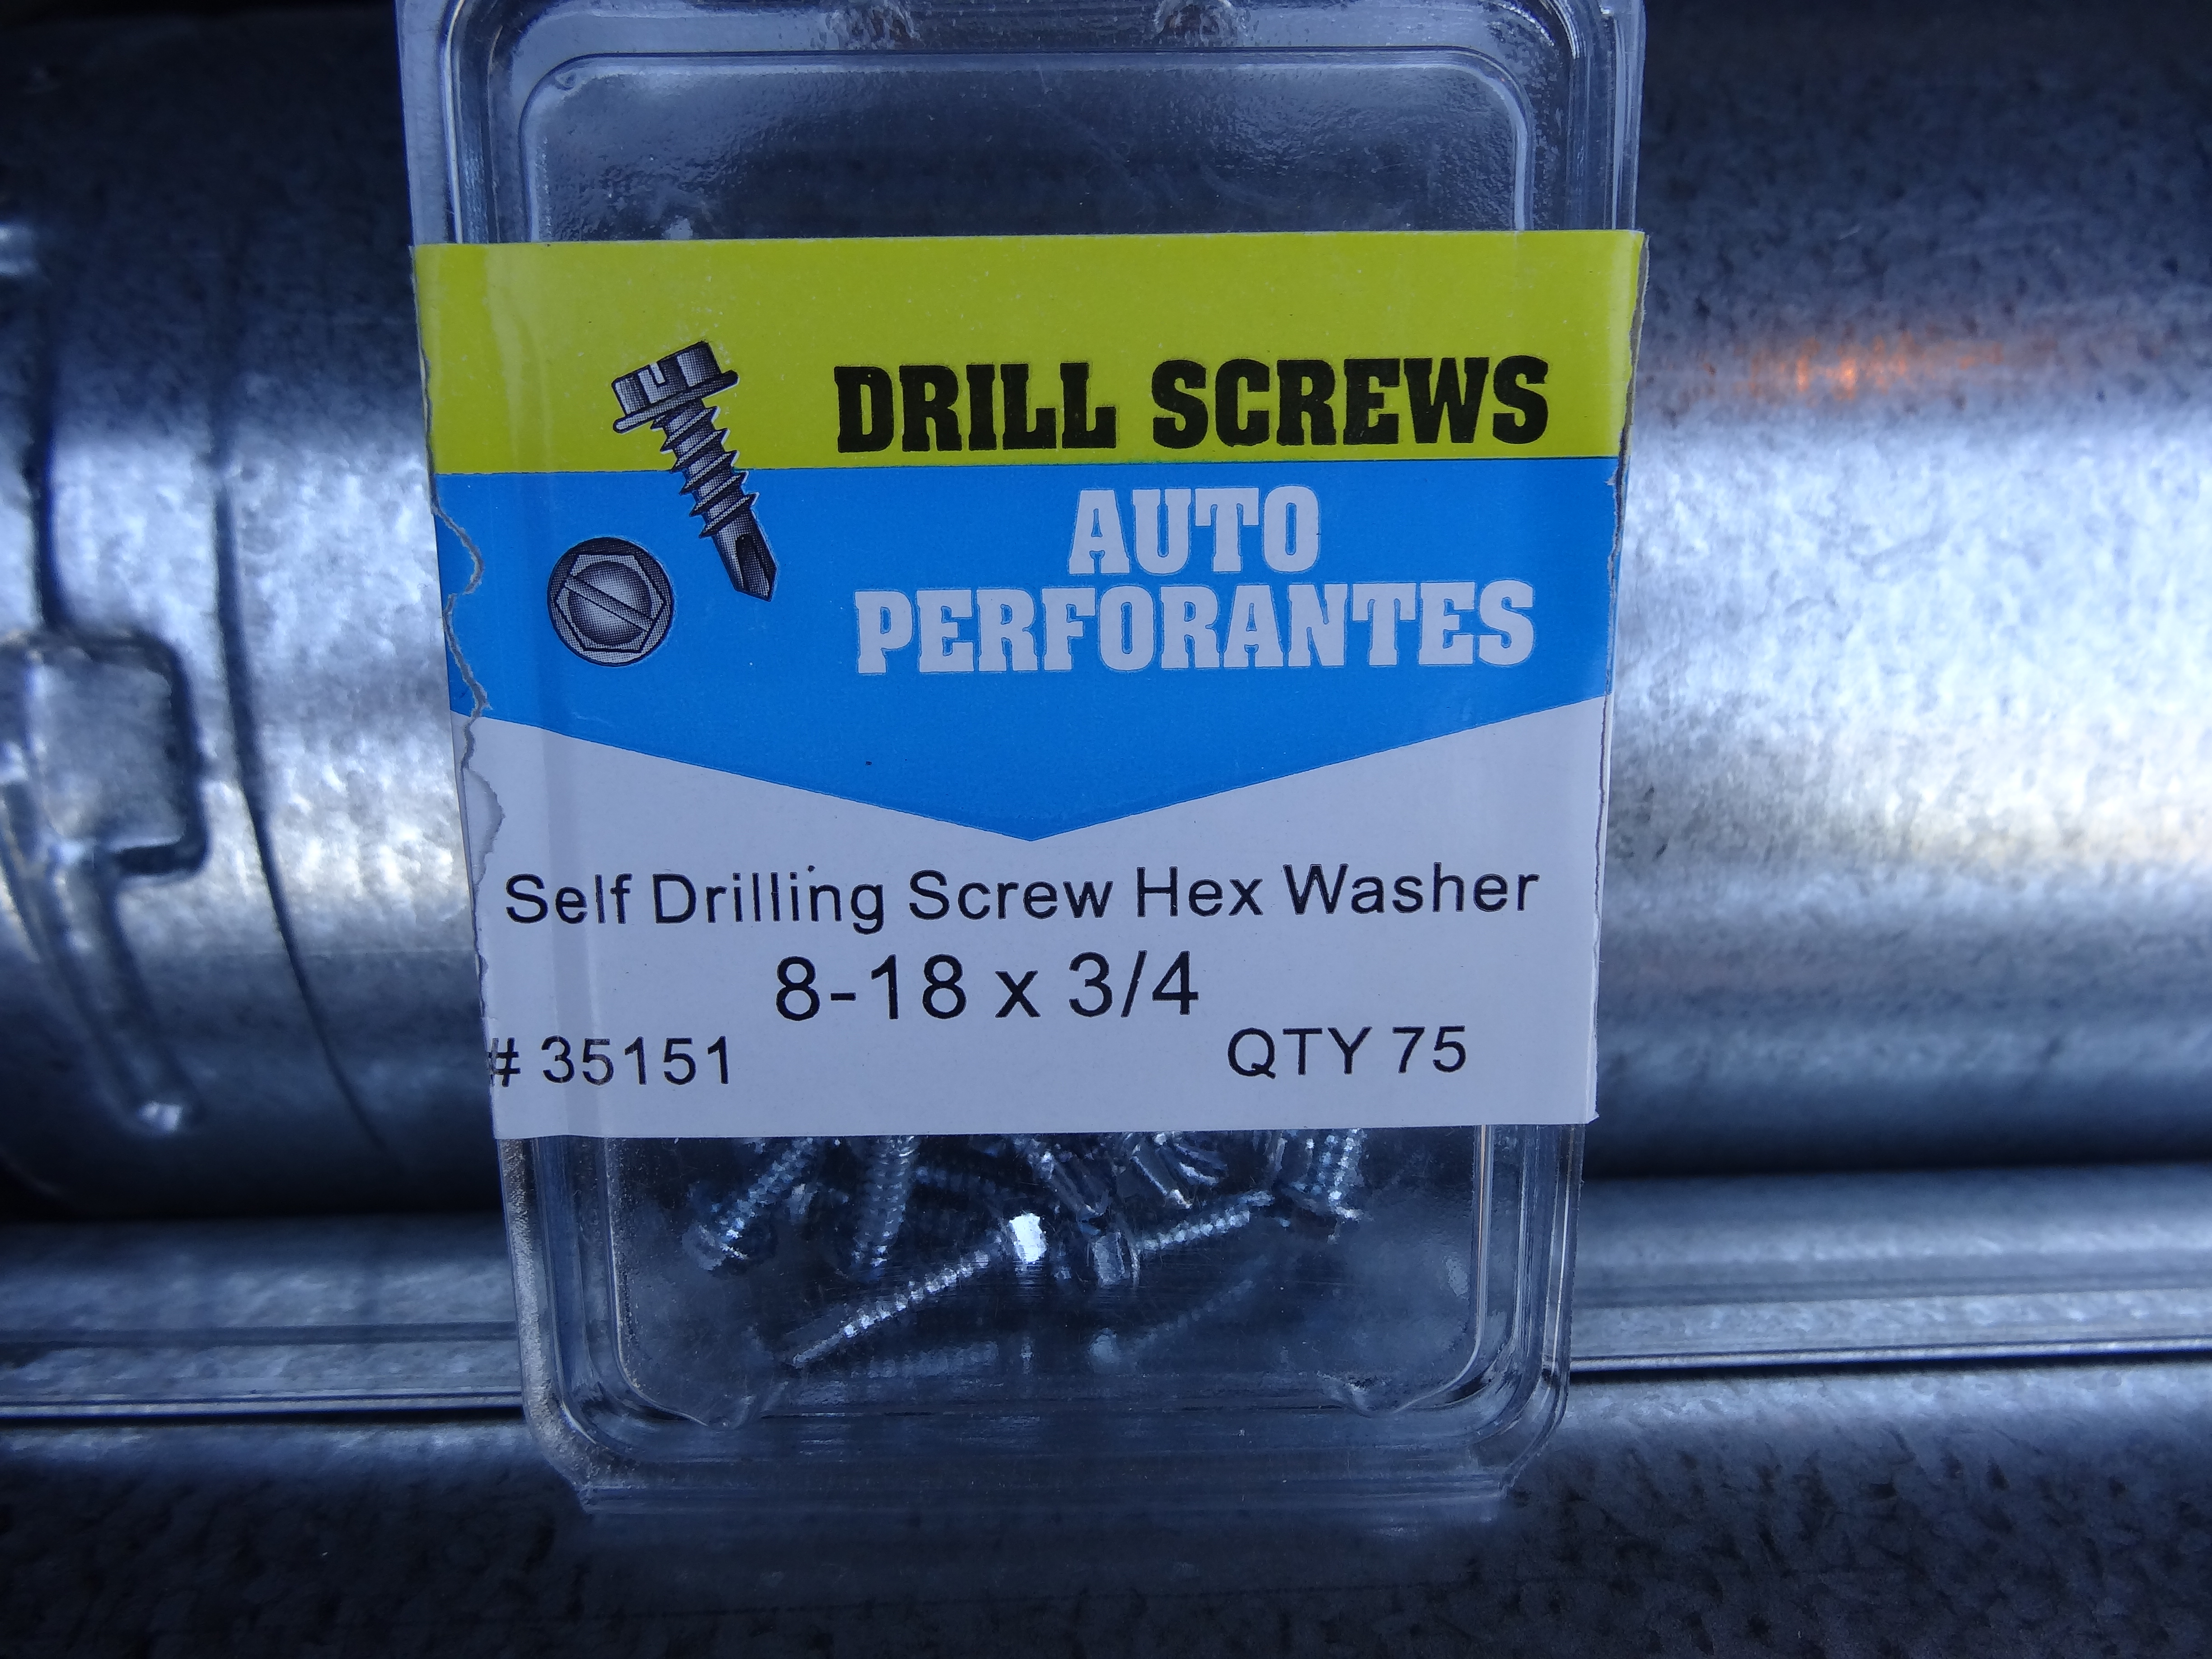
– (4) – 8-18 x 3/4 self drilling screws (box shown has 75 screws, but you only need 4)
– (2) – 1 1/2 inch x 5/8 inch corner braces (pack in photo includes screws – BUT THEY ARE NOT THE ONES YOU USE)

– (1) – drill with screwdriver bit for driving screws. (see it in photo with other materials)
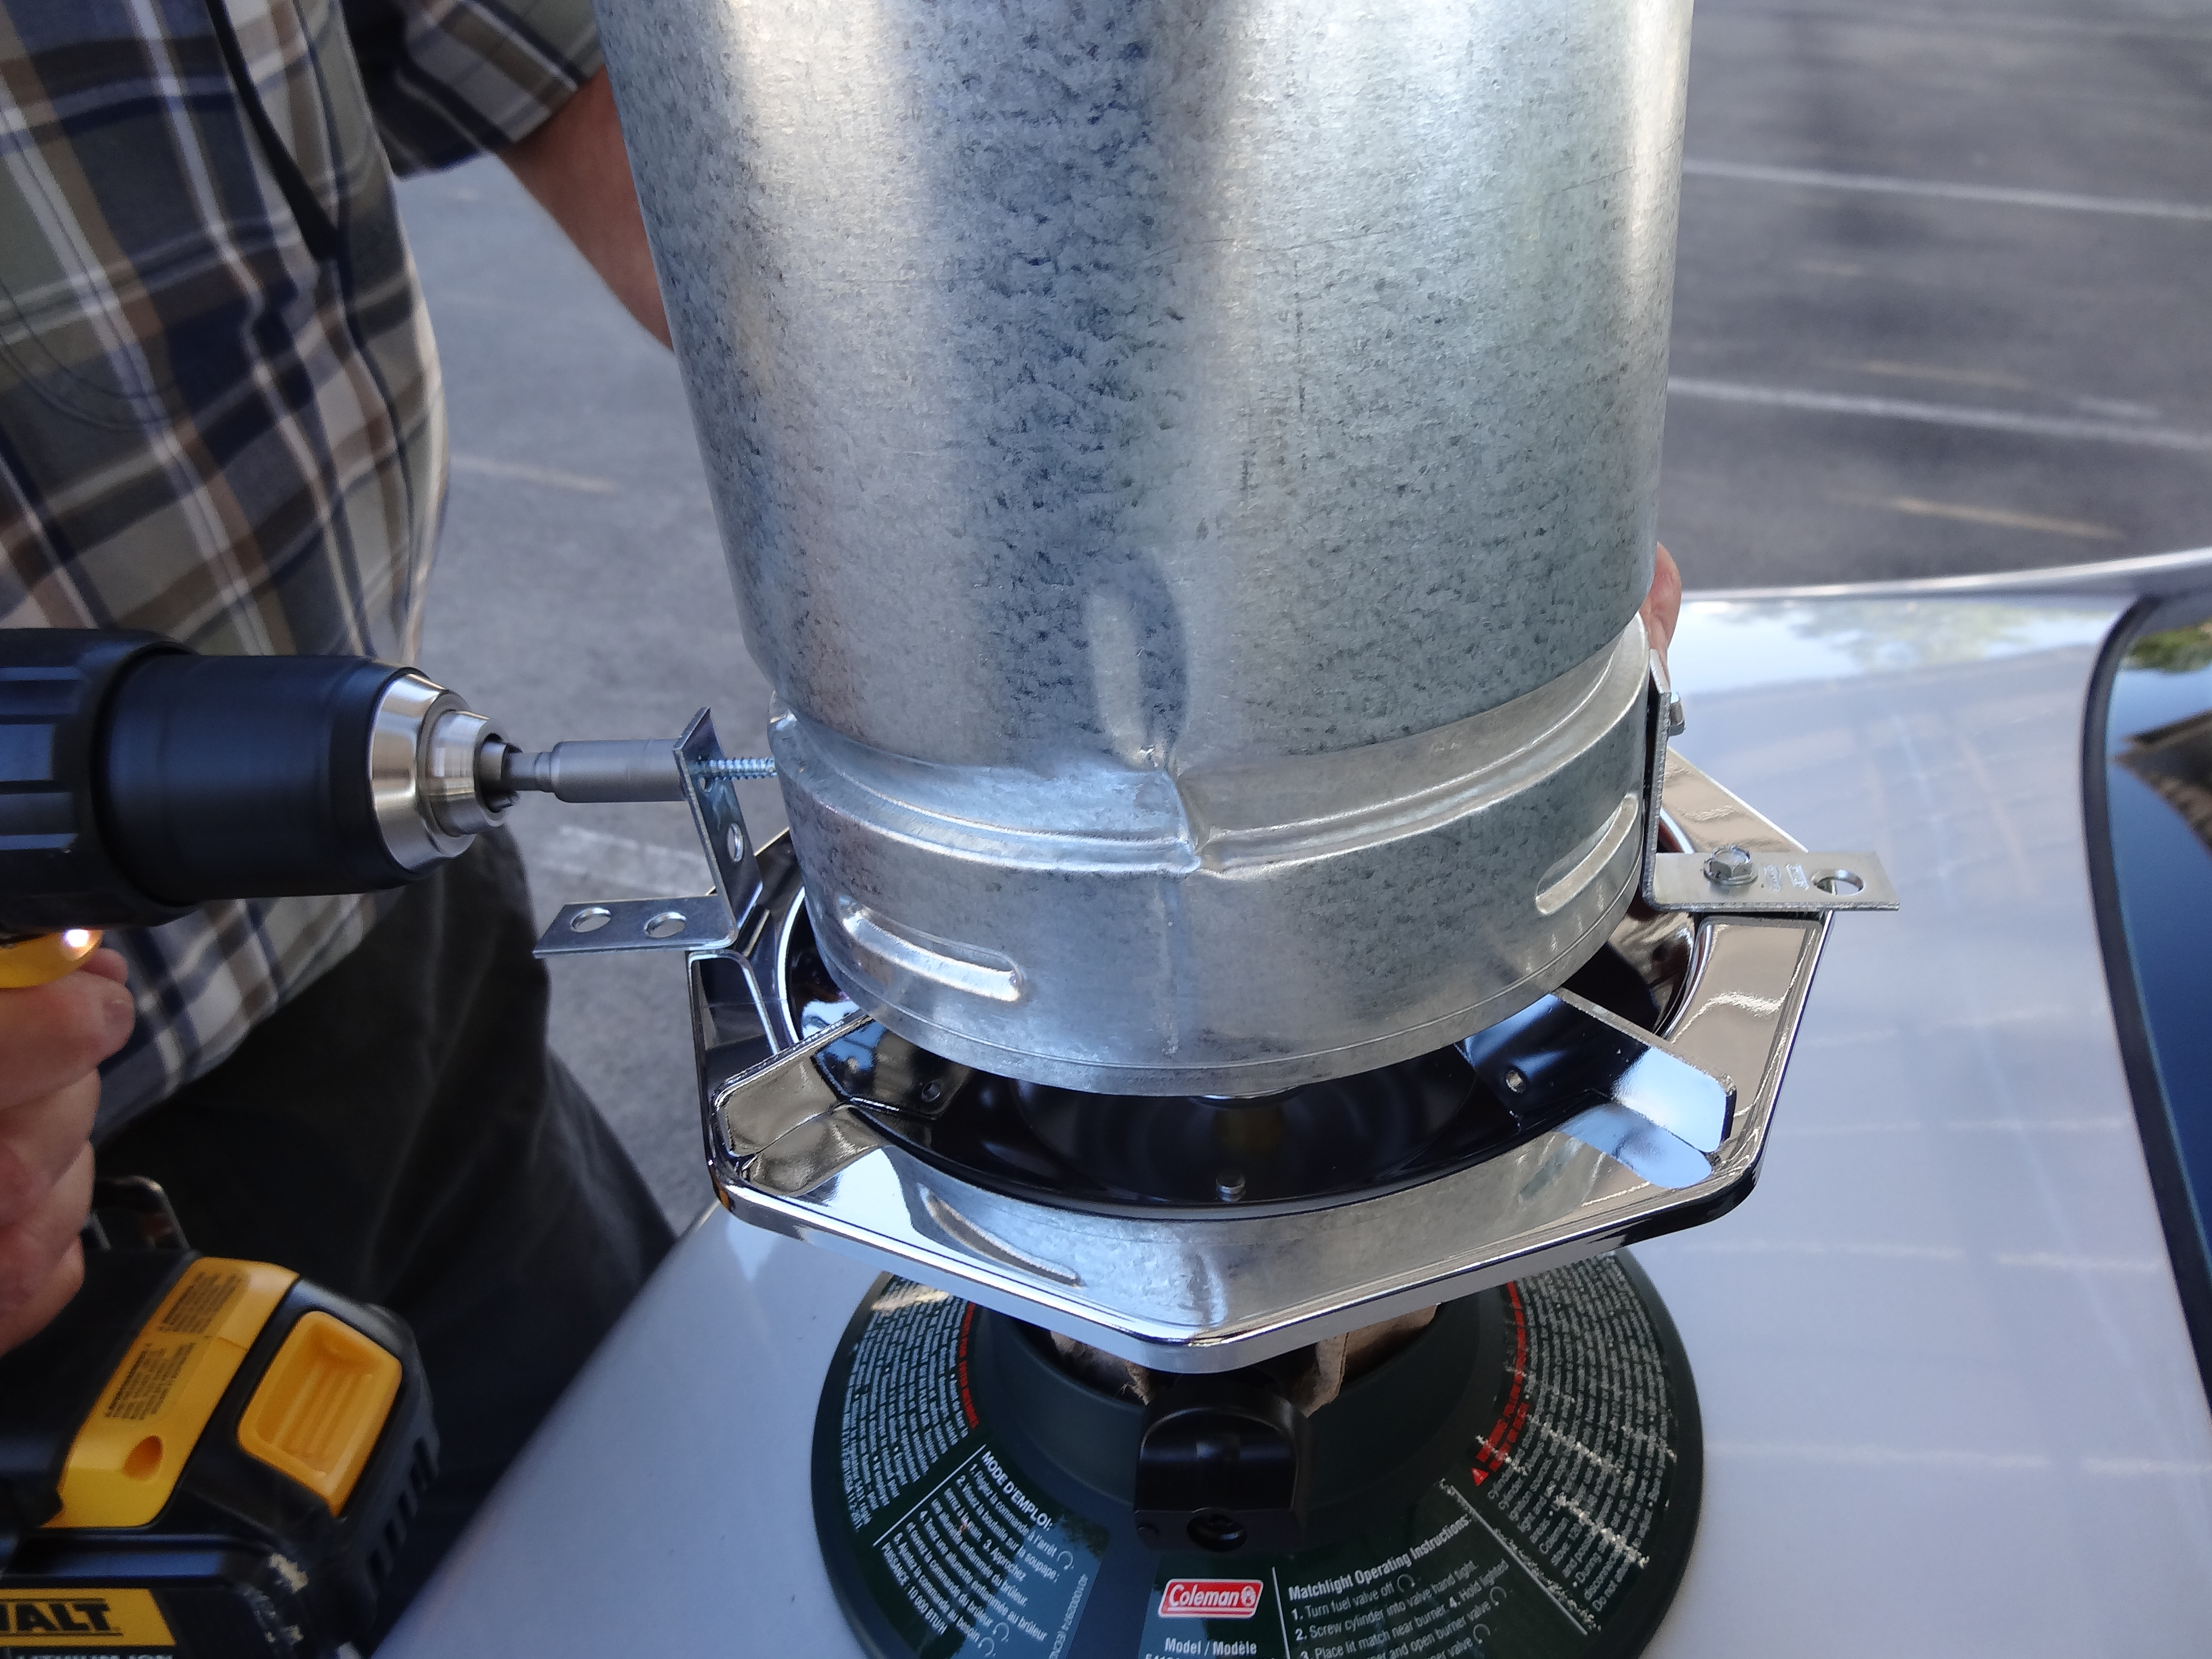
(1) – Screw the stove pipe to the stove using the corner braces – each corner brace has 4 holes for screws, but you only use 2 of them.

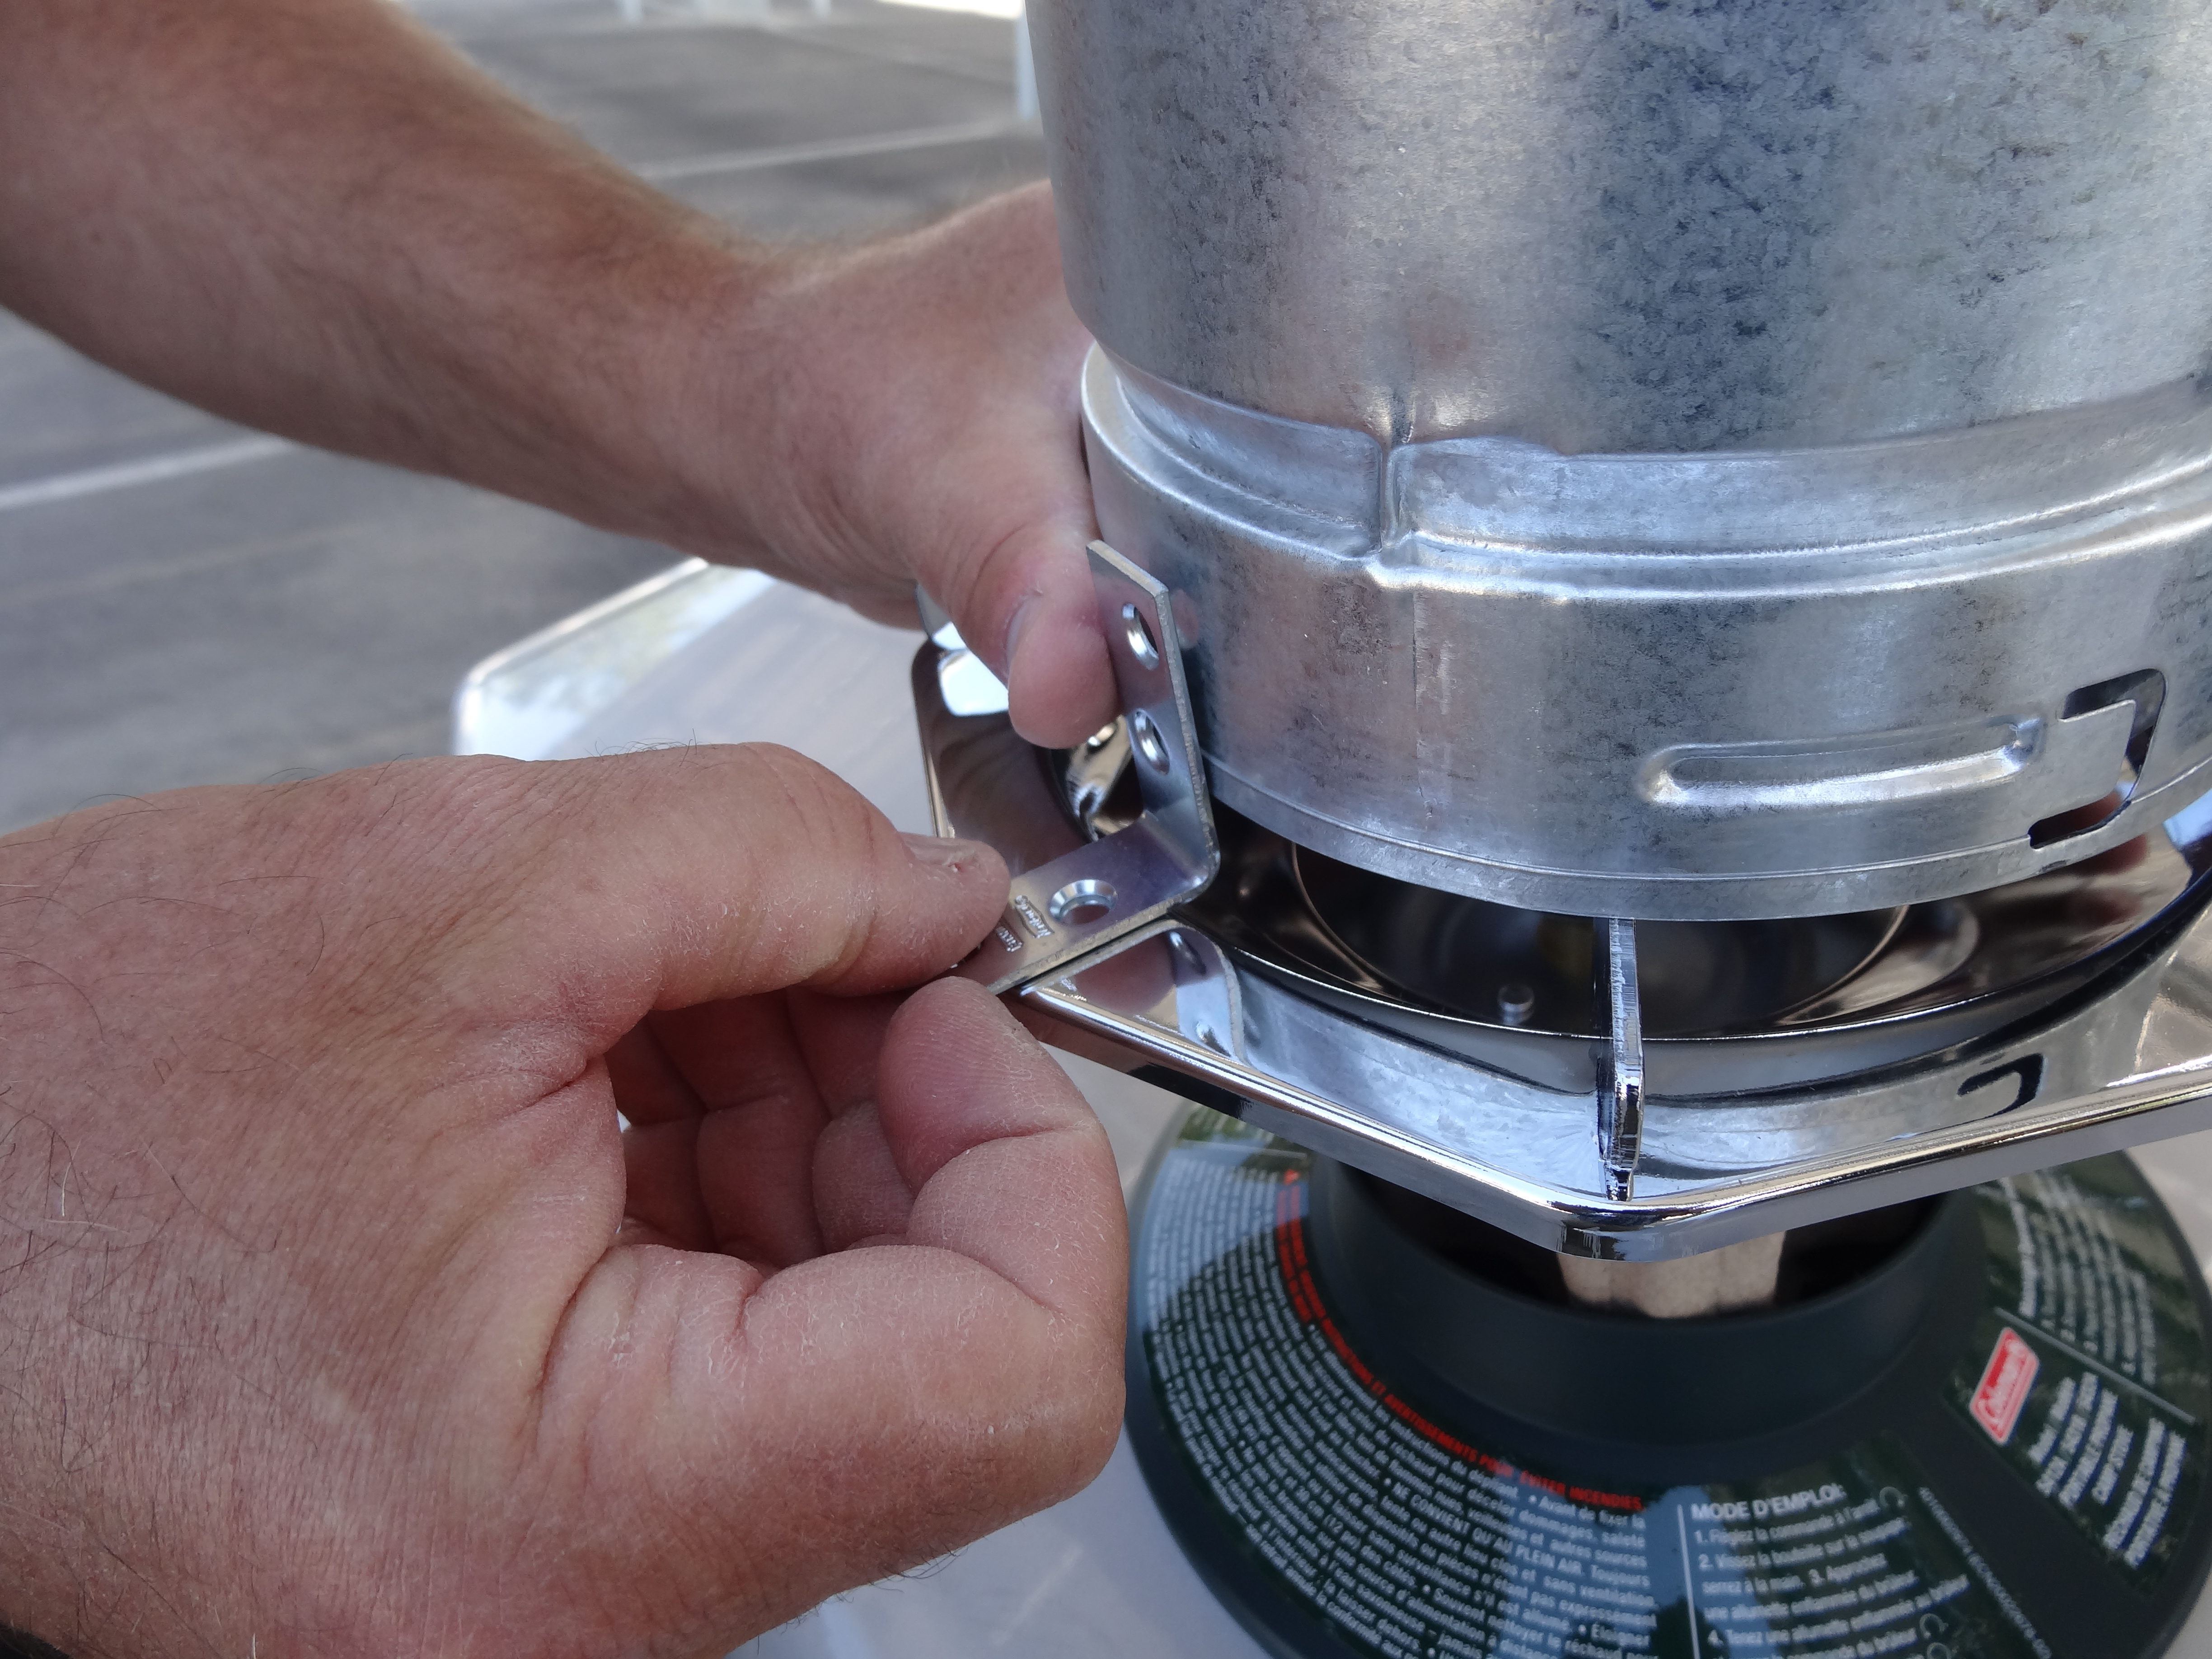

Repeat with a corner brace 180 degrees opposite the first brace.
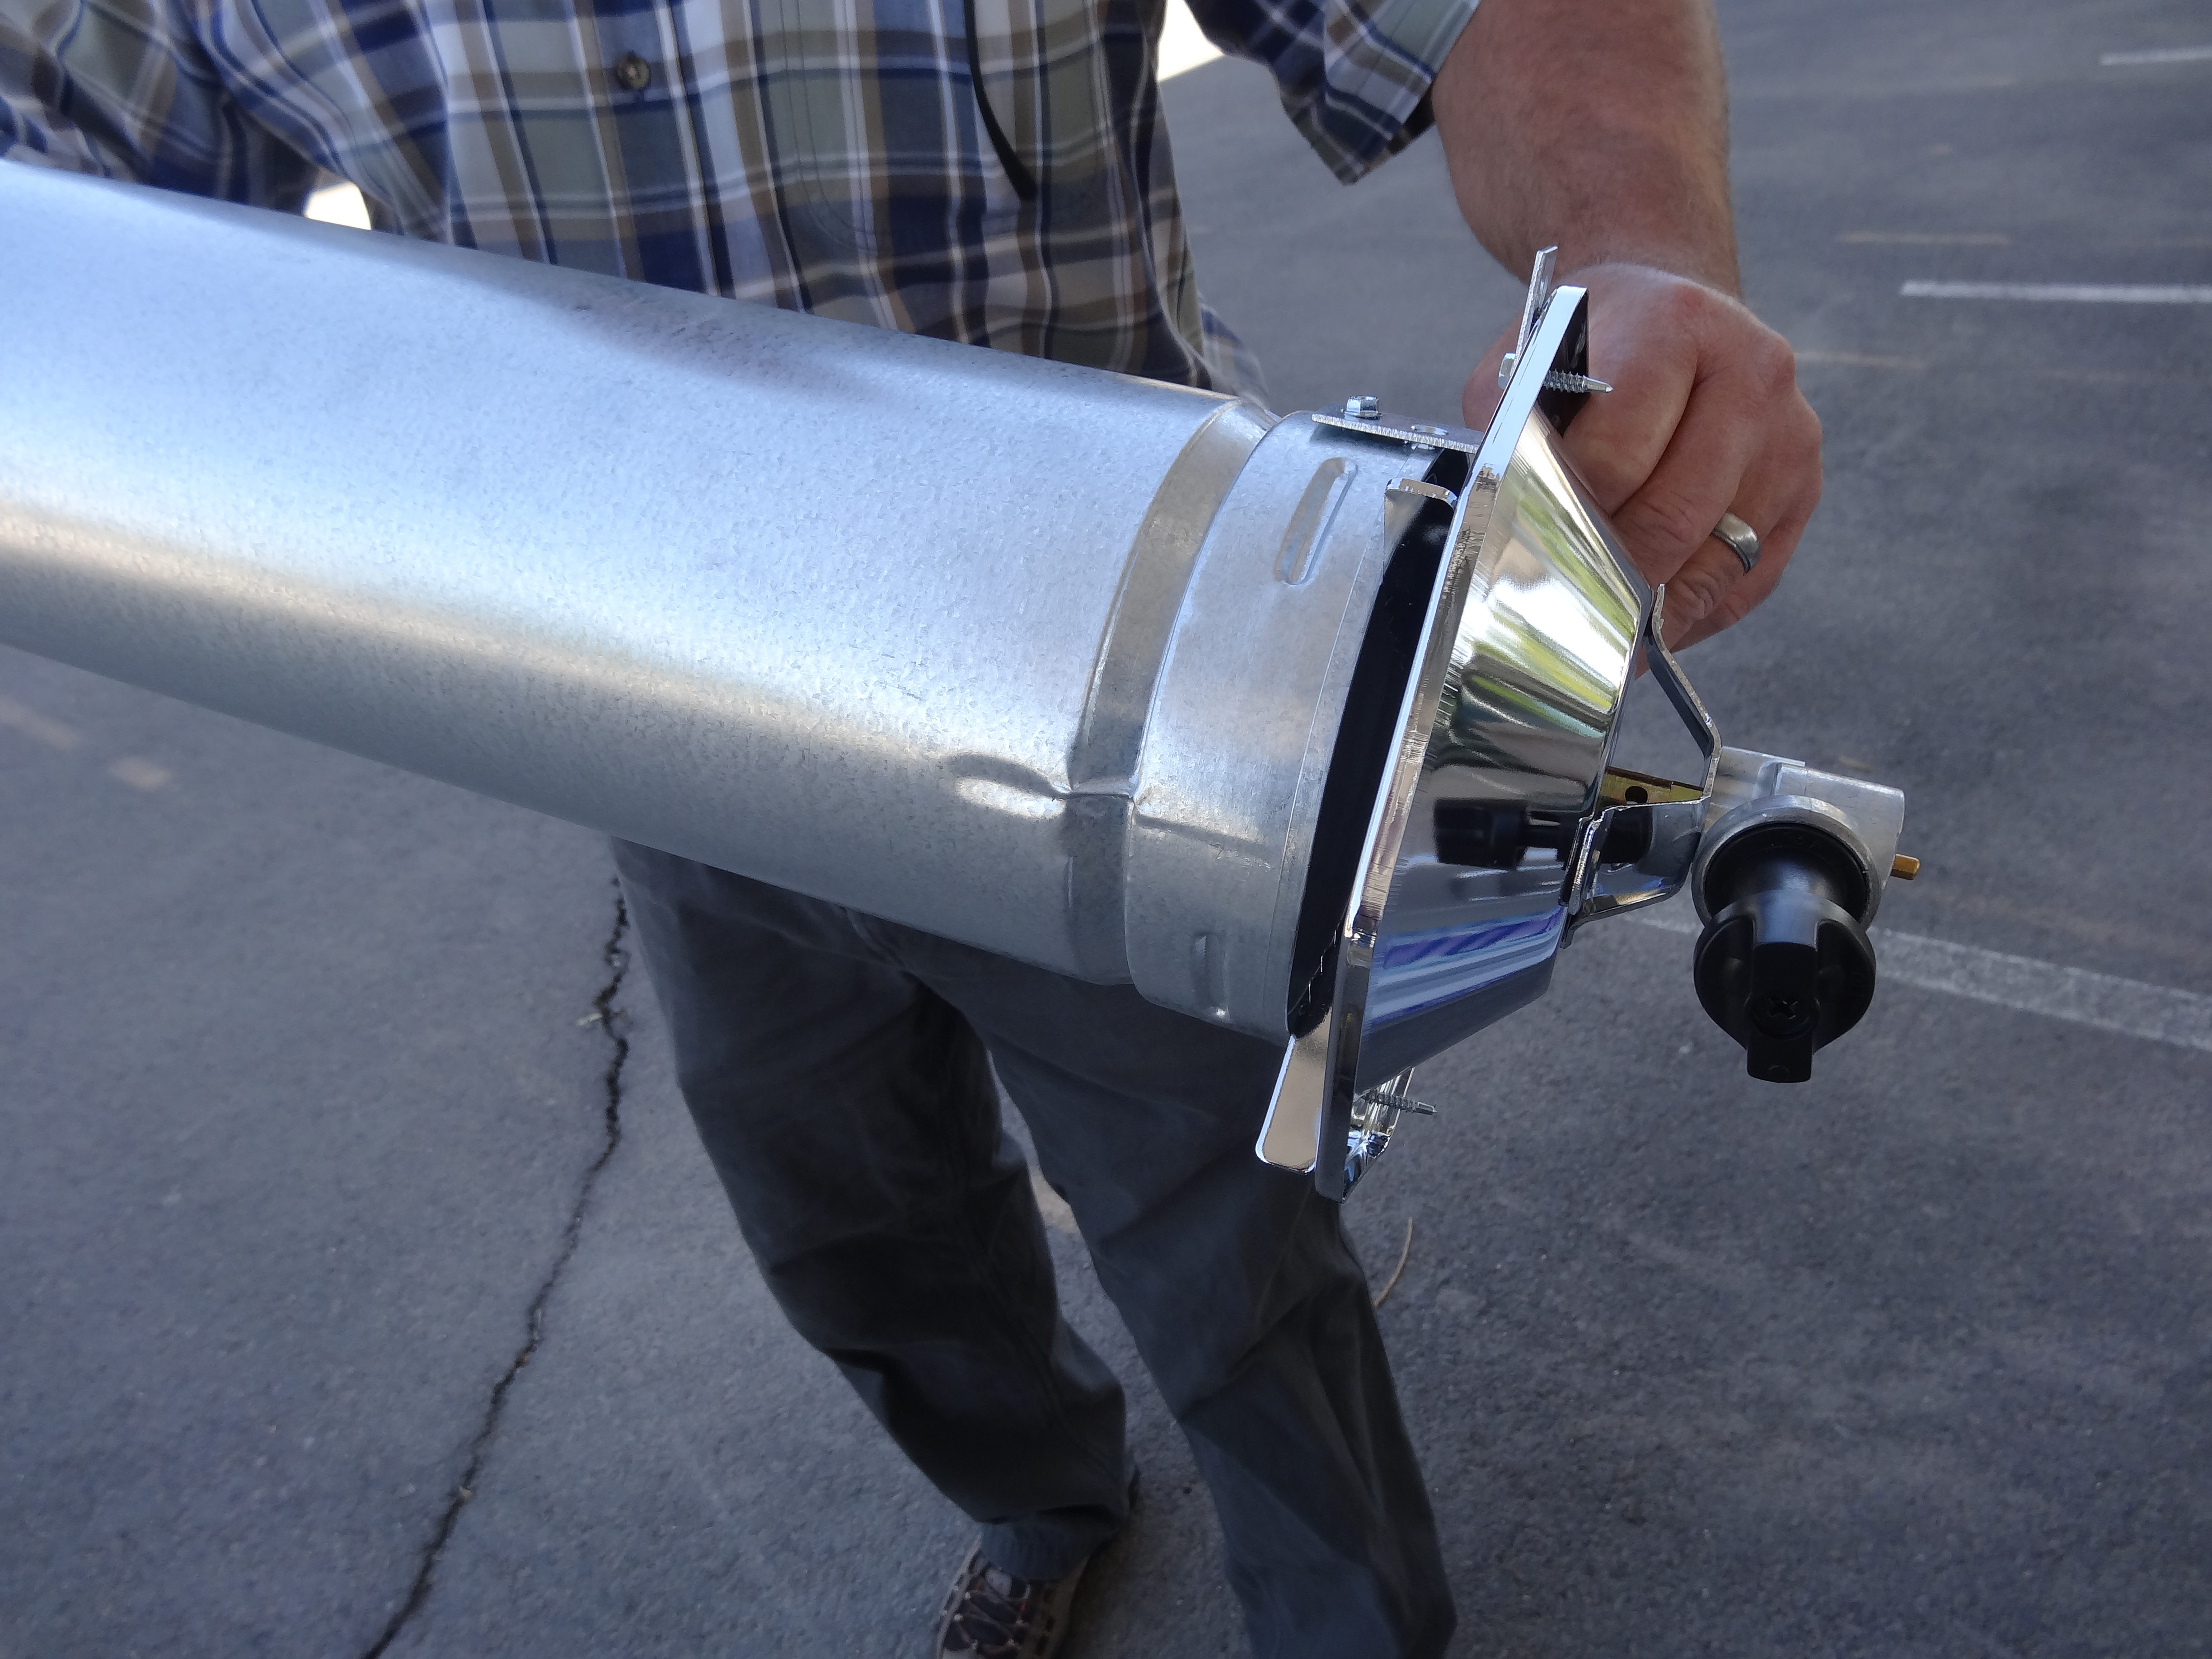
Attach the propane tank and you have a finished launcher. We use a butane lighter to light ours. We also have a squirt bottle of water to put out any fires – rare, but tissue burns pretty quickly. At the balloon races with 14 of these going, we also had fire extinguishers (never used one) available.
Here is a link to a Flickr set from launch day at the races. Also some pics of weather balloons we launched – NOTE – we check these launchers out to local schools so they can launch at school – teachers often want to go further with the design process now that the students are excited.
Learning is messy!
This looks great. Thanks so much for sharing. We are planning to do this now.
-Arielle
This is amazing. Great directions, great details.
Hey what is the circumference of the circular opening at the bottom and also what is its height from top to bottom ?
About 26 inches high – but it doesn’t have to be exact, you want the opening to be about 12 inches across or so – Hope that helps.
Hi,
Does the homemade hot air launcher get hot? Specifically the pipe?
Thank you!
Yes, it gets hot.