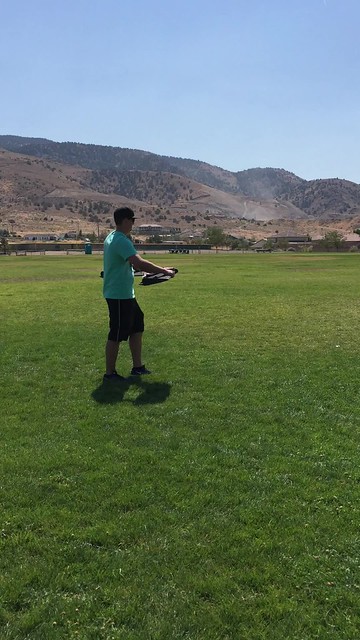
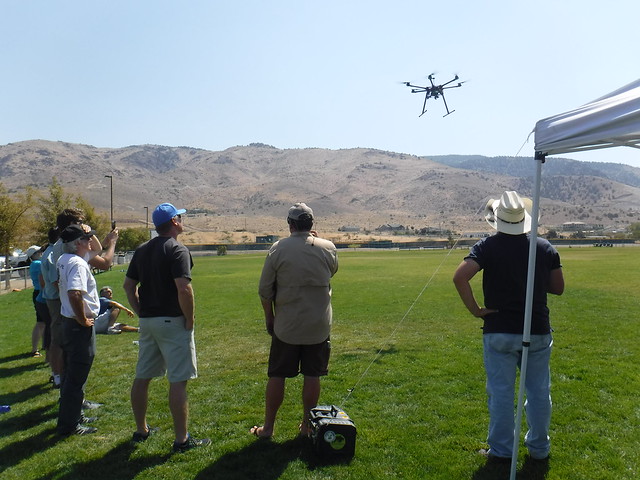
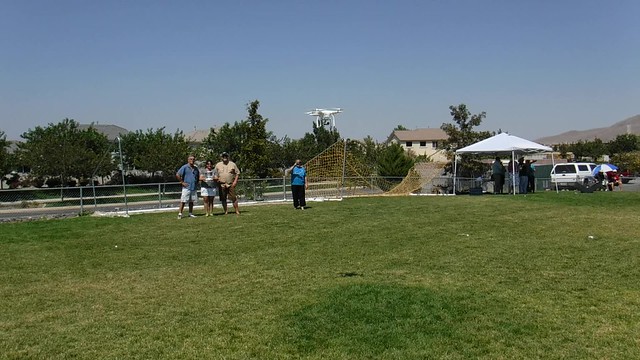
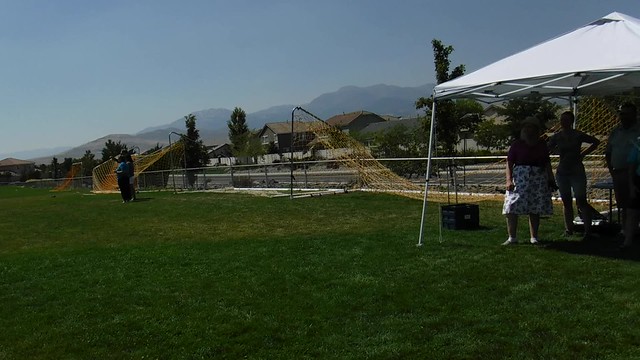
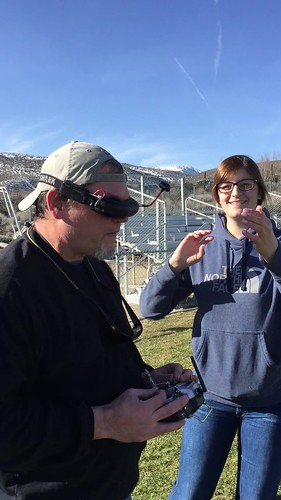
I recently blogged about our current course for teachers on computer programming and aerial and underwater vehicles (drones). The underwater vehicle section starts this week. In the meantime, Kirk Ellern at AboveNV, who taught the bulk of the aerial vehicle part of the class, put together this short video that illustrates what teachers learned about in his section of the class. Enjoy!
Learning is messy!
Category Archives: Messy Learning
Update on our aerial and underwater drone class
We've been busy!!
It’s been almost 2 months since I shared about how this class is going. We got started later than planned because we couldn’t get drones delivered fast enough. So far the 18 teachers have had 2 days of computer programming training with the ncLab online course (which their students have access to as well at school and home) to acquaint them with and put them at some ease as to how the course works. We originally planned 4 trainings up front but decided to wait on the last days so they can be designed to support the teachers and their students in the very kind of programming they will use with the various vehicles.
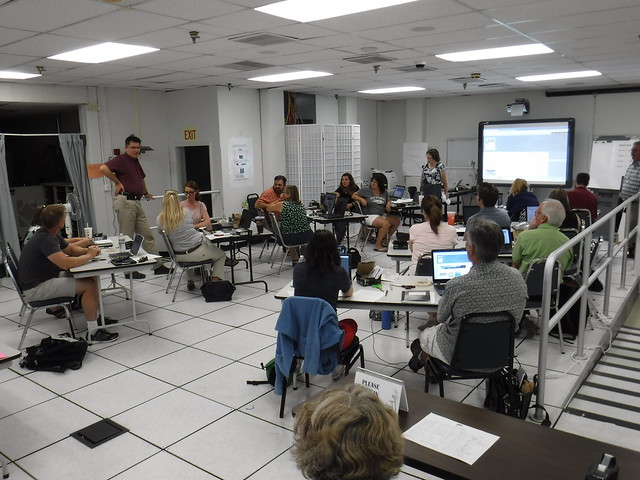
Next, we jumped into 24 hours spread over a week of training with aerial drones. We started with safety, ethical use and the laws governing drone use. Then everybody got a Parrot Rolling Spider mini-drone. We ran into some issues with getting the firmware updated. We are using 3 different drone apps for the Spiders – Free Flight3, Tynker and Tickle. They required updating the firmware before the apps would cooperate with the Spiders, but that was problematic … even though I had done a couple the day before to be sure we wouldn’t have trouble … we did. Computers wouldn’t “see” the connected Spider and the bluetooth connection you can use with Free Flight 3 tended to time out before it was successful. But we eventually figured out a method that worked and plugged them in to charge.
Teachers then practiced programming their Spiders and ended that day in groups of 3-4 planning how they would use them in class with their students. The following day each group shared out lesson ideas and even some early experiences with just their one Spider in class (we have almost 50 of them that can be checked-out for classroom use in sets of 8 – 12).
Teachers were given initial instruction and some practice in DroneBlocks as one way they and their students can program their Phantoms. Just this past Saturday we all met to fly some of the 19 Phantom 3 Professional drones the grant provided. Thursday night teachers took turns flying the Phantoms virtually using Real Flight 7.5 and the built in flight simulator that comes on the Phantom remote. After a follow-up “ground school” of sorts on Saturday and some demonstration flights of different kinds of drones the teachers got to fly the Phantoms.
Today I got all the Phantoms prepared to be checked out to teachers to work with their students, but Saturday they decided everyone should check one out for a week or so to practice setting things up and gaining confidence. Tomorrow my goal is to update the firmware on the 50 additional Parrot drones and get them ready to be checked out as well.
Next week we start underwater vehicles with OpenROV 2.8‘s.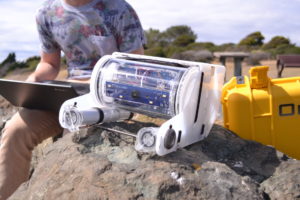
Learning is messy!
Nevada STEM Underwater and Aerial Vehicle Computer Science Institute
I shared on Twitter not long ago, “The good news is I got a grant! The bad news is I got a grant!” There is too much truth in that dichotomy, but in spite of all the extra work and rules and policies and bids and other “red tape” to be dealt with to purchase the supplies and organize the classes … this is an awesome opportunity for all concerned.
The grant requirements demanded a focus on middle and high school teachers and students, computer programing, and a STEM learning emphasis. You’ll note by the name of the grant (see the title of this post) that the grant department folks that helped in editing, implored me to mention as many aspects of the program as possible in the title.
The choice of underwater and aerial vehicles was an easy one … Nevada has been designated one of 5 states where regulations about drones have been eased to encourage research, testing and innovation in drone use (the fact that Nevada contains huge expanses of open land and 4 seasons of weather may have helped). In addition, with the emphasis on encouraging students to study computer programming … and the fact that these vehicles can be programmed … using drones in class to motivate students to engage in both seemed like a perfect match.
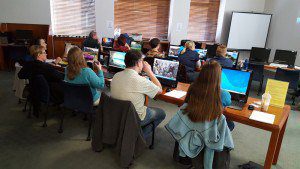 24 teachers, 2 middle school and 2 high school teachers from each of the 6 school districts I serve will be chosen to participate. We will start by doing 2 days of computer programming and 3D modeling utilizing the ncLab online course guided by its developers (a local startup company). Just enough to get teachers started in programming, but also to acquaint them with the online course since it will be available for them and all their students for the next year. I felt that if teachers had even some experience with programming and the online course they would be more likely to use it with their students. Students will have access to the course at school, but also at home or anywhere they can get online, so they can go as far as they like.
Each teacher will receive a Parrot Minidrone Rolling Spider – the kind you control with your phone or pad device, and a waterproof (to 10 meters) and drop proof (from 1.5 meters) digital camera to archive their learning in the institute and student learning in their classrooms. 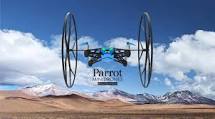
Next, teachers will spend 3 days learning about aerial vehicles from Kirk Ellern (a former high school physics teacher) at AboveNV – a local startup. They’ll fly their “Parrots” and learn how to program them (after the institute they’ll have 4 sets of 10 Parrots they can check out for use in their classrooms). After that introduction to aerial vehicles we’ll move on to Phantom 3 Advanced drones. Here we will put the programming we learned (and note what we want to learn more about) in the ncLab course to work. Four sets of three Phantom 3 drones will be available for checkout by participating teachers for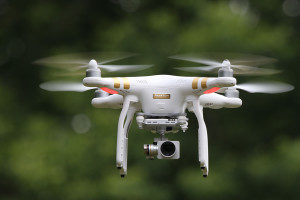 use in their classrooms.
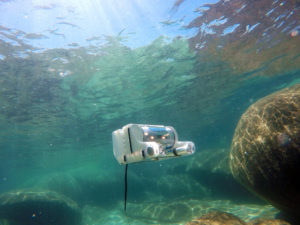
The next 5 days of class will be spent partially assembling and utilizing OpenROV 2.8 underwater vehicles. “Maker skills” will be emphasized as teachers will be taught soldering, wiring, gluing and more to prepare the vehicles for use. 6 OpenROV 2.8’s will be available for checkout by participating teachers. The 2.8’s are operated using a laptop and tether and are capable of depths up to 100 meters. They come with a camera – video/photos and sound can be recorded on the connected laptop … there’s even room for small payloads for doing research – another opportunity to use those computer programming skills as well. Alex Forrest from the Tahoe Environmental Research Center and the University of California, Davis, will lead this portion of the class. Alex has done research in Lake Tahoe utilizing those big “torpedo sized” vehicles you’ve probably seen on the news. He is just back from 3 years in Tasmania.
OpenROV 2.8 Underwater Vehicles
Throughout the school year the course instructors, all specialists in their fields, will be available to consult teachers, visit classrooms and provide follow-up instruction – to me this is a key component of the grant.
Field trip buses will be paid for so participating teachers can take their classes to a water source (lake, pond, wetland, river/stream pool) to operate and do research with the OpenROV’s.
The institute should start up in August and the initial classes will be done by October. I’ll post updates here. I’ll also set up YouTube/Flickr/Wiki and other accounts to archive our progress.
Learning is messy!
Cantilever Spans Supplies / Cost
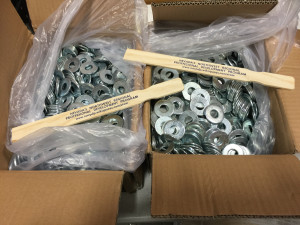
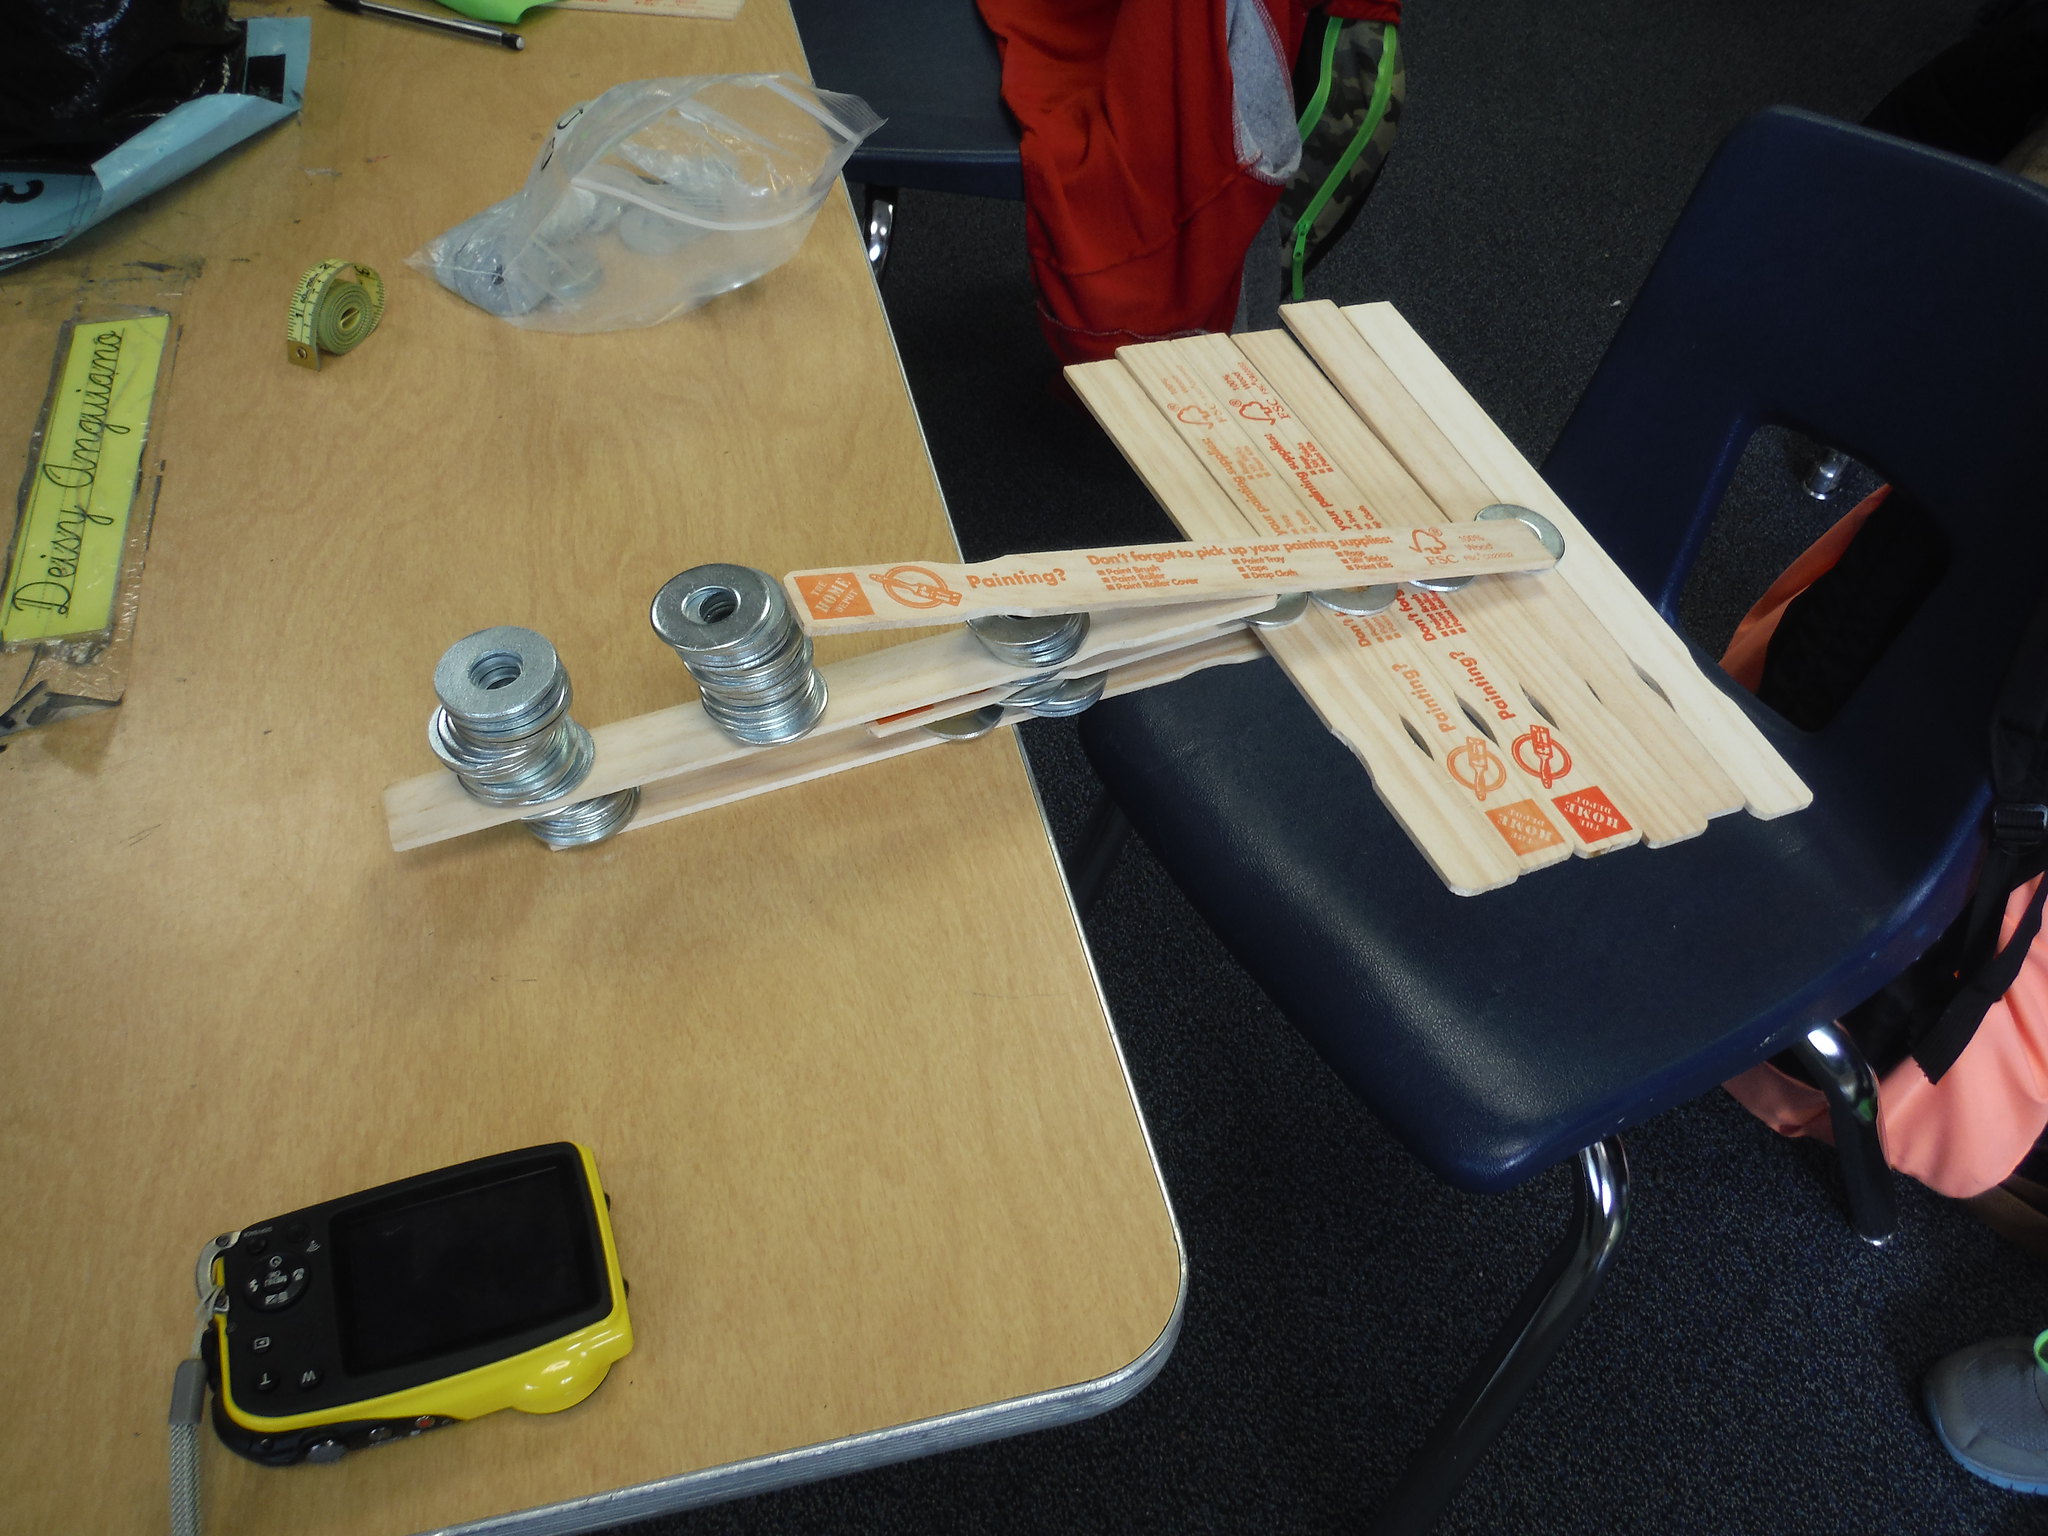
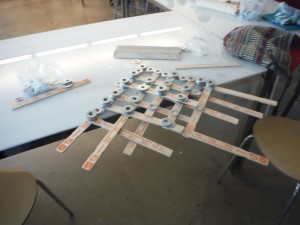
For those of you that have been in my trainings or read about our cantilever spans lessons, and wondered about supplies for them, I recently ordered 100 pounds of washers ( two 50 pound boxes – about 2200 washers total) and 1,000 paint stir sticks (or really as I found out paint “paddles“) and today they came in.
 The washers cost $254.00 ($127 per box) and 1,000 paint paddles printed on one side were $125. (NOTE: blank paddles were about $85 per 1,000). The washers we purchased locally at R&E Fasteners in bulk. The paint paddles we purchased from American Paint Paddle Company.
You don’t need this many for just one class. This is enough washers to make at least 3 class sets of washers – that’s 8 bags of washers per class (1500 grams per bag – around 75-85 washers) 1,000 paint paddles is enough to make 66 sets of 15 per set (That’s enough for 8 classes)
(These numbers are based on 8 groups of 2 – 4 students, per class – so a class of 32)
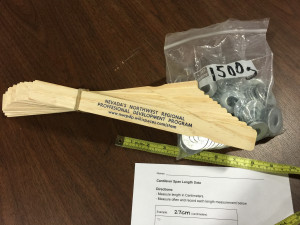
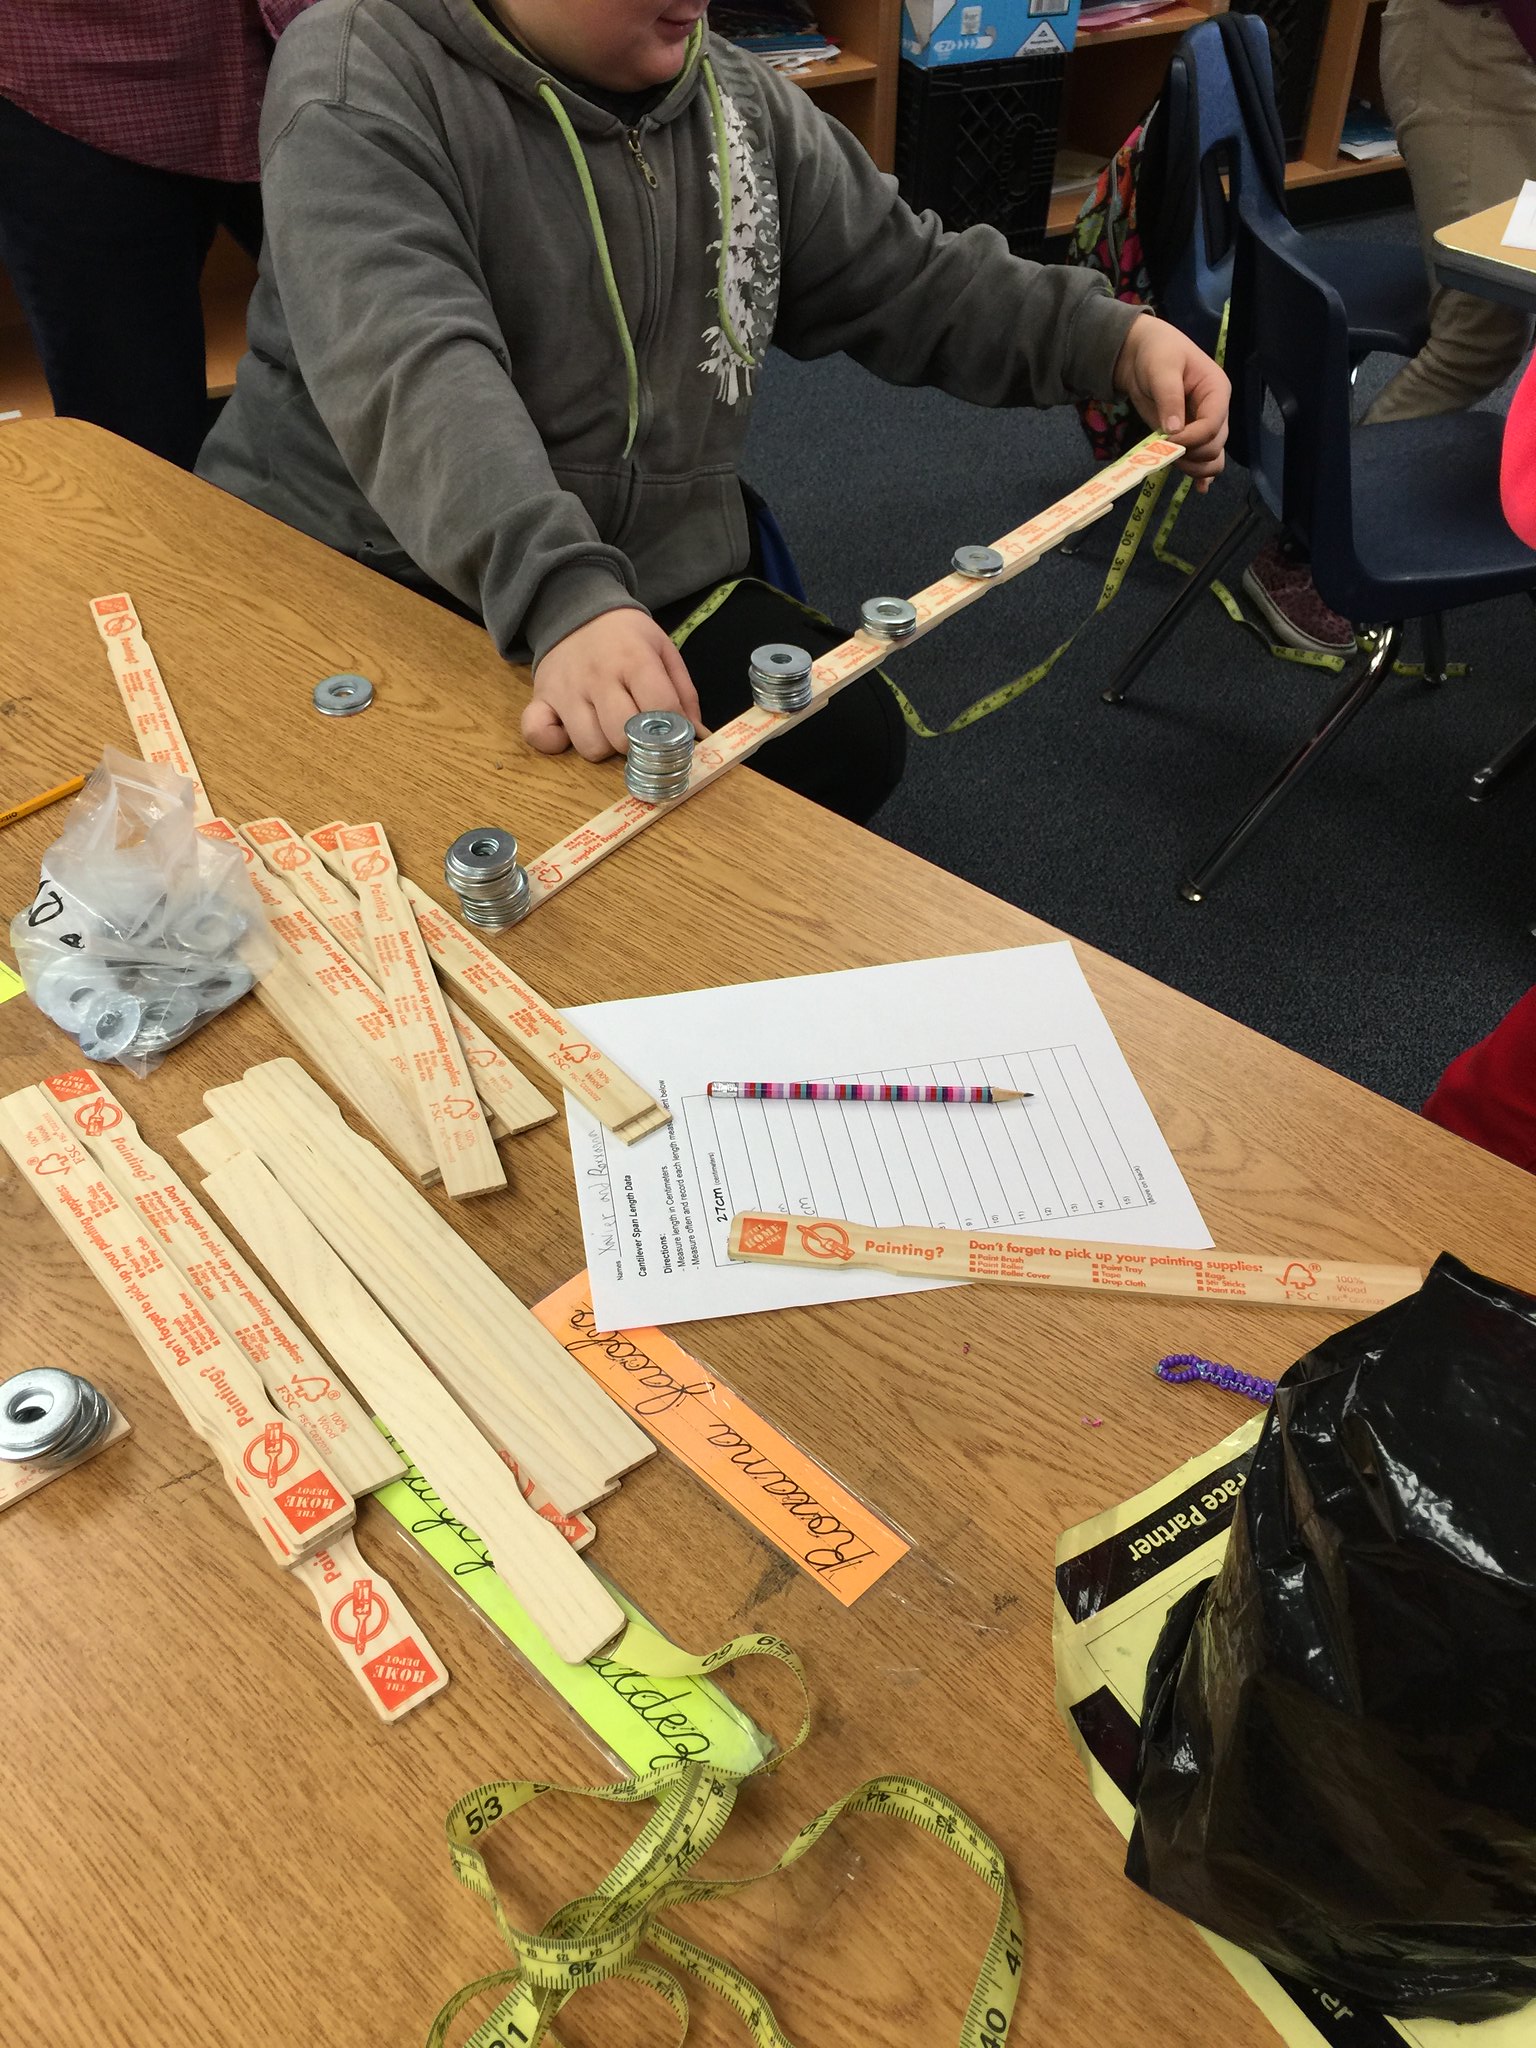
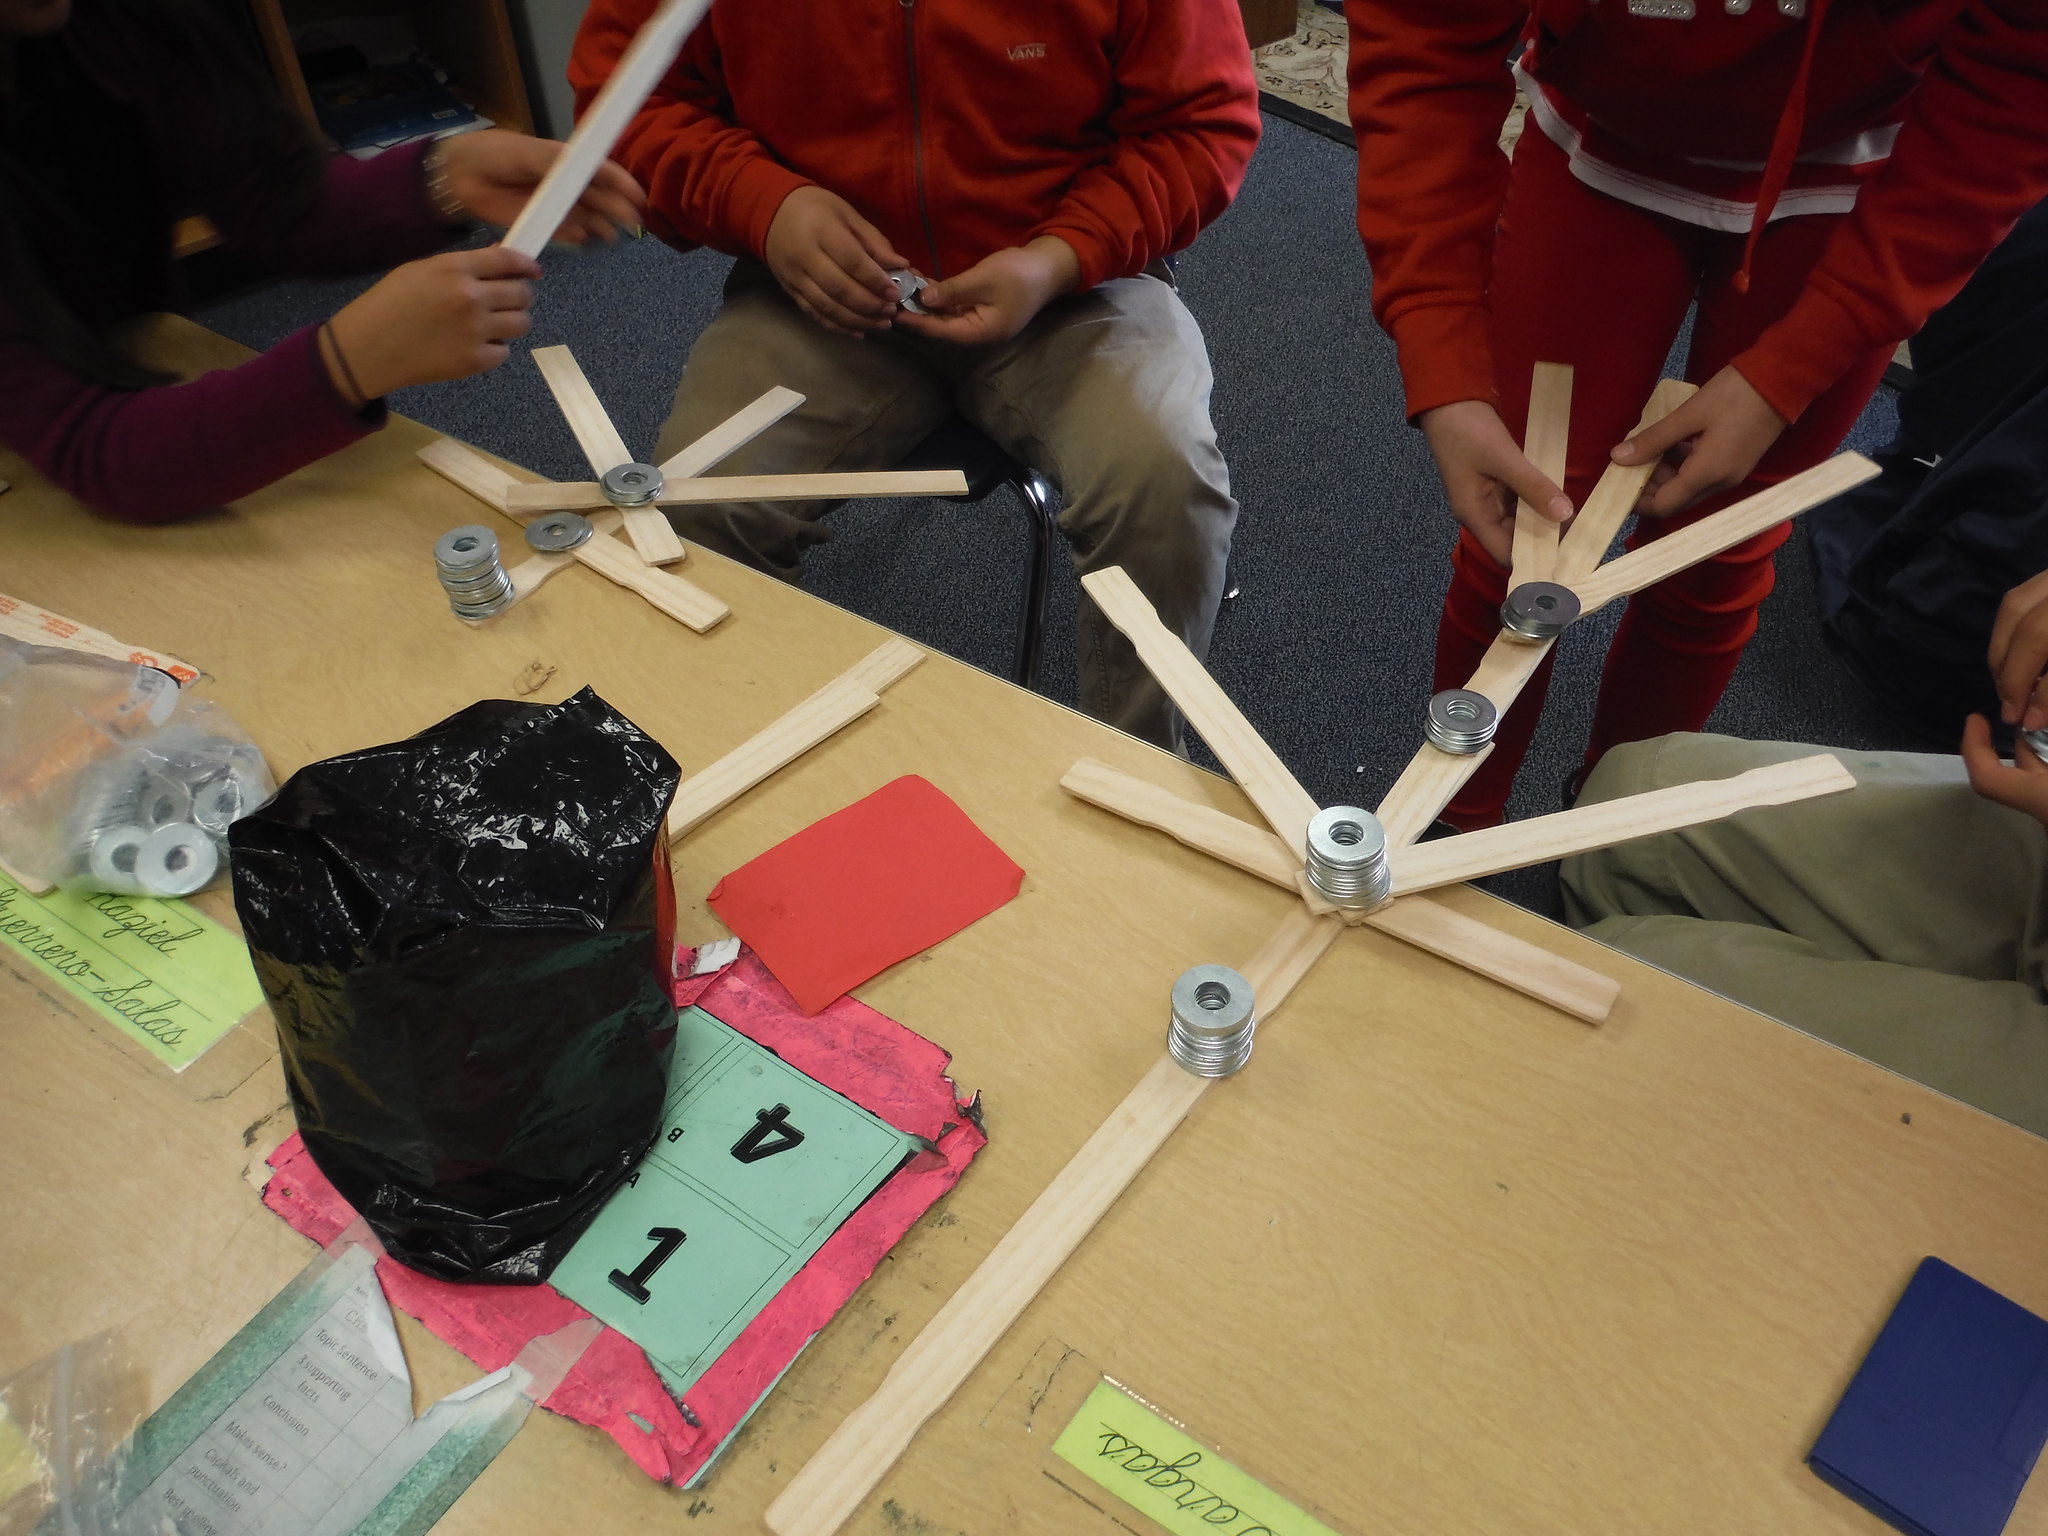
This is a typical set for a group of 2 – 4 students along with a tape measure and data recording sheet to keep track of length measurements. 1500 grams of washers is a usable, general amount, enough to build a structure, but limited enough to encourage re-engineering to strive for more length. However, depending on circumstances, we sometimes allow more to almost unlimited amounts.
(NOTE: In the past we have gotten paint paddles for free from one of the big box hardware stores I won’t mention here (*see bottom of page). Not wanting to count on always being able to get free paint paddles we checked into the cost (see above), which is fairly doable if the free option isn’t available. The materials should last for a long, long time as well, there isn’t a repeated cost every time you do the activity.
The washers are fairly expensive, about 11 cents each if my math is correct, so we are always on the lookout for a free or really cheap alternative. Please share any ideas you might have.
Remember – much more on this lesson available here – cantilever spans lessons.
Learning is messy!
- Home Depot is the place … Lowes, and other stores’ paint paddles tend to be warped, not straight, we’ve tried them all. So you can ask at your local Home Depot – we’ve had success when we explain what we are using them for.
New STEM Lessons / Activities Wiki
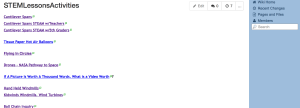
Per request I recently set up a new wiki page as a kind of “clearinghouse” of the different STEM lessons and activities I write about on this blog and elsewhere to make them easier to find. I’ll update it regularly and perhaps add support links for the different lessons as well. There is also a link to the wiki on this blog under the link at the top of this page “STEM Lessons/Activities.”
Learning is messy!
NASA Pathway to Space – Drone Edition
Rockets and High Altitude Ballooning Yet To Come
 I announced the NASA Pathway to Space class for teachers about a month ago:
“Starting next week a team of educators (including me) will be providing a class for local teachers of grades 3rd – 12th which will include hands-on training in building and flying drones, rockets, planes and designing payloads which we will then launch on a high altitude balloon to somewhere between 65,000 to 100,000 feet.”
I mentioned at the time how, along with the training, teachers would receive a drone (UAV) and build and keep another as part of the class. The first 4 classes focused on drones. Not just building and flying them, but on the laws and ethics that teachers and students must take into account in using them.
Below: Kirk Ellern from “AboveNV” explains some of the rules and laws around drone or UAV use. 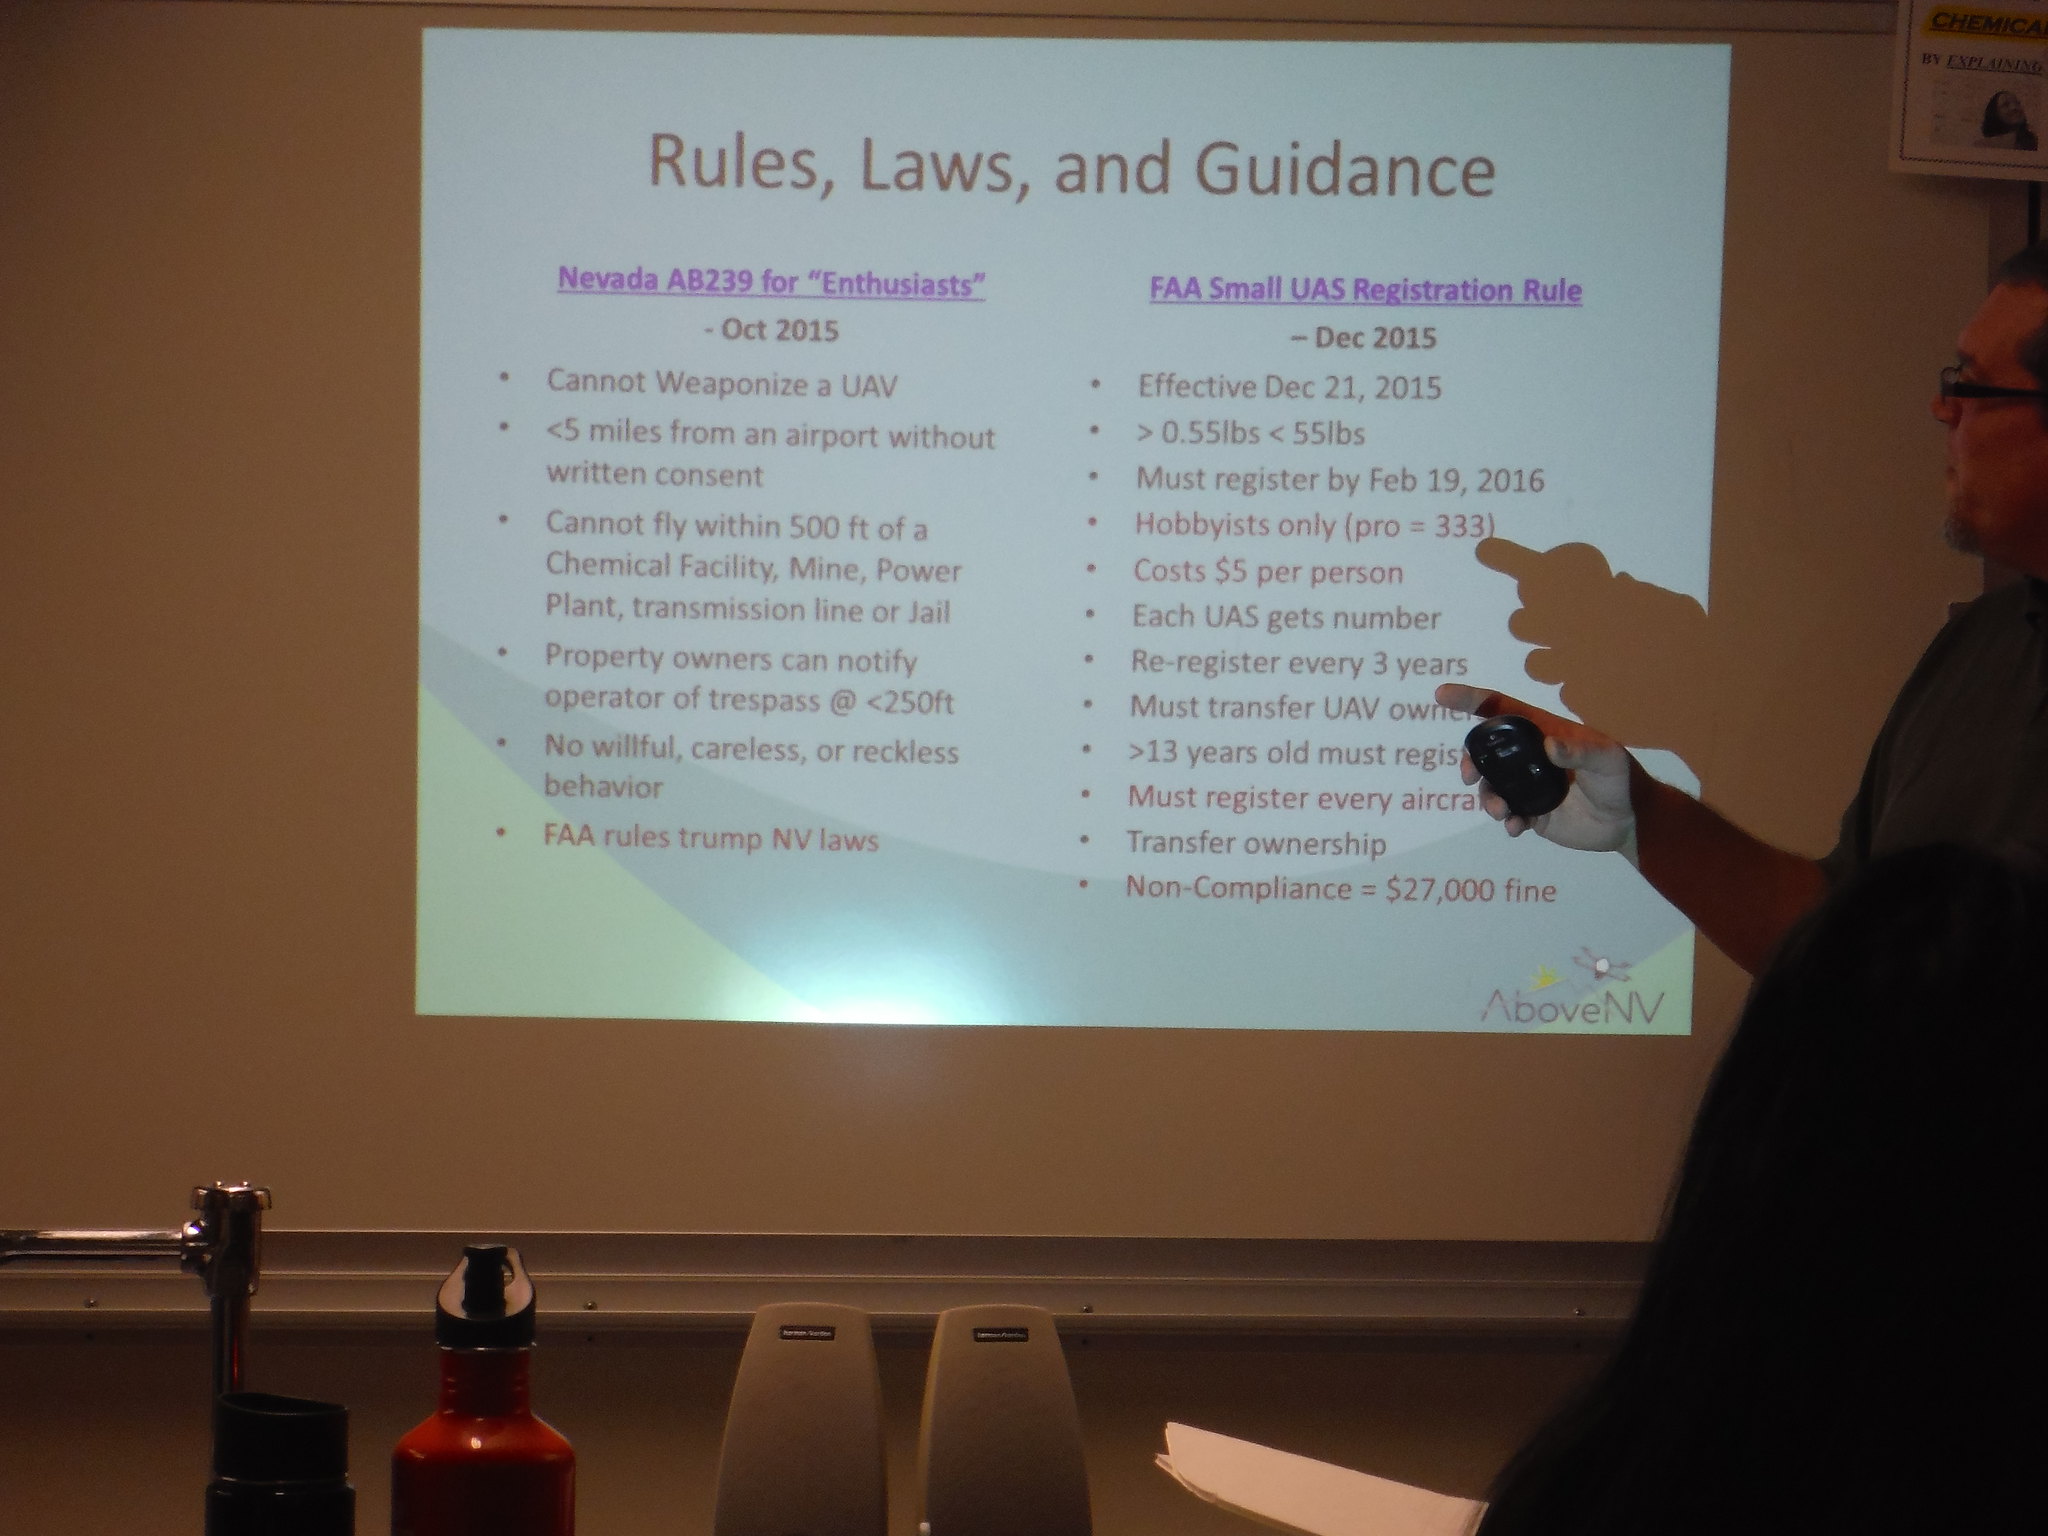
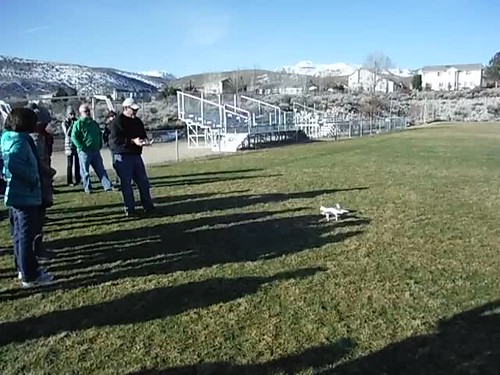
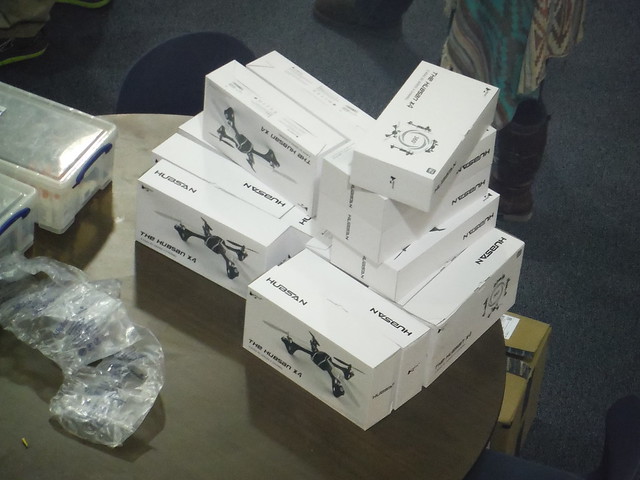
Above: Participants getting the hang of flying their new drones (cost just less than $50 including remote).
Learning to fly the little drones is actually more difficult than the larger ones which is why Kirk Ellern and Rob Dunbar from AboveNV suggested using them. “If you can control one of these little fairly indestructible guys, piloting the larger ones is relatively easy.”
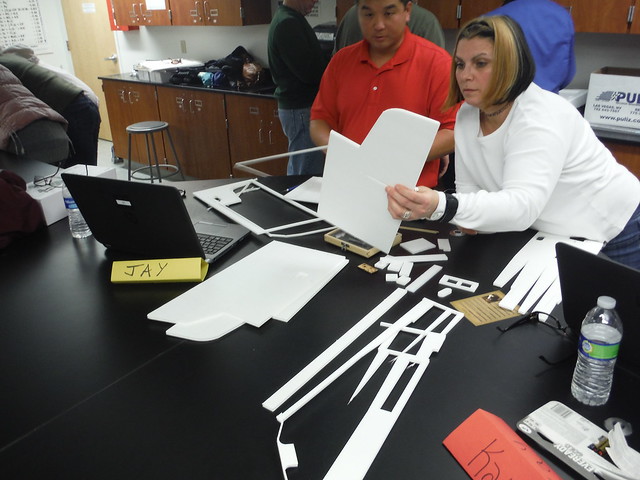
Next, each participant built a “chuck” plane from a kit – so named because you throw or “chuck” it to make it airborne. However, these planes are designed to have a motor, remote control and more added to them if one wishes to do so.
Teachers building their planes, YouTube videos demonstrate each step of the building process.
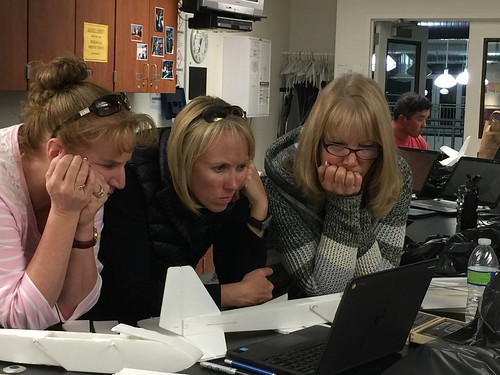
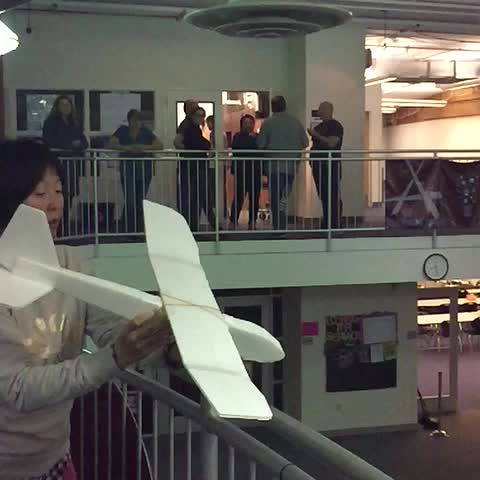
Above: A first flight
So they’d be ready to fly larger drones they were given time with flight simulator software.
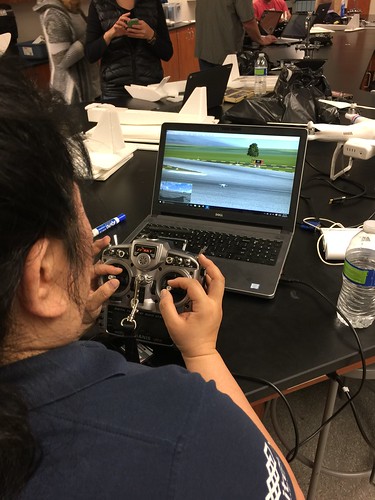
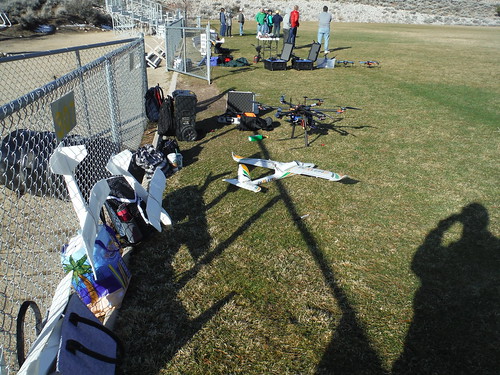
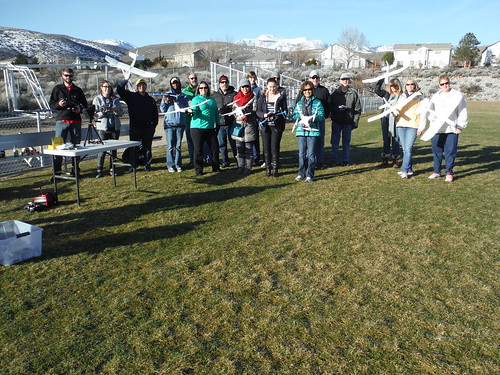
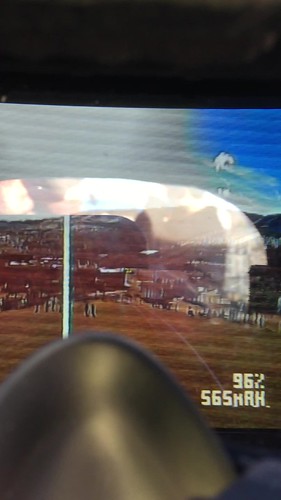
We designed this class so that we meet on 2 to 3 Tuesday evenings to learn about and build drones, rockets, balloon payloads and then on a Saturday to fly what we’ve learned about and built. We were ready now for our “Drone Saturday” – so we met on a soccer field at a local high school and thanks to “AboveNV” and friends bringing multiple drones of all sizes we learned about and flew drones for hours. This included flying some while wearing goggles that see through a camera on the drone, so you are flying the drone like you are onboard.
We really lucked out in that there was not a puff of wind all morning which made it easy to fly all the different sizes and types of UAV’s (Unmanned Aerial Vehicle) we had available. Here’s a link to all the photos from our “Drone Saturday.”
Up next is rockets!
Learning is messy!
Flying In Circles
STEM
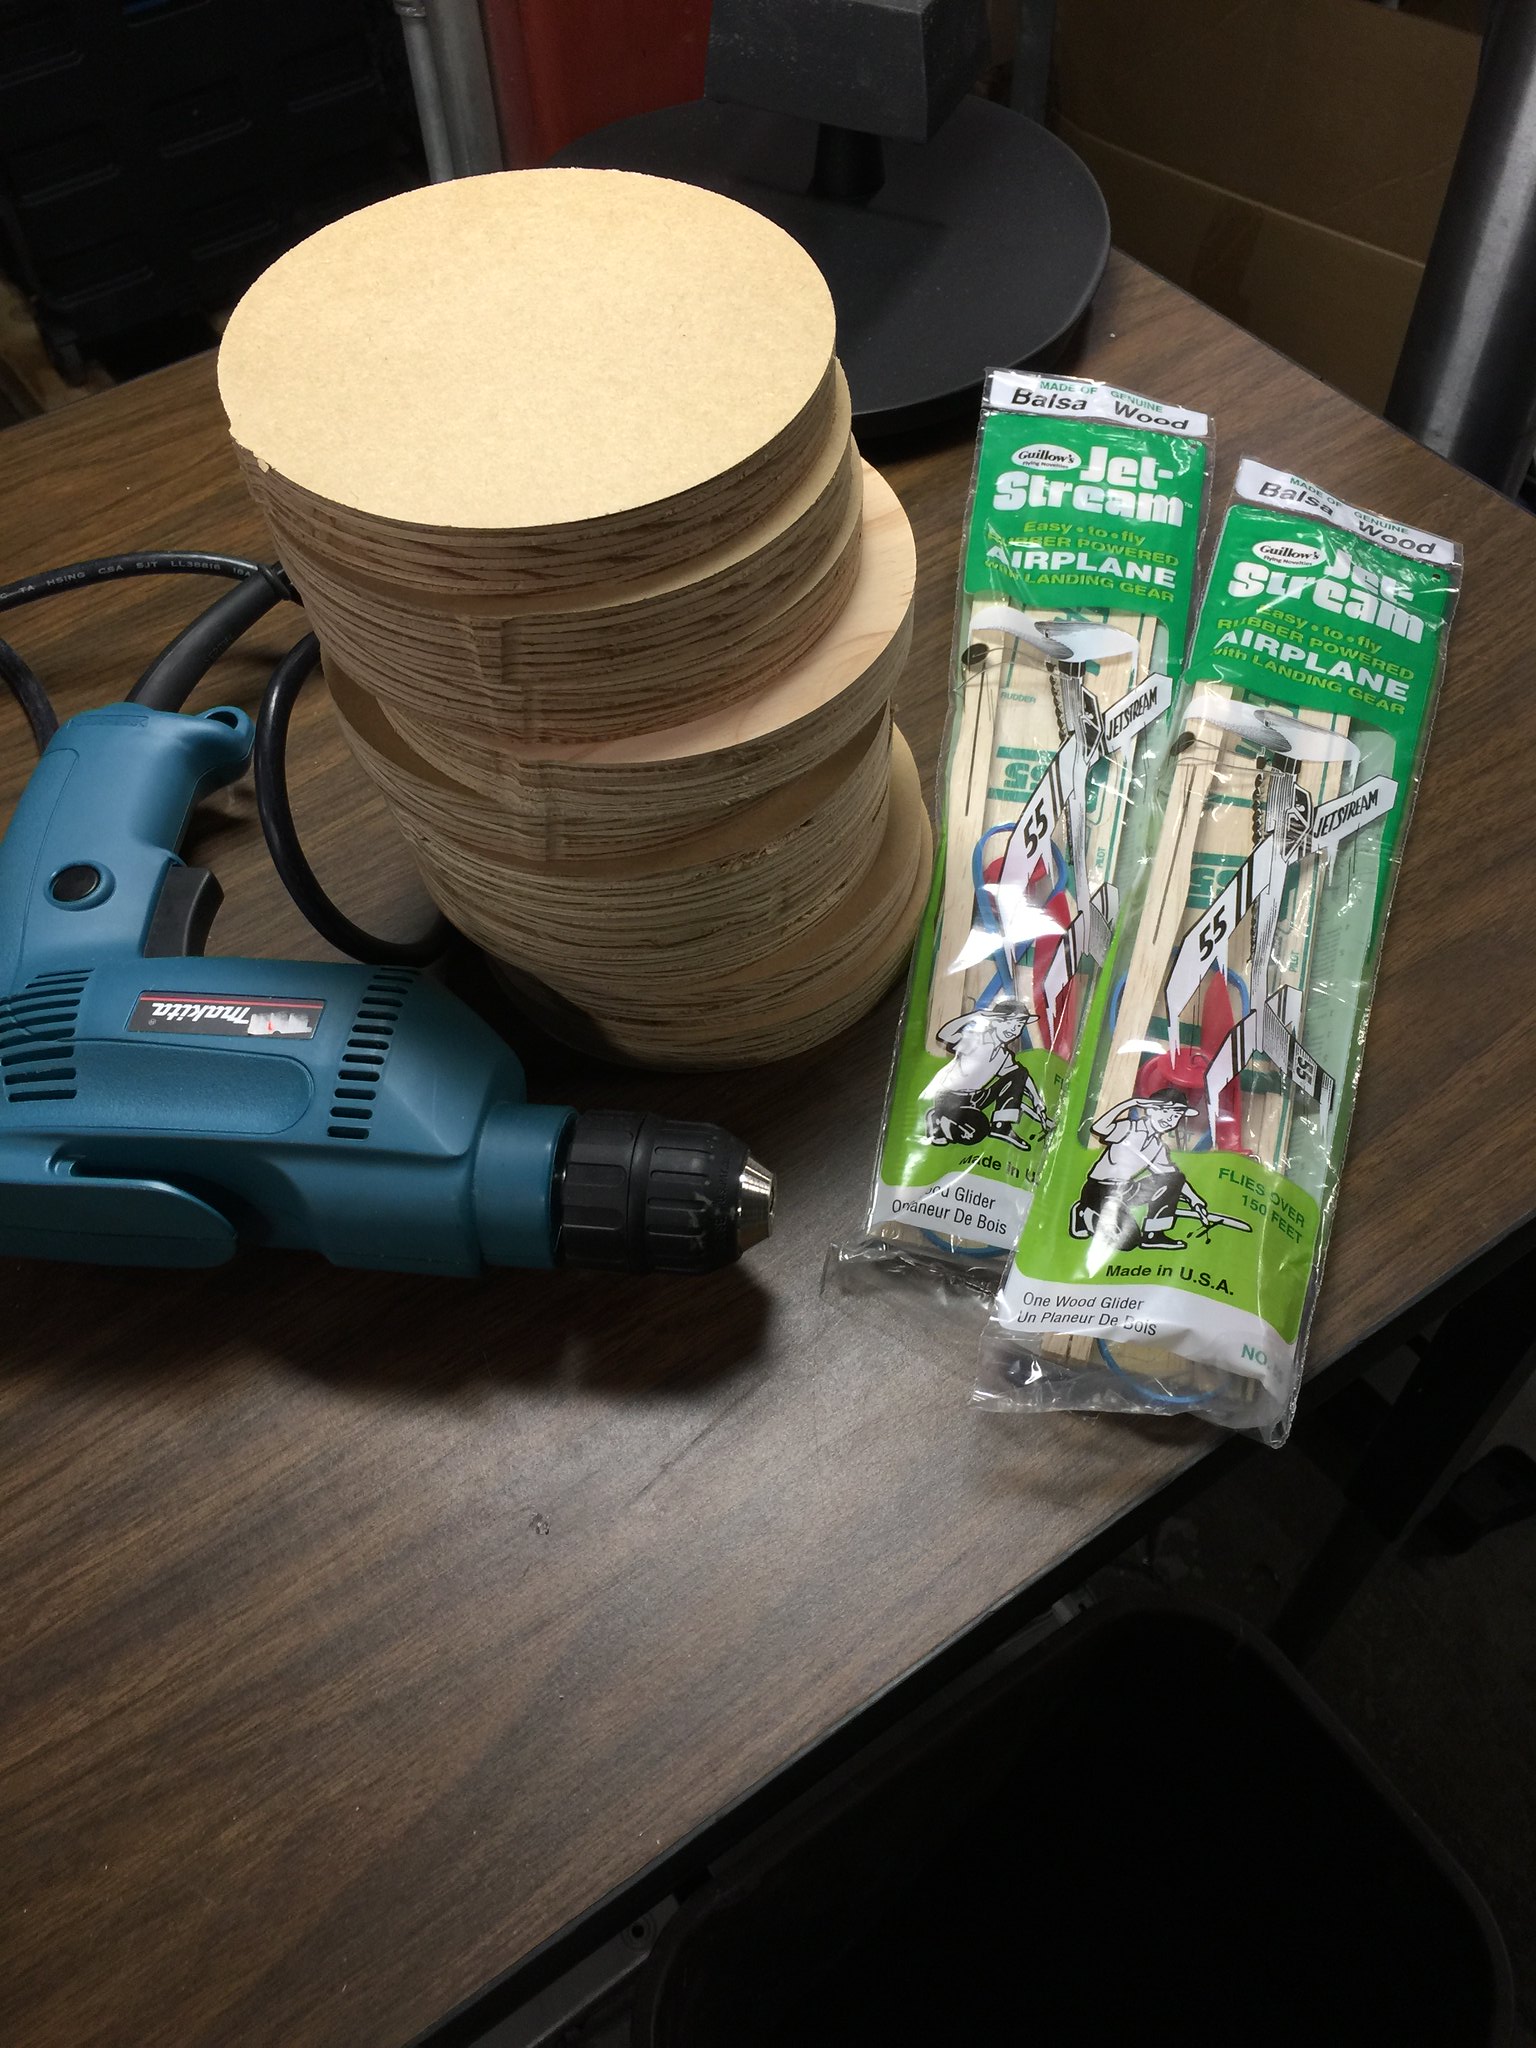
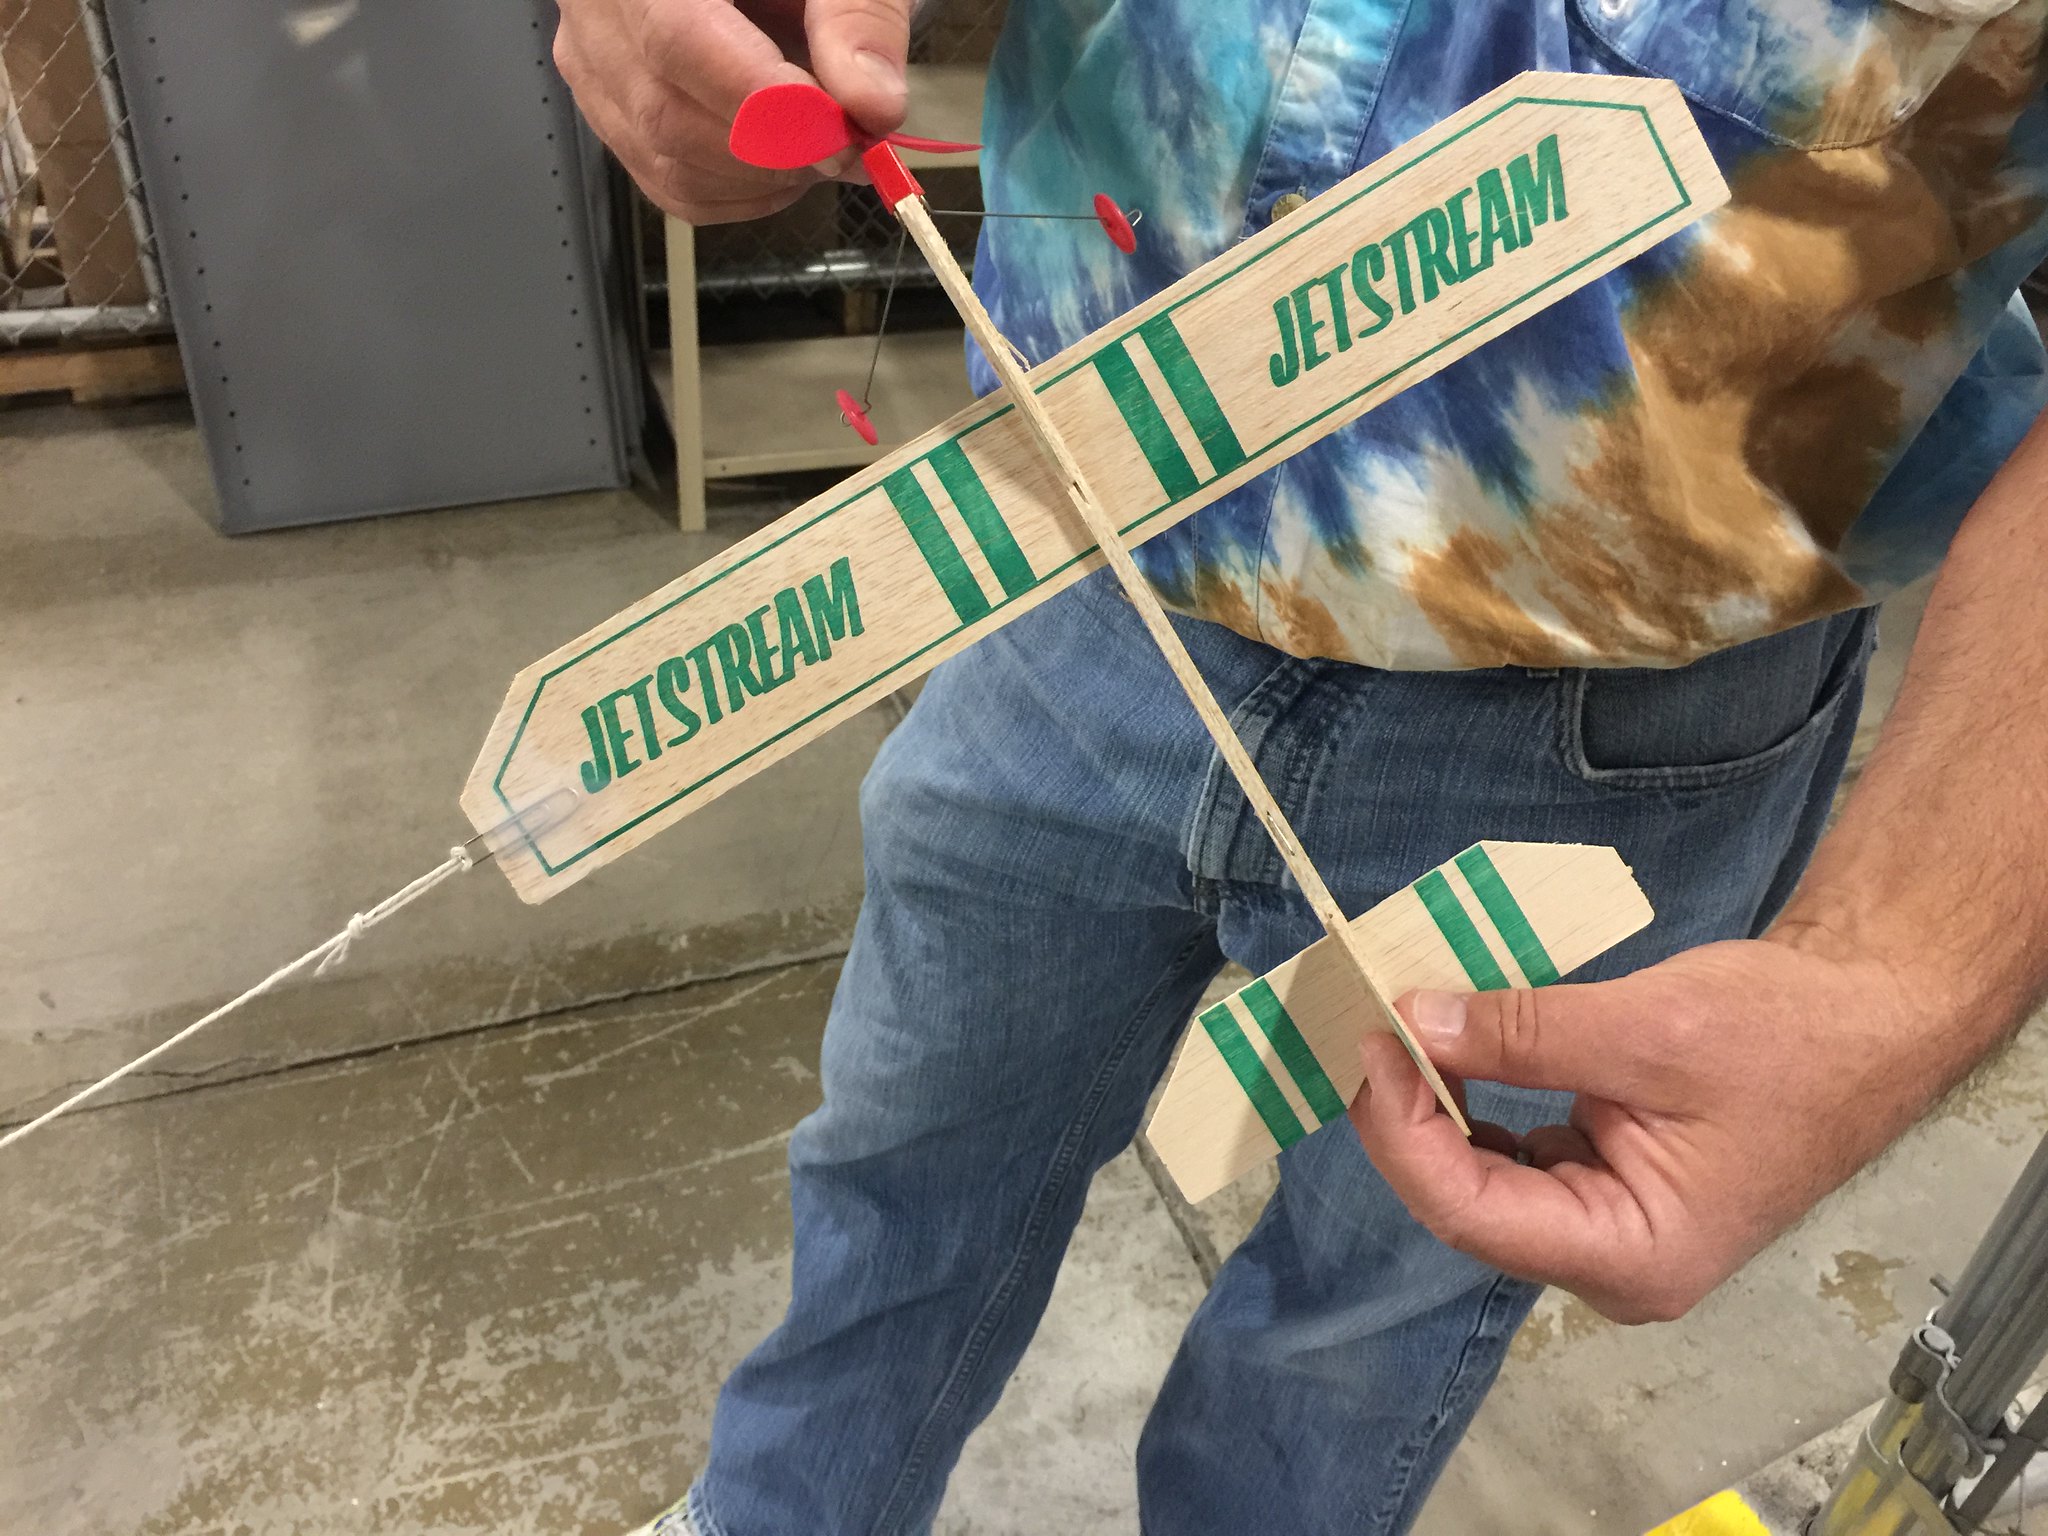
Last year at the NSTA STEM Forum in Minneapolis, we saw Art Ellis demonstrate this great flying inquiry lesson using inexpensive store bought balsa wood model planes … you know, the kind you may have had as a kid. Art gave us his blessing to share the lesson … so once we got the chance … well here it is!
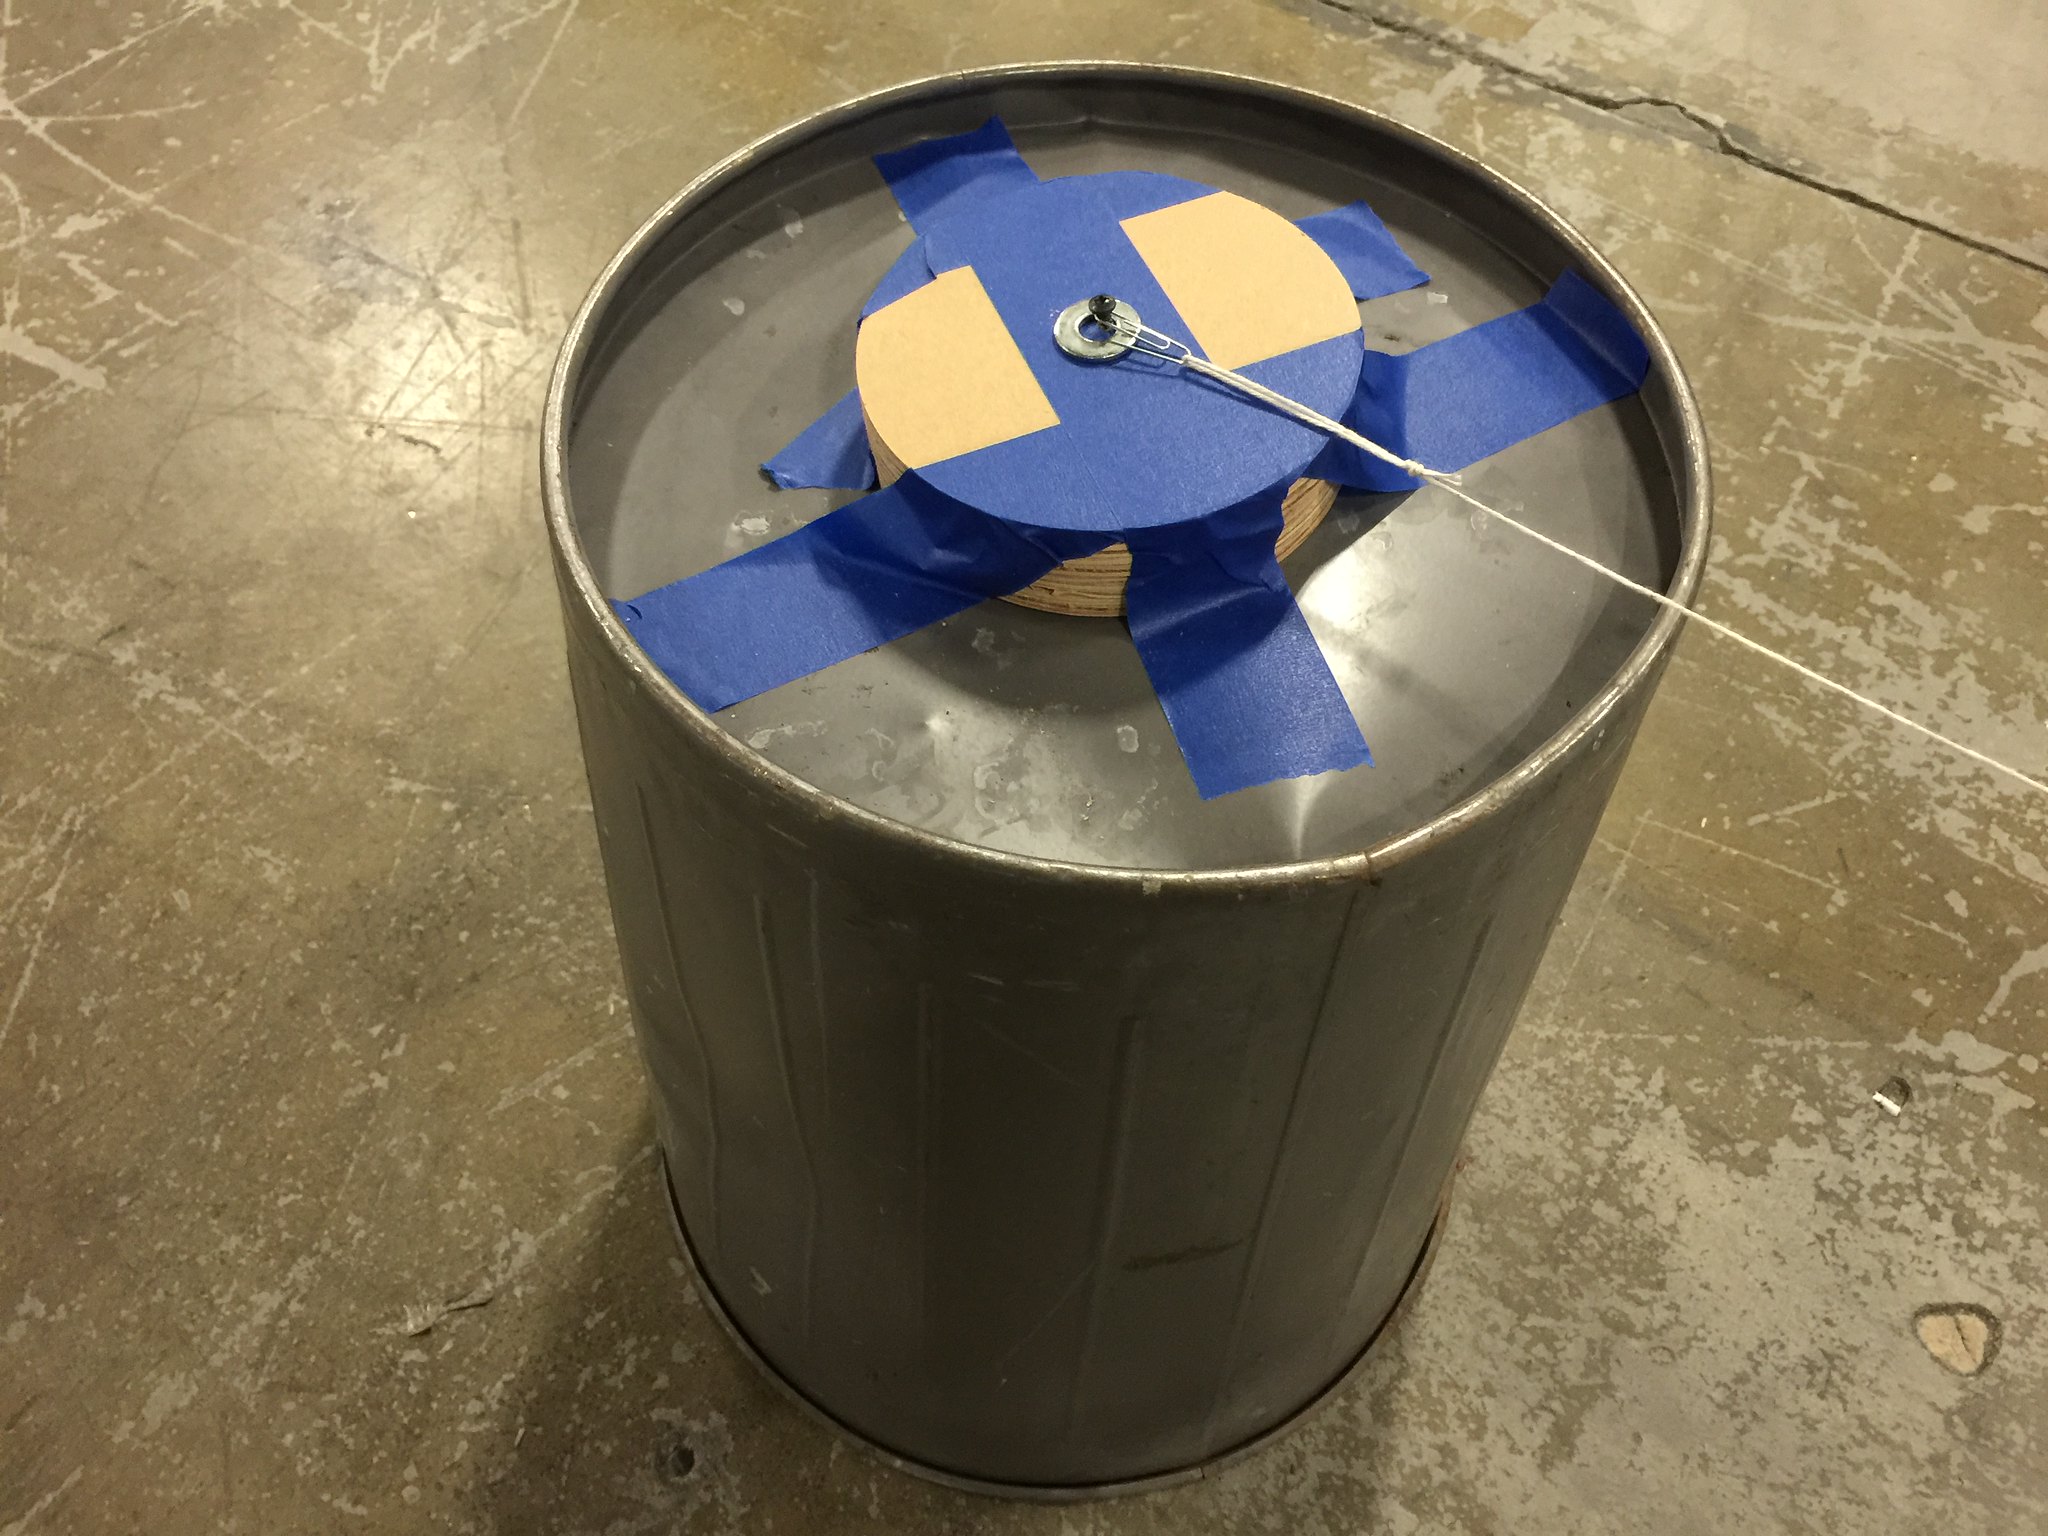
We also used a plastic bucket from a hardware store (about $2.75), a wood block (about 4 x 4 inches – 1 to 2 inches thick – we actually used round ones we got as scrap), a washer about the size of a quarter, a few small paper clips and 1 OR 2 meters of thin string. 1 meter, if like us, we were flying in a narrow hallway, 2 meters if you have a larger space to fly in.
We screwed the block of wood to the top of an overturned 5 gallon plastic bucket (photo below is of metal can we tried things out on) the quarter sized washer. Next we tied a loop in each end of the string and attached one of the paper clips to each end. (add about 15 centimeters to the length of the string to take into account making the loops on each end – try to get the length as close to exactly 1 or 2 meters as possible)
Following the directions printed on the plane’s package assemble your plane.
Then attach The other end of the string to the wing by taping the paper clip to the wing.
Then put about 125 winds on the rubber band, set it on the ground and the result is the video this post started with.
Because you know the length of the string you know the radius of the circle it flies. Therefore students can figure out length of flight. During flight the number of circles it completes can be counted and adjustments can be made (engineering) to the plane and how the rubber band is wound to achieve a longer flight. Using a stopwatch the amount of time the plane is airborne can be checked and again with adjustments a longer time airborne is the goal.
In addition students can add components using tape and other materials attached to the wing and tail edges to experiment with how they can control the flight.
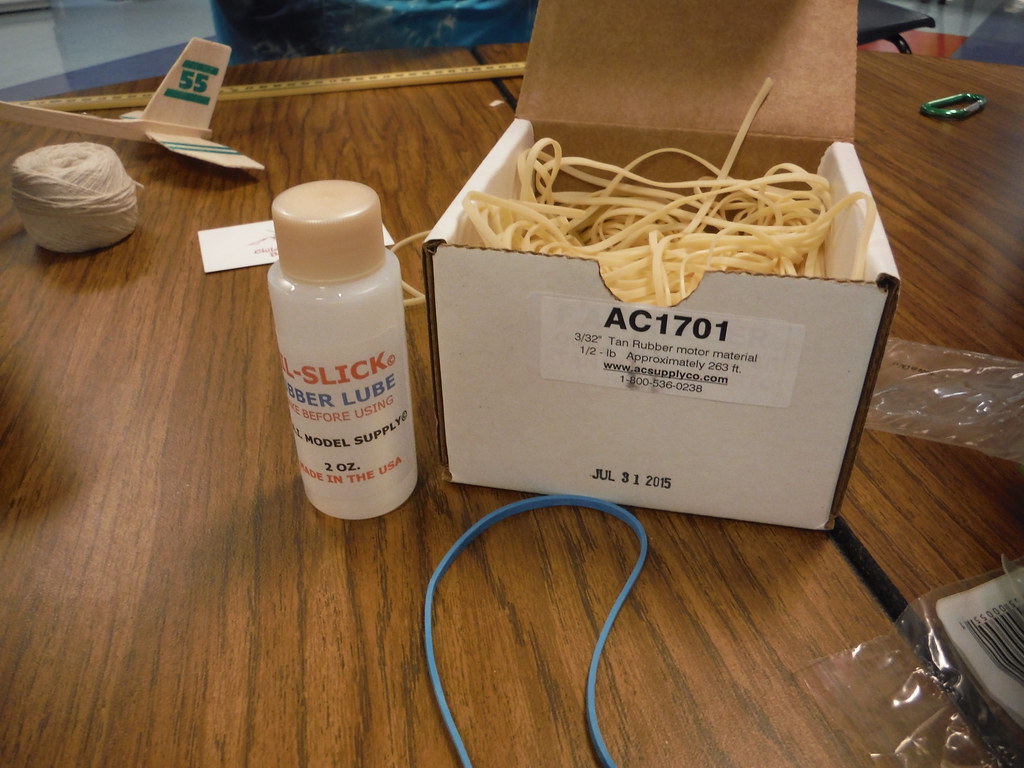
Next you can purchase material to make your own higher strength rubber bands that can be wound many more times to add length and speed to flights.
We’re just getting started with this inquiry activity … we presented it to teachers a few weeks back and they loved it. As we gain more experience I’ll pass along new learning possibilities.
Learning is messy!
As Promised …. Cantilevers With Students
STEM and STEAM
In my last post, where I tried out including an art component to this powerful engineering problem with cantilevers on teachers, I explained that as soon as I could try it out with students I would get back about how it worked. Fortunately one of the teachers in that training volunteered his class.
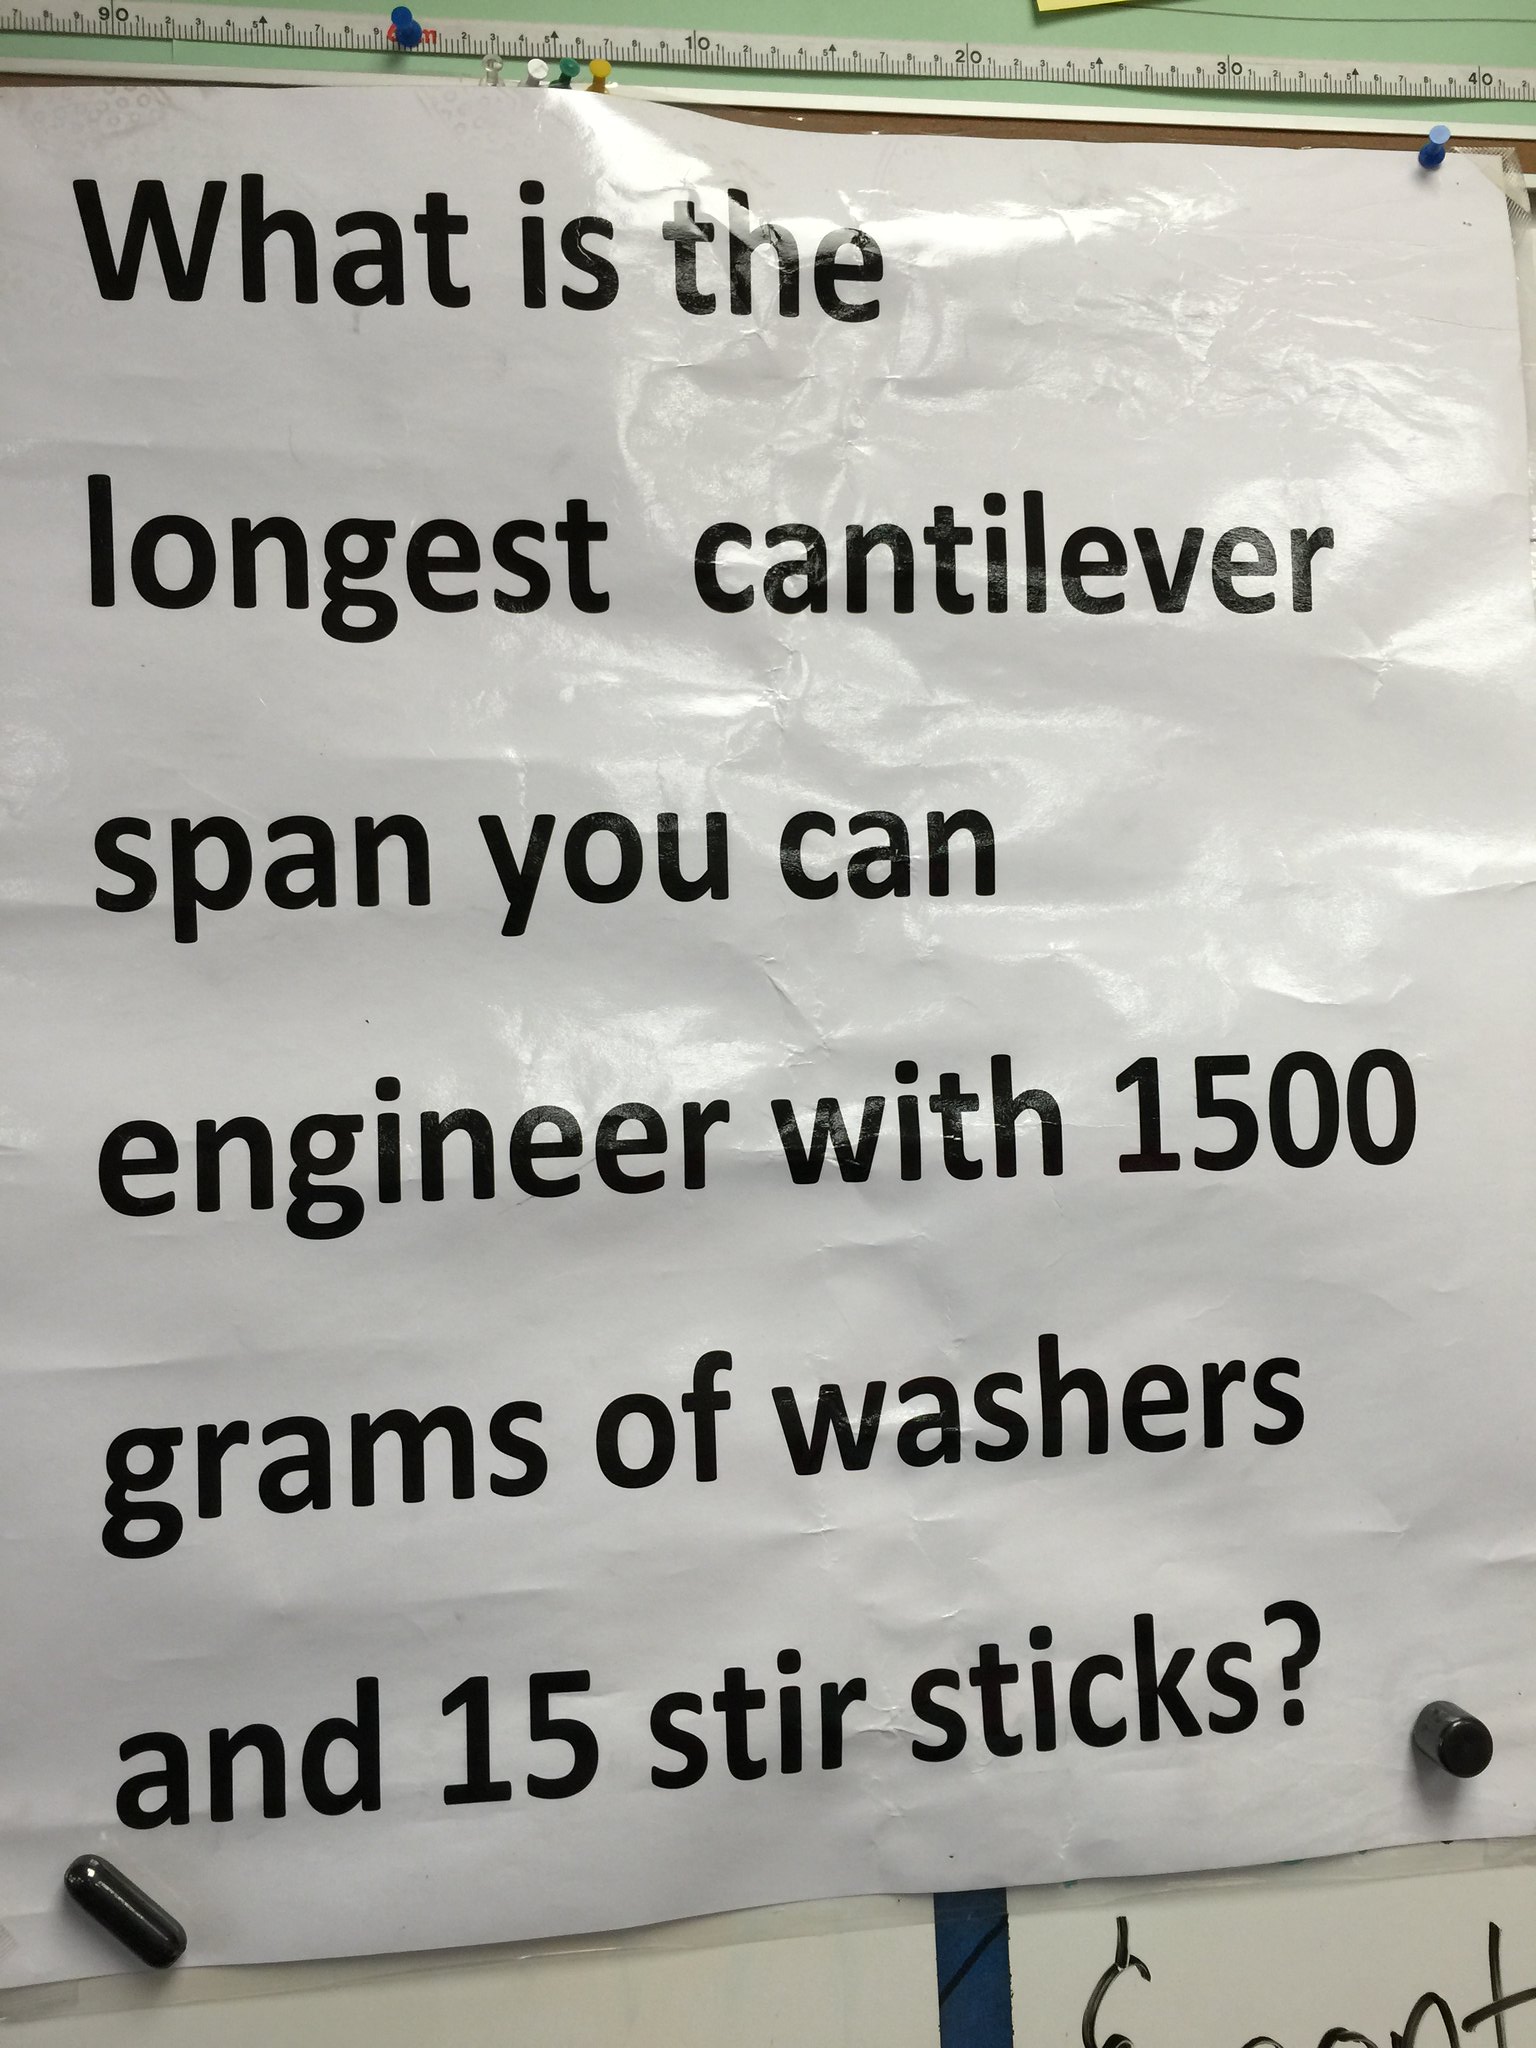
The first challenge 5th grade students received today in Dan Scurlock’s class is seen to the right:
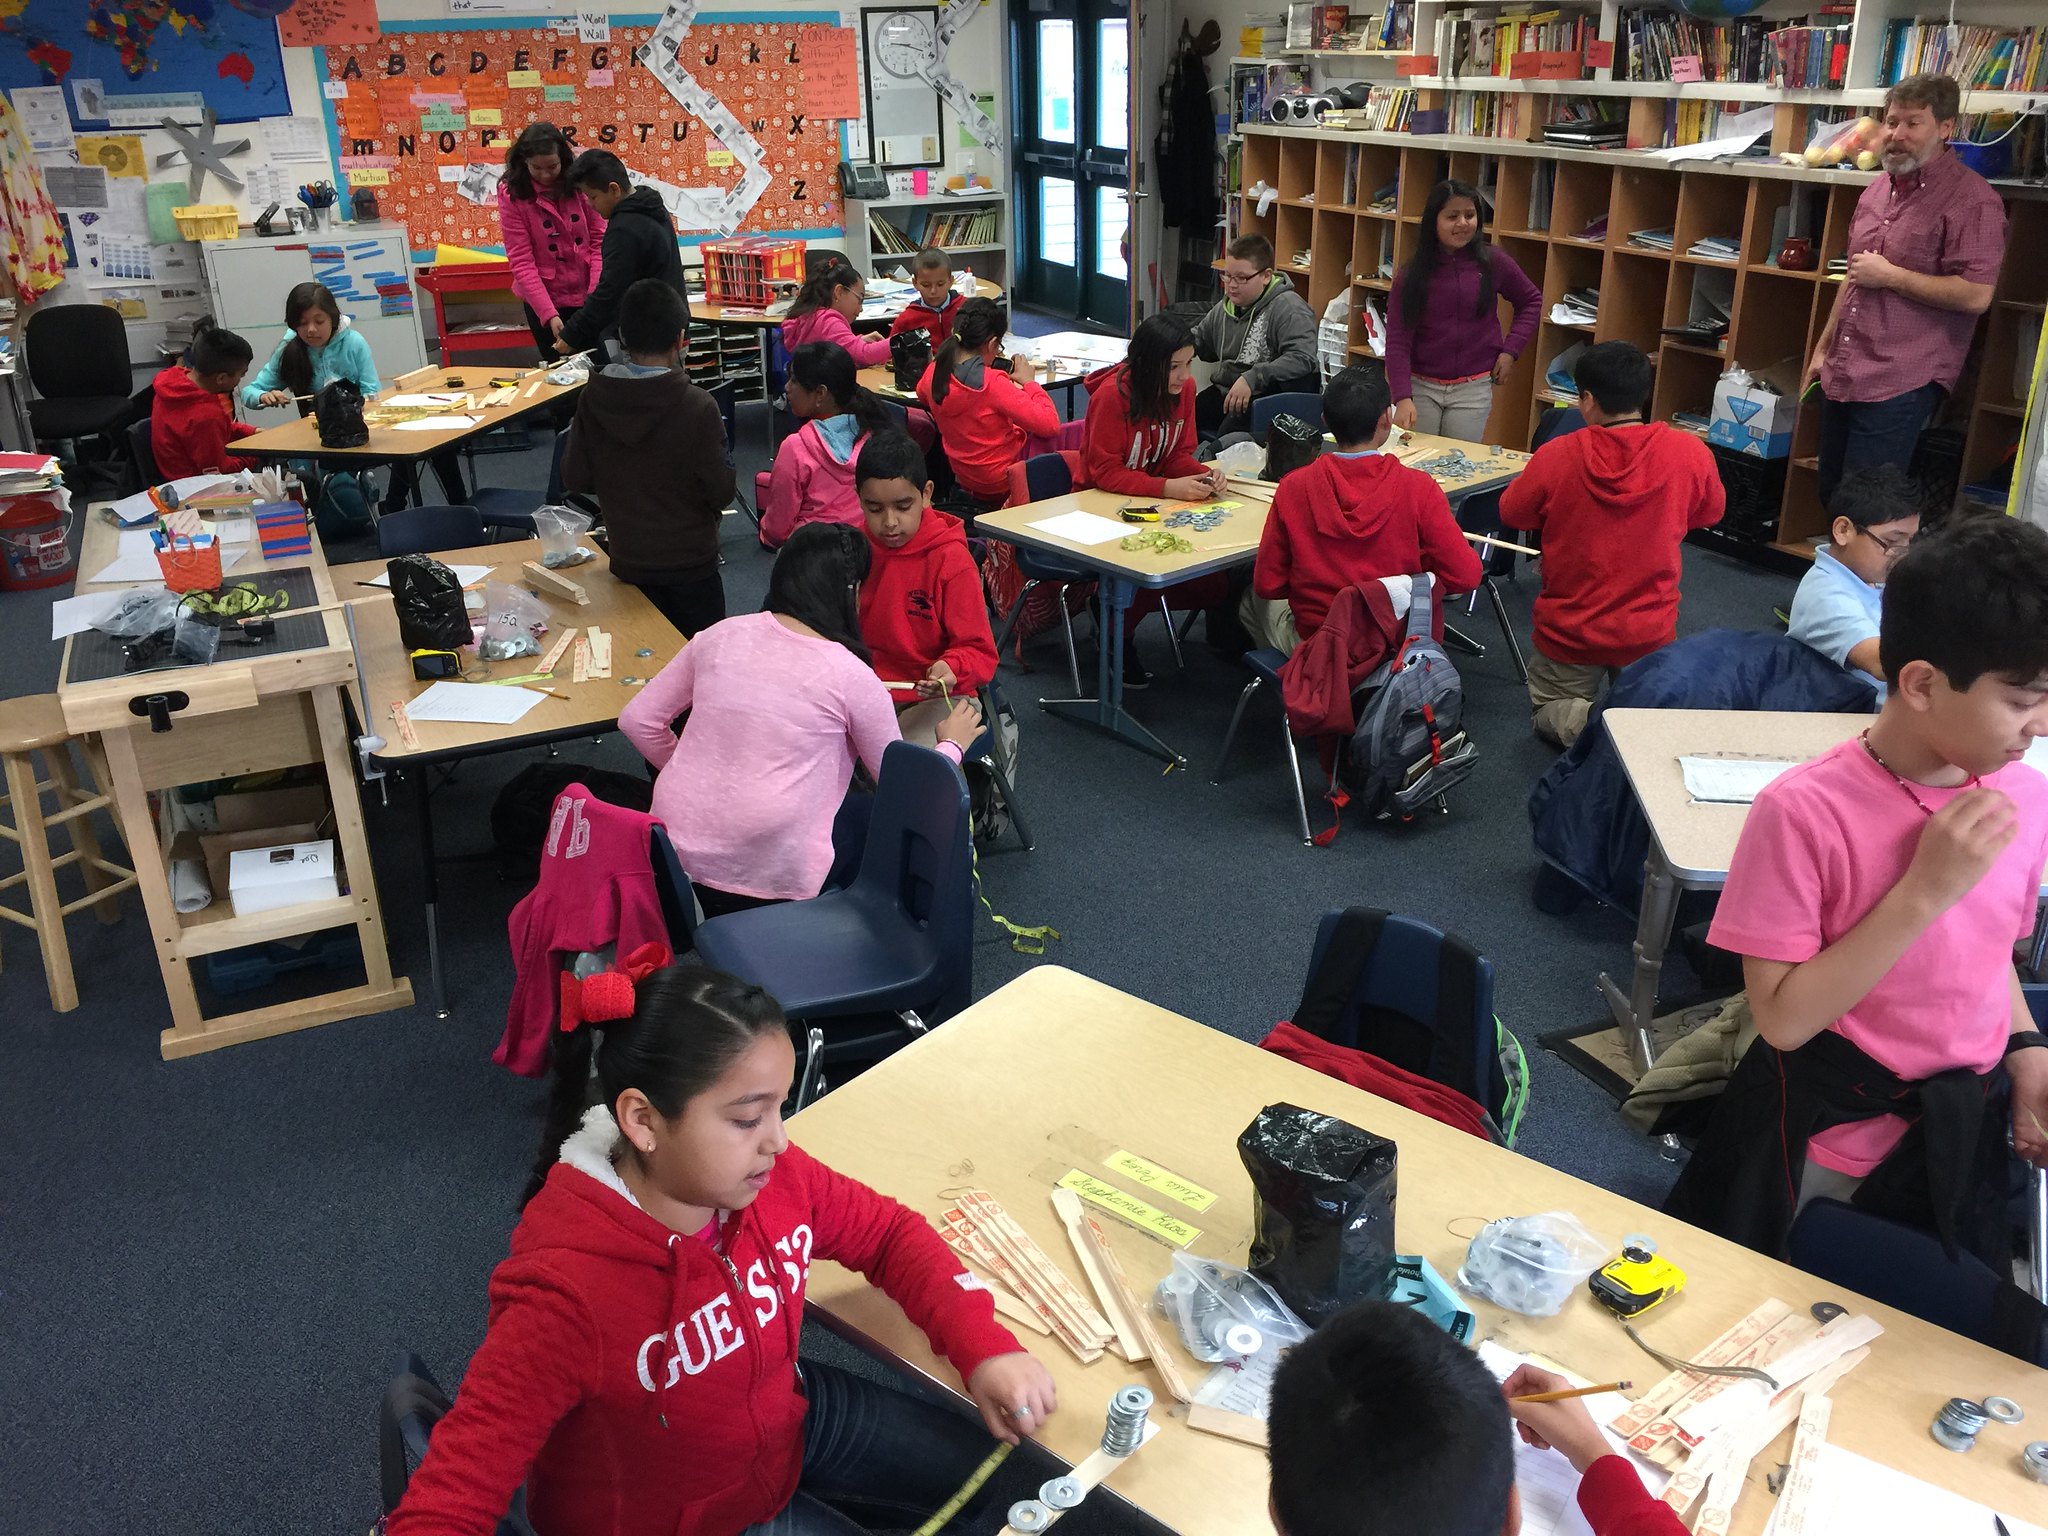
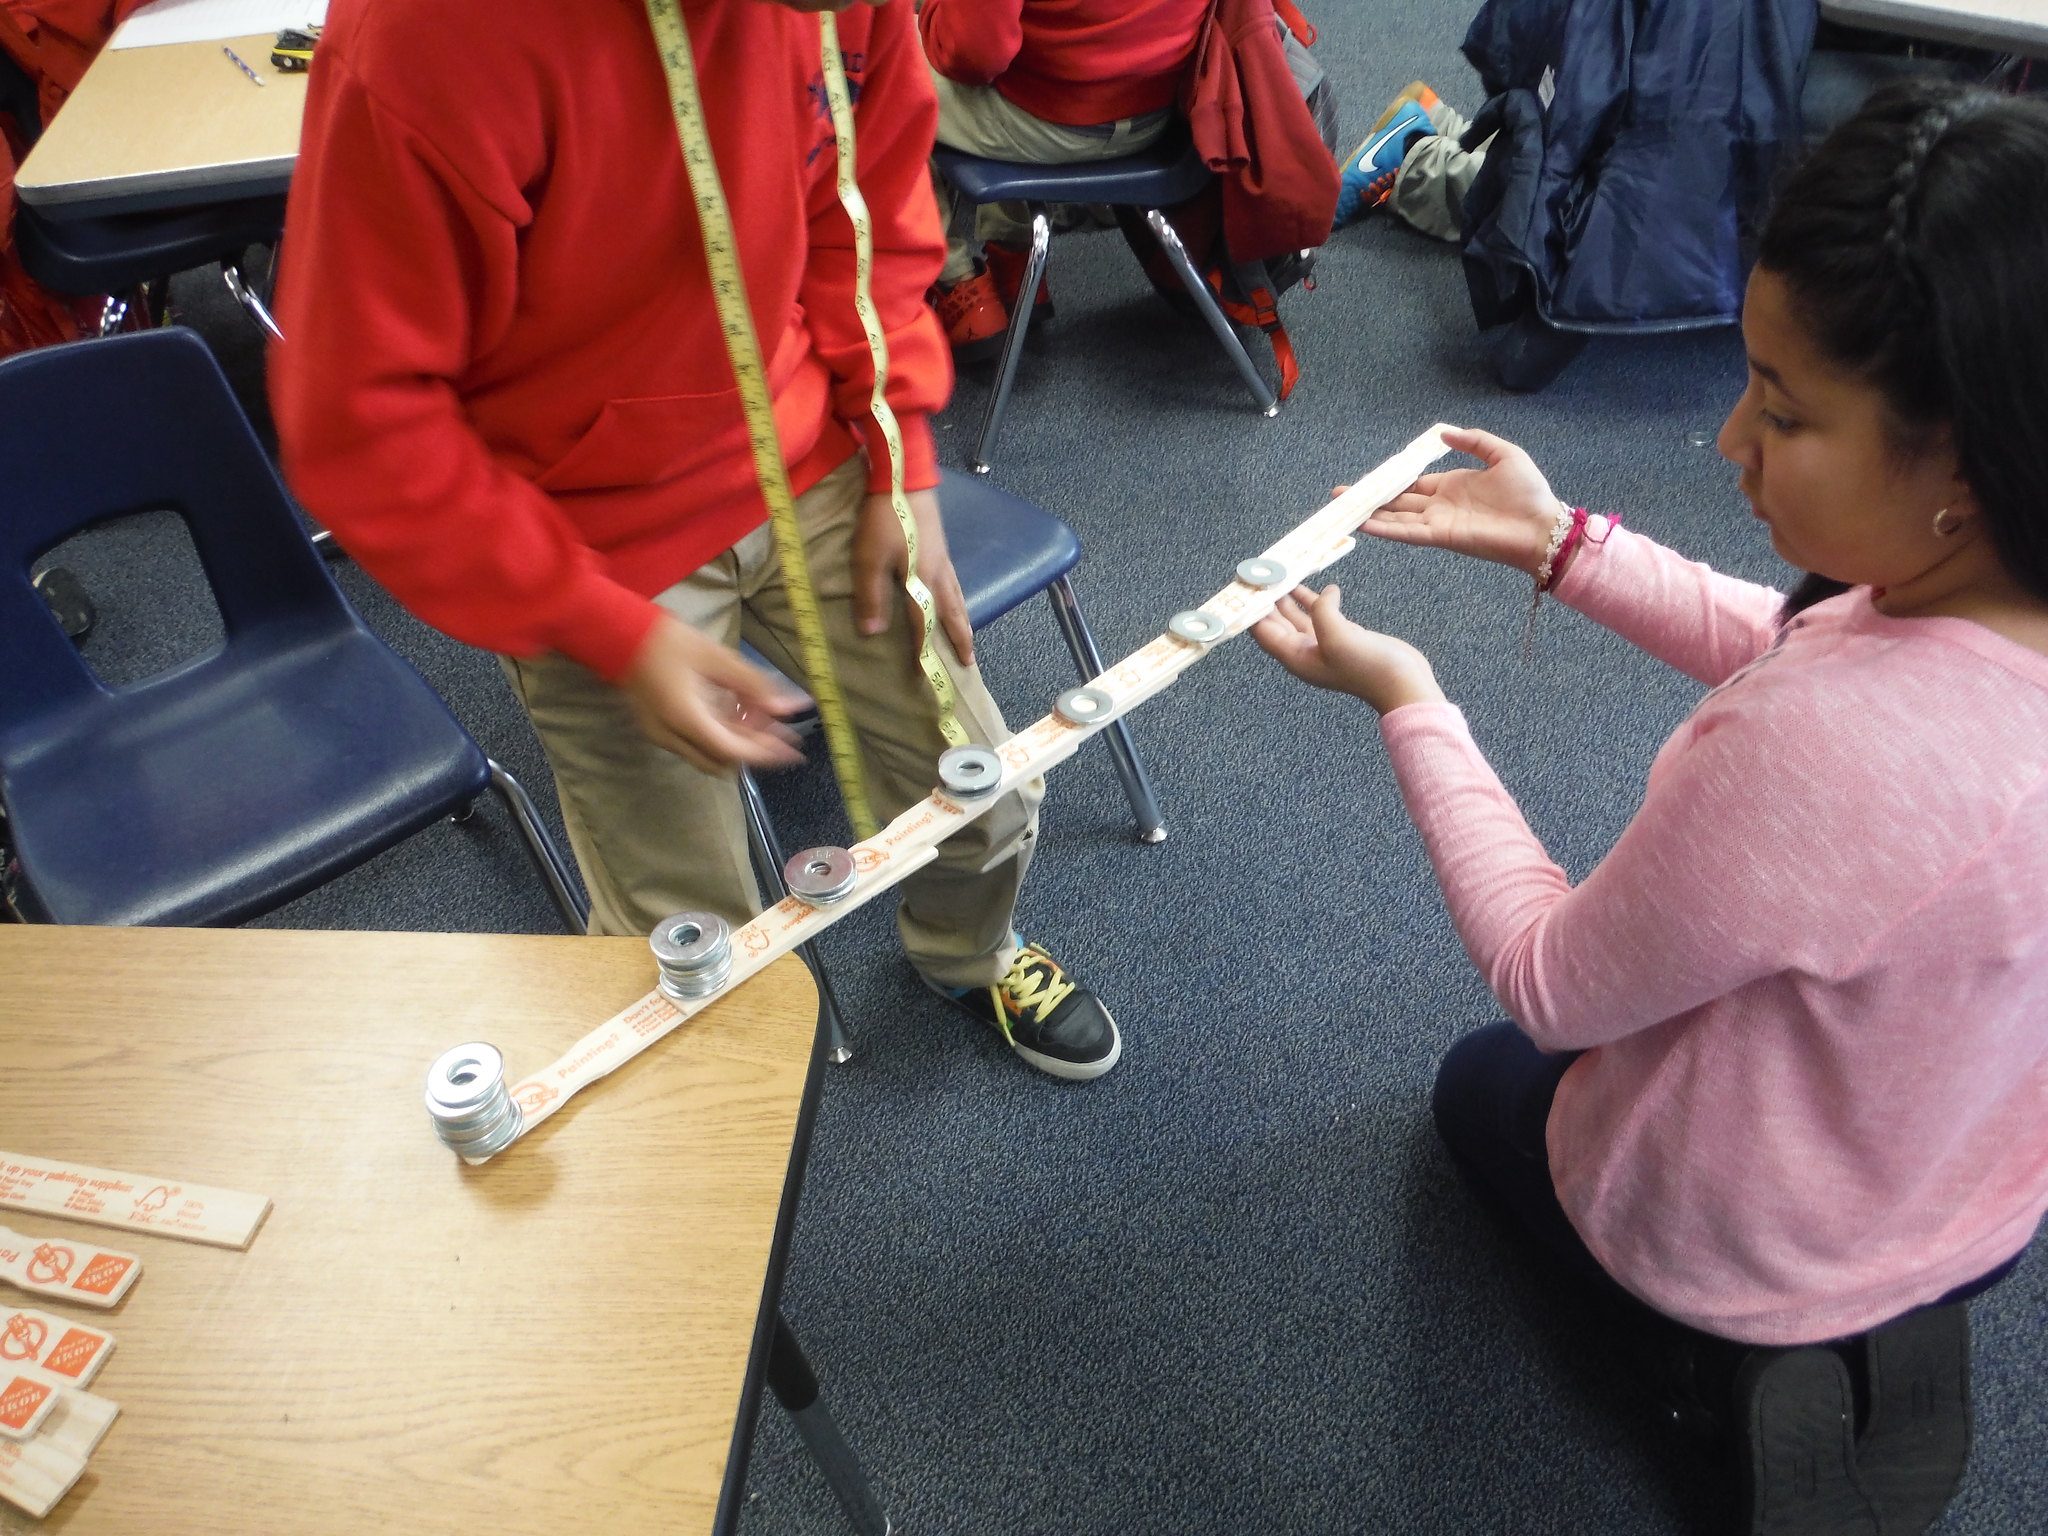
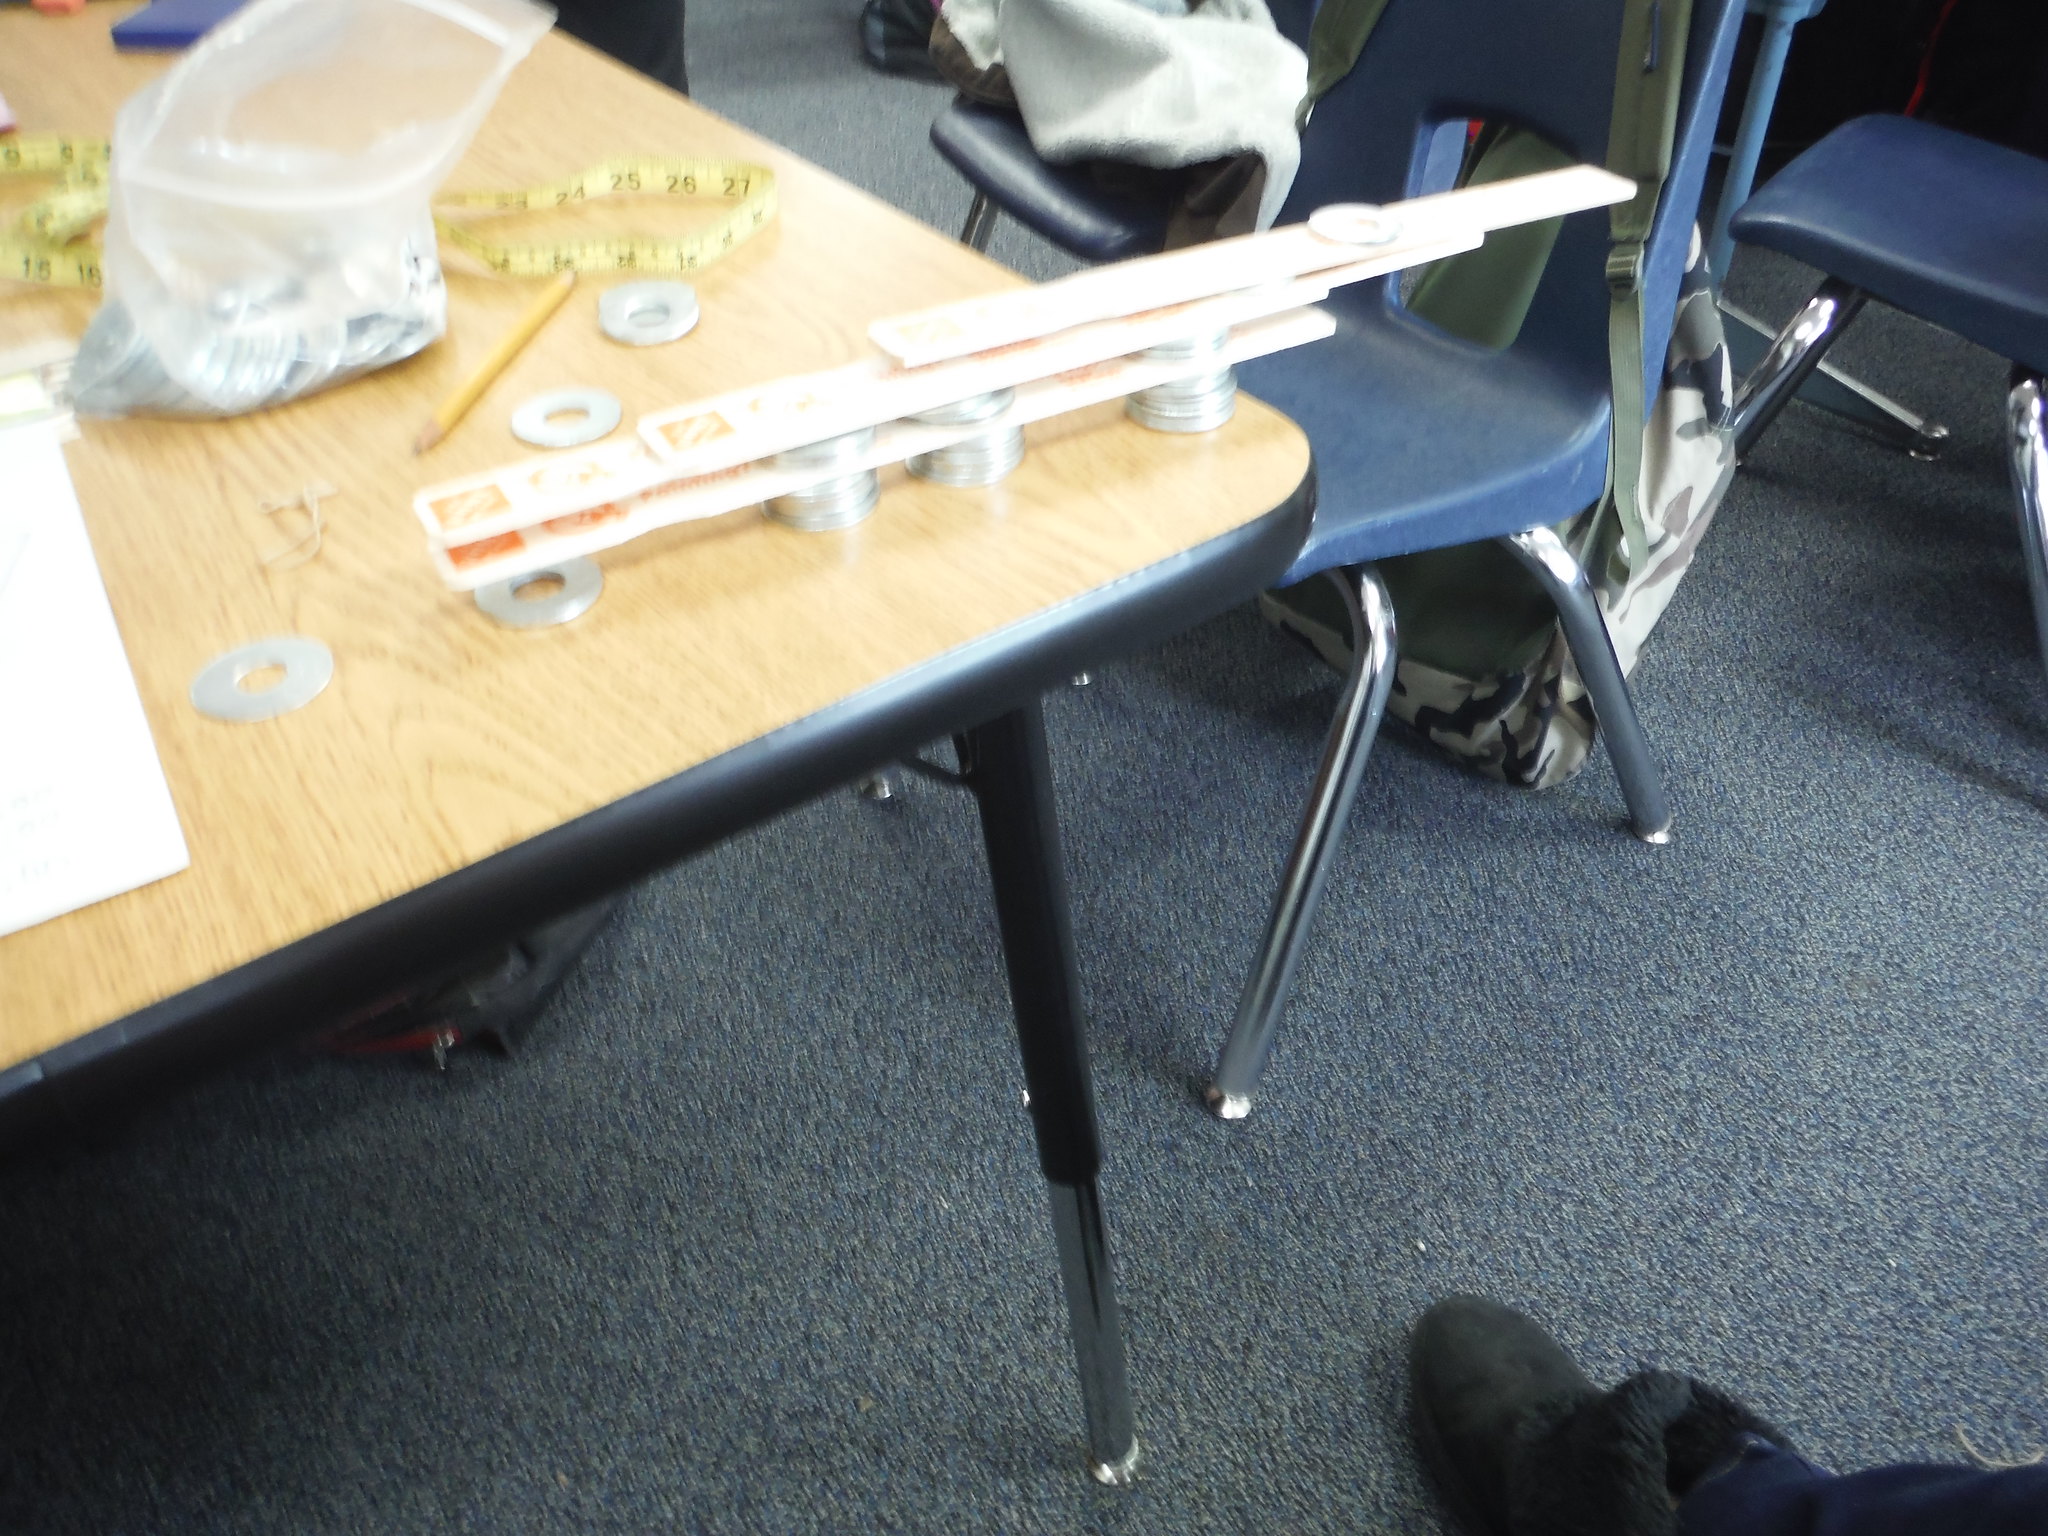
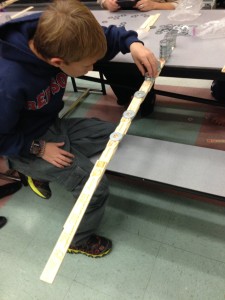
As always students are given as little explanation about how to build a cantilever as possible. I use one paint stick and one washer and show them how you can get more length off the end of the table with the washer on the end. That’s it … now it’s all up to them. Students worked in pairs. I lent a camera to each pair to archive their progress. Link to Flickr set of their photos.
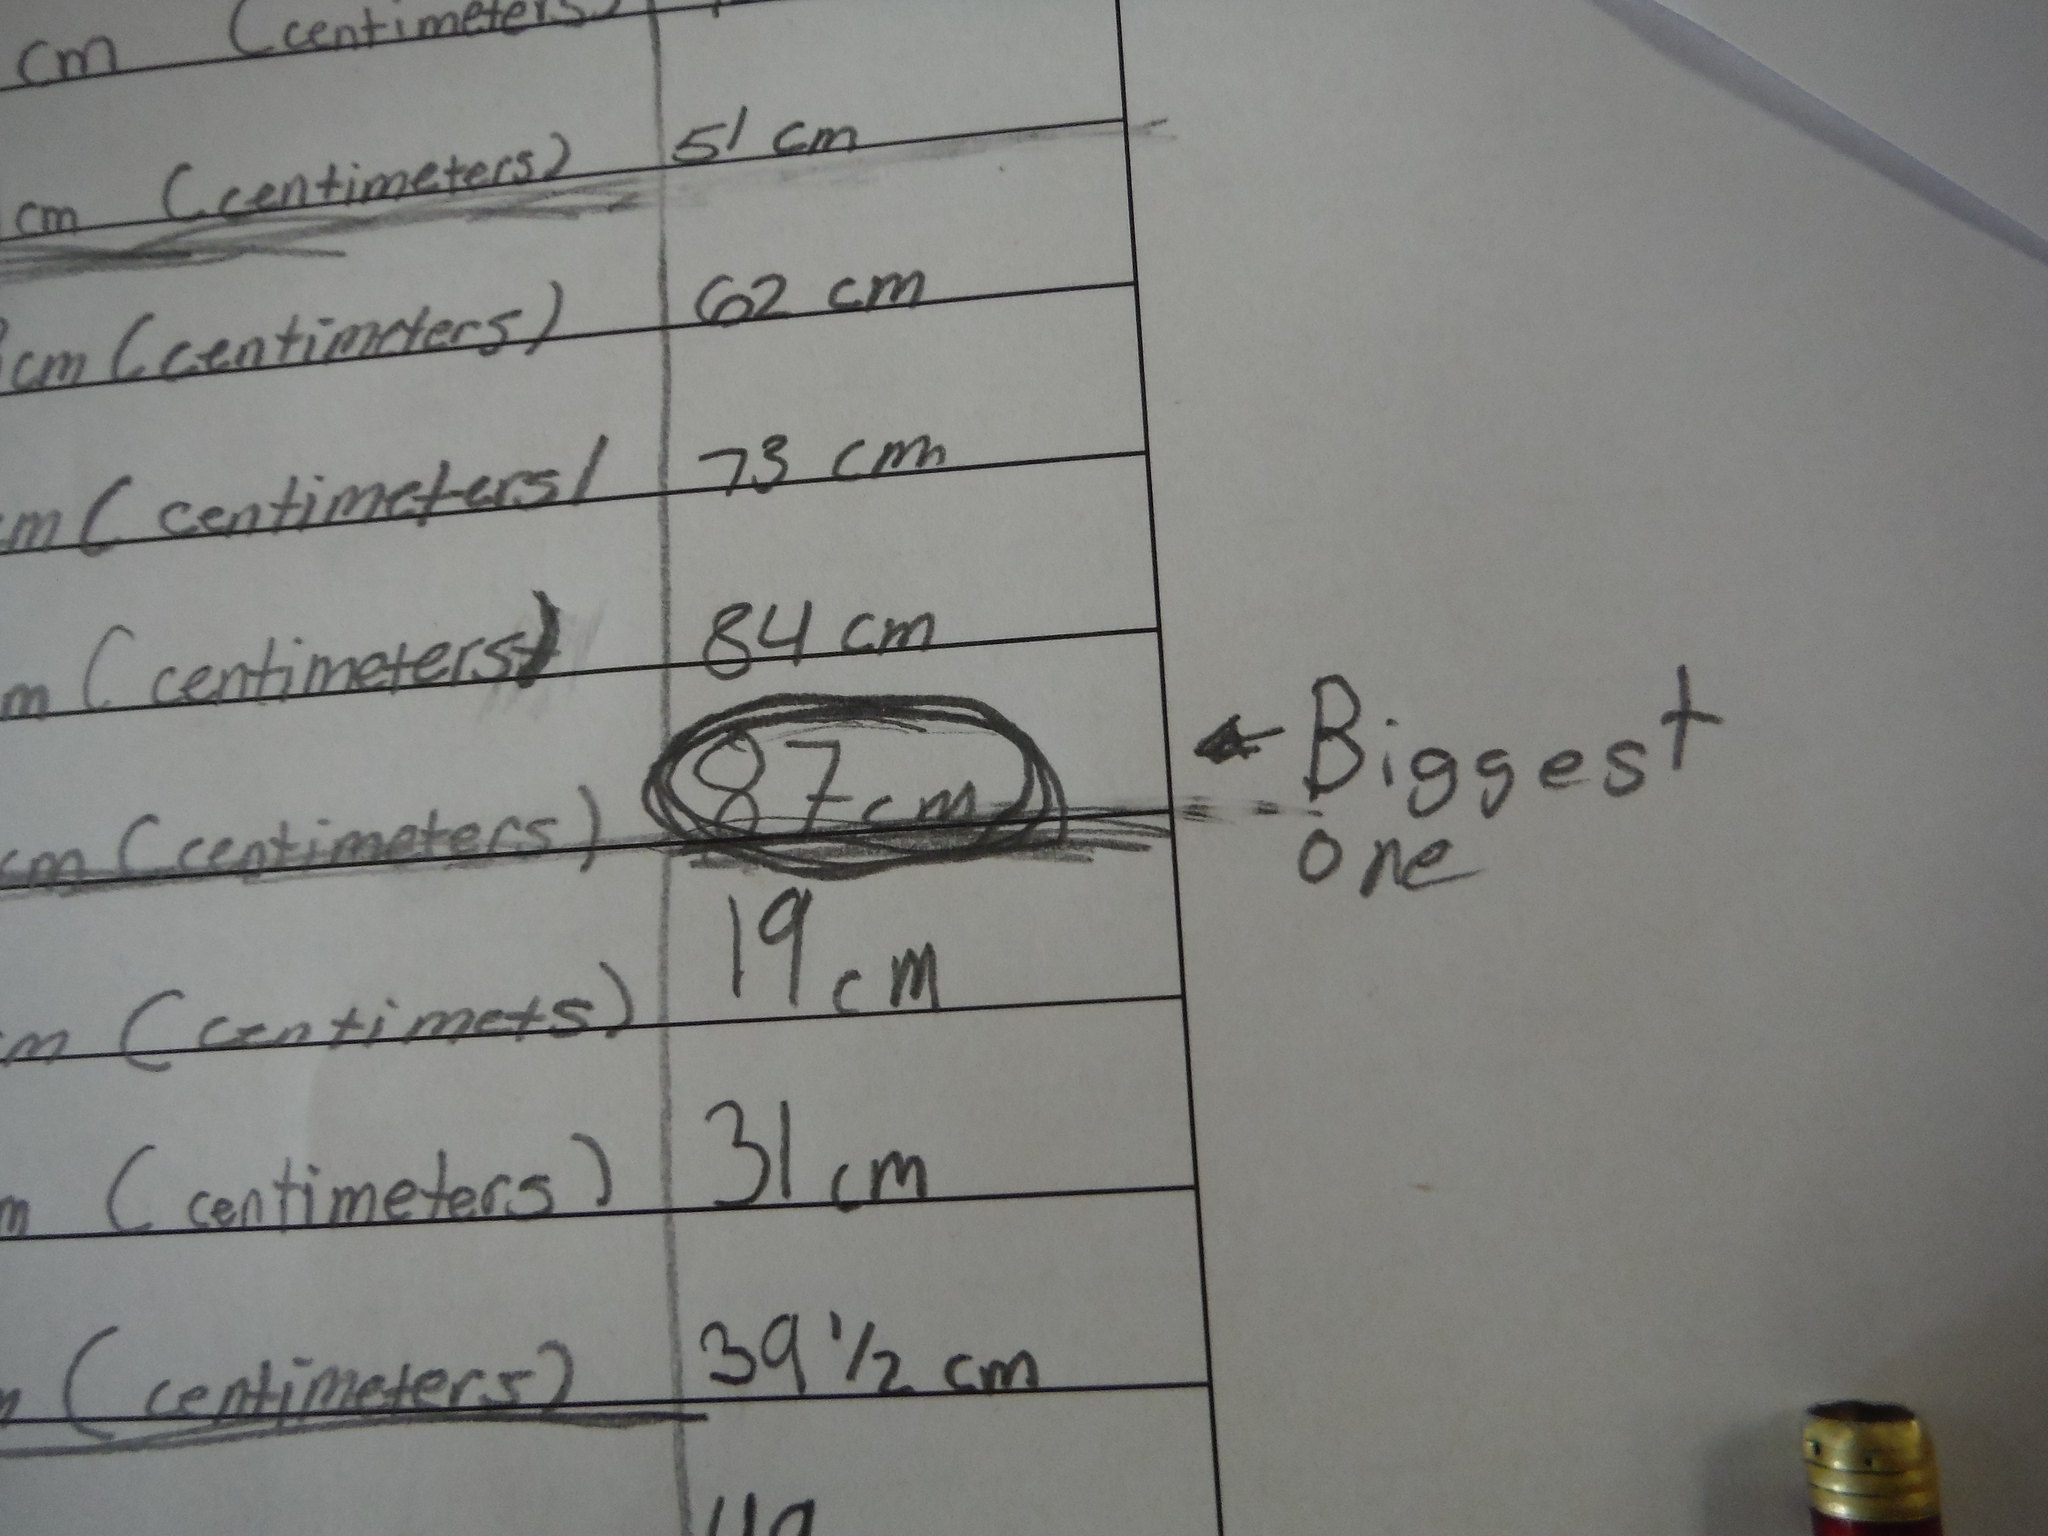
In addition they collected measurement data each time they added length to their span with a measuring tape … measurements in centimeters.
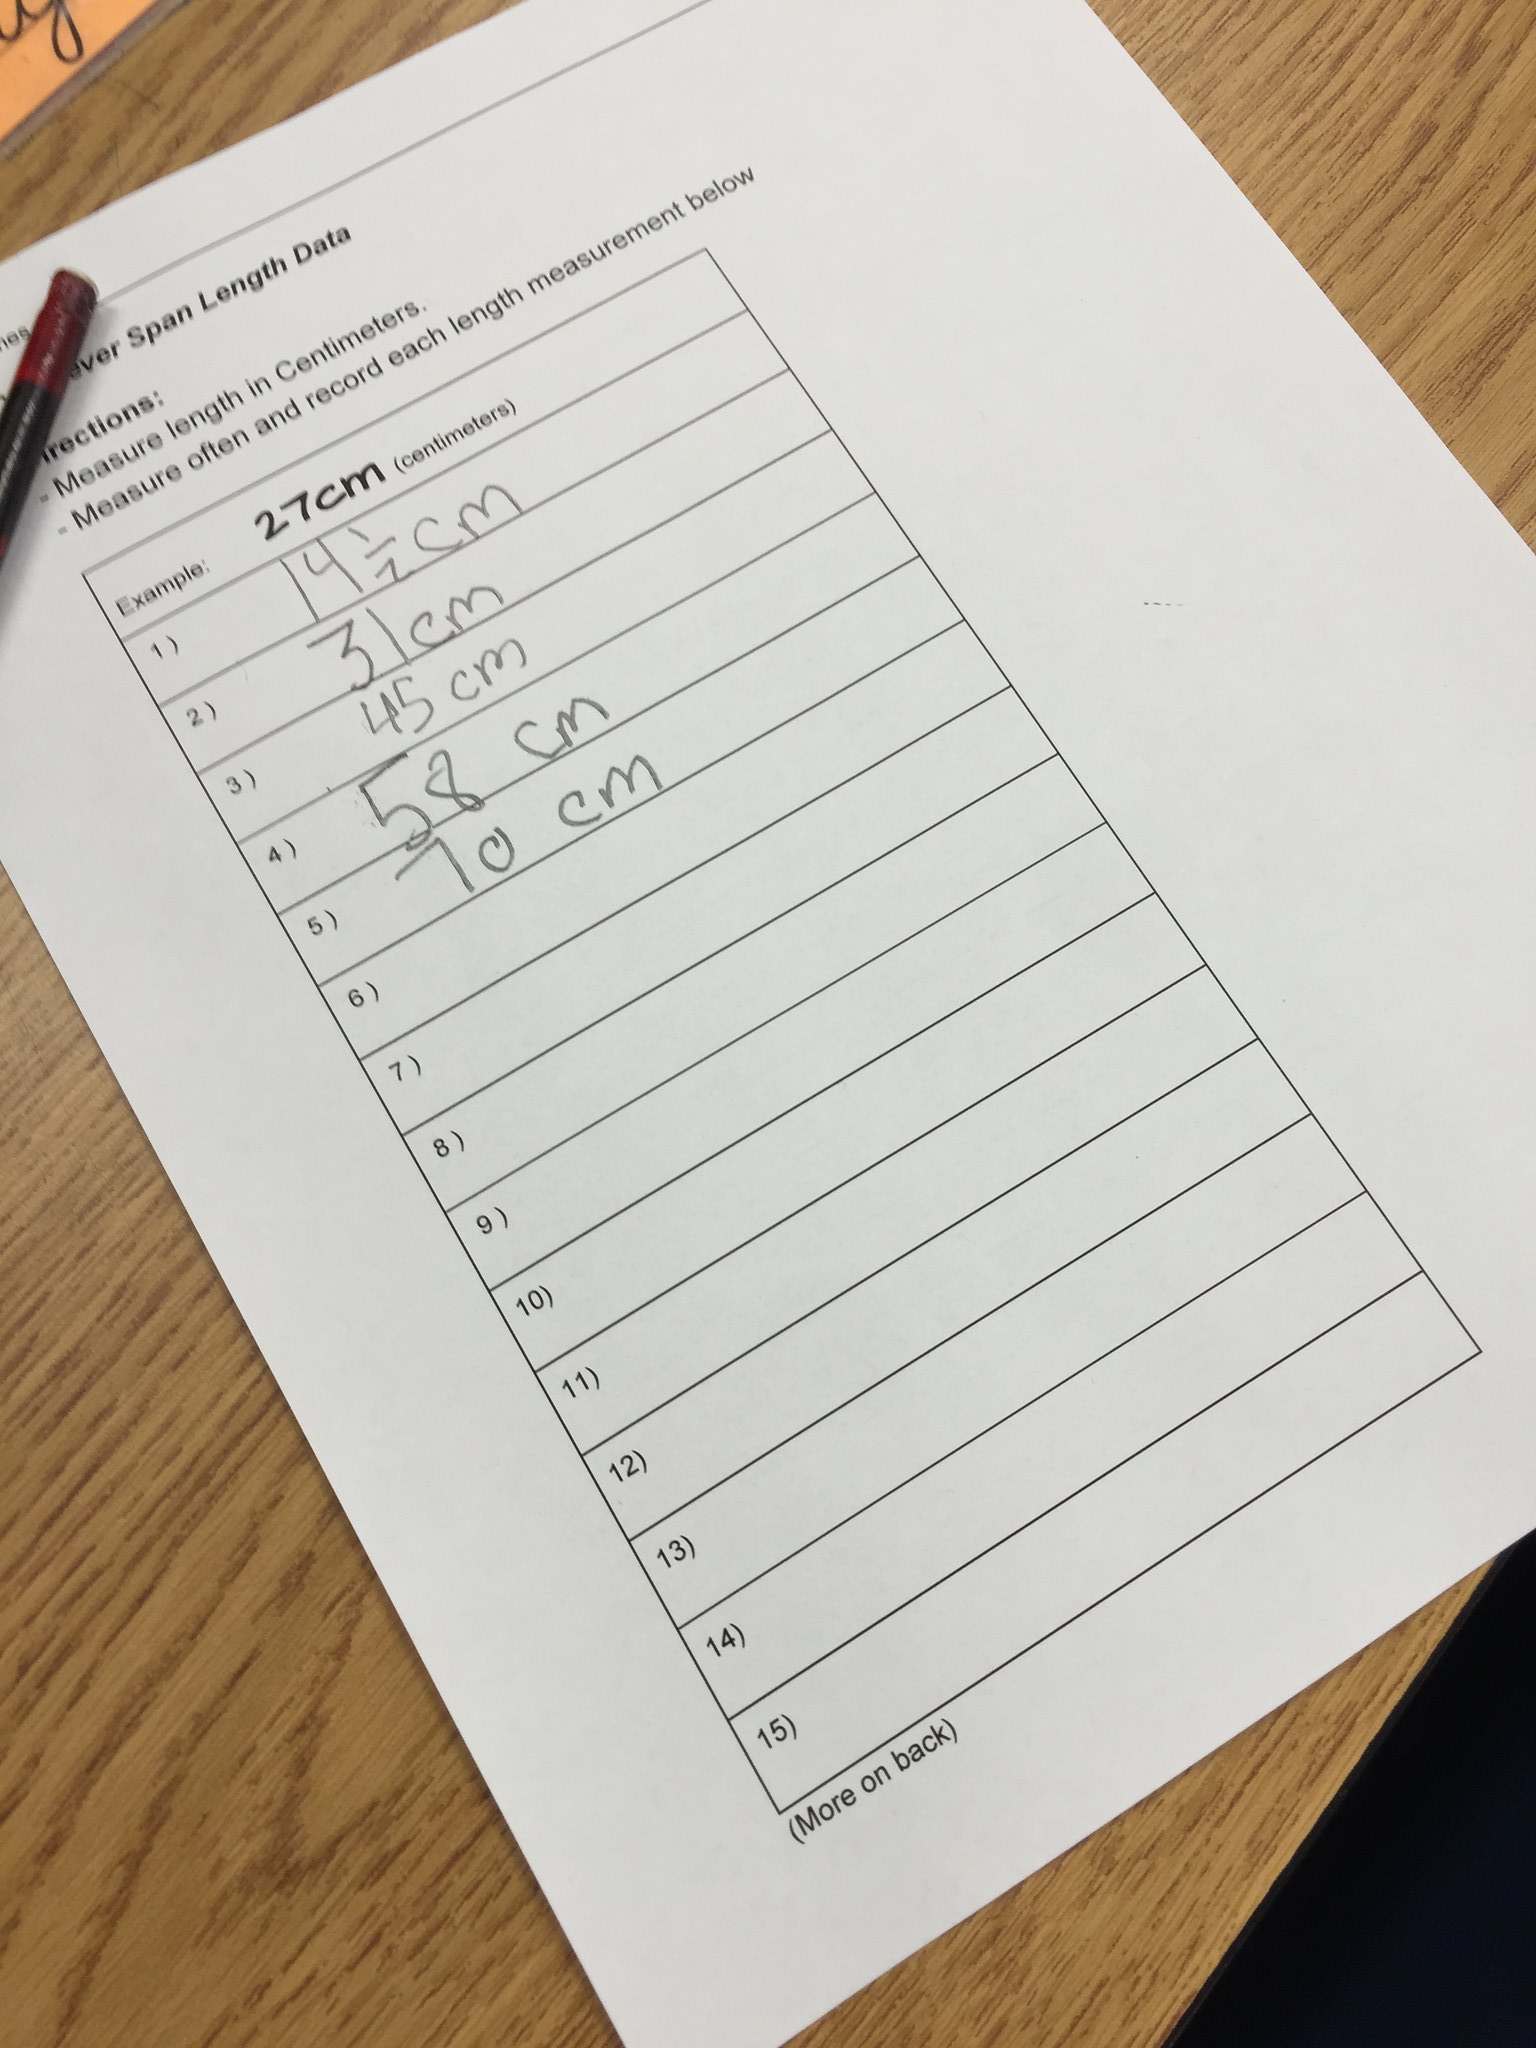
They worked initially for about 20 minutes. There was lots of “messy learning” as students learned about the materials (washers and paint stir sticks). Crashes to the floor were followed by a mix of disappointment and excitement.
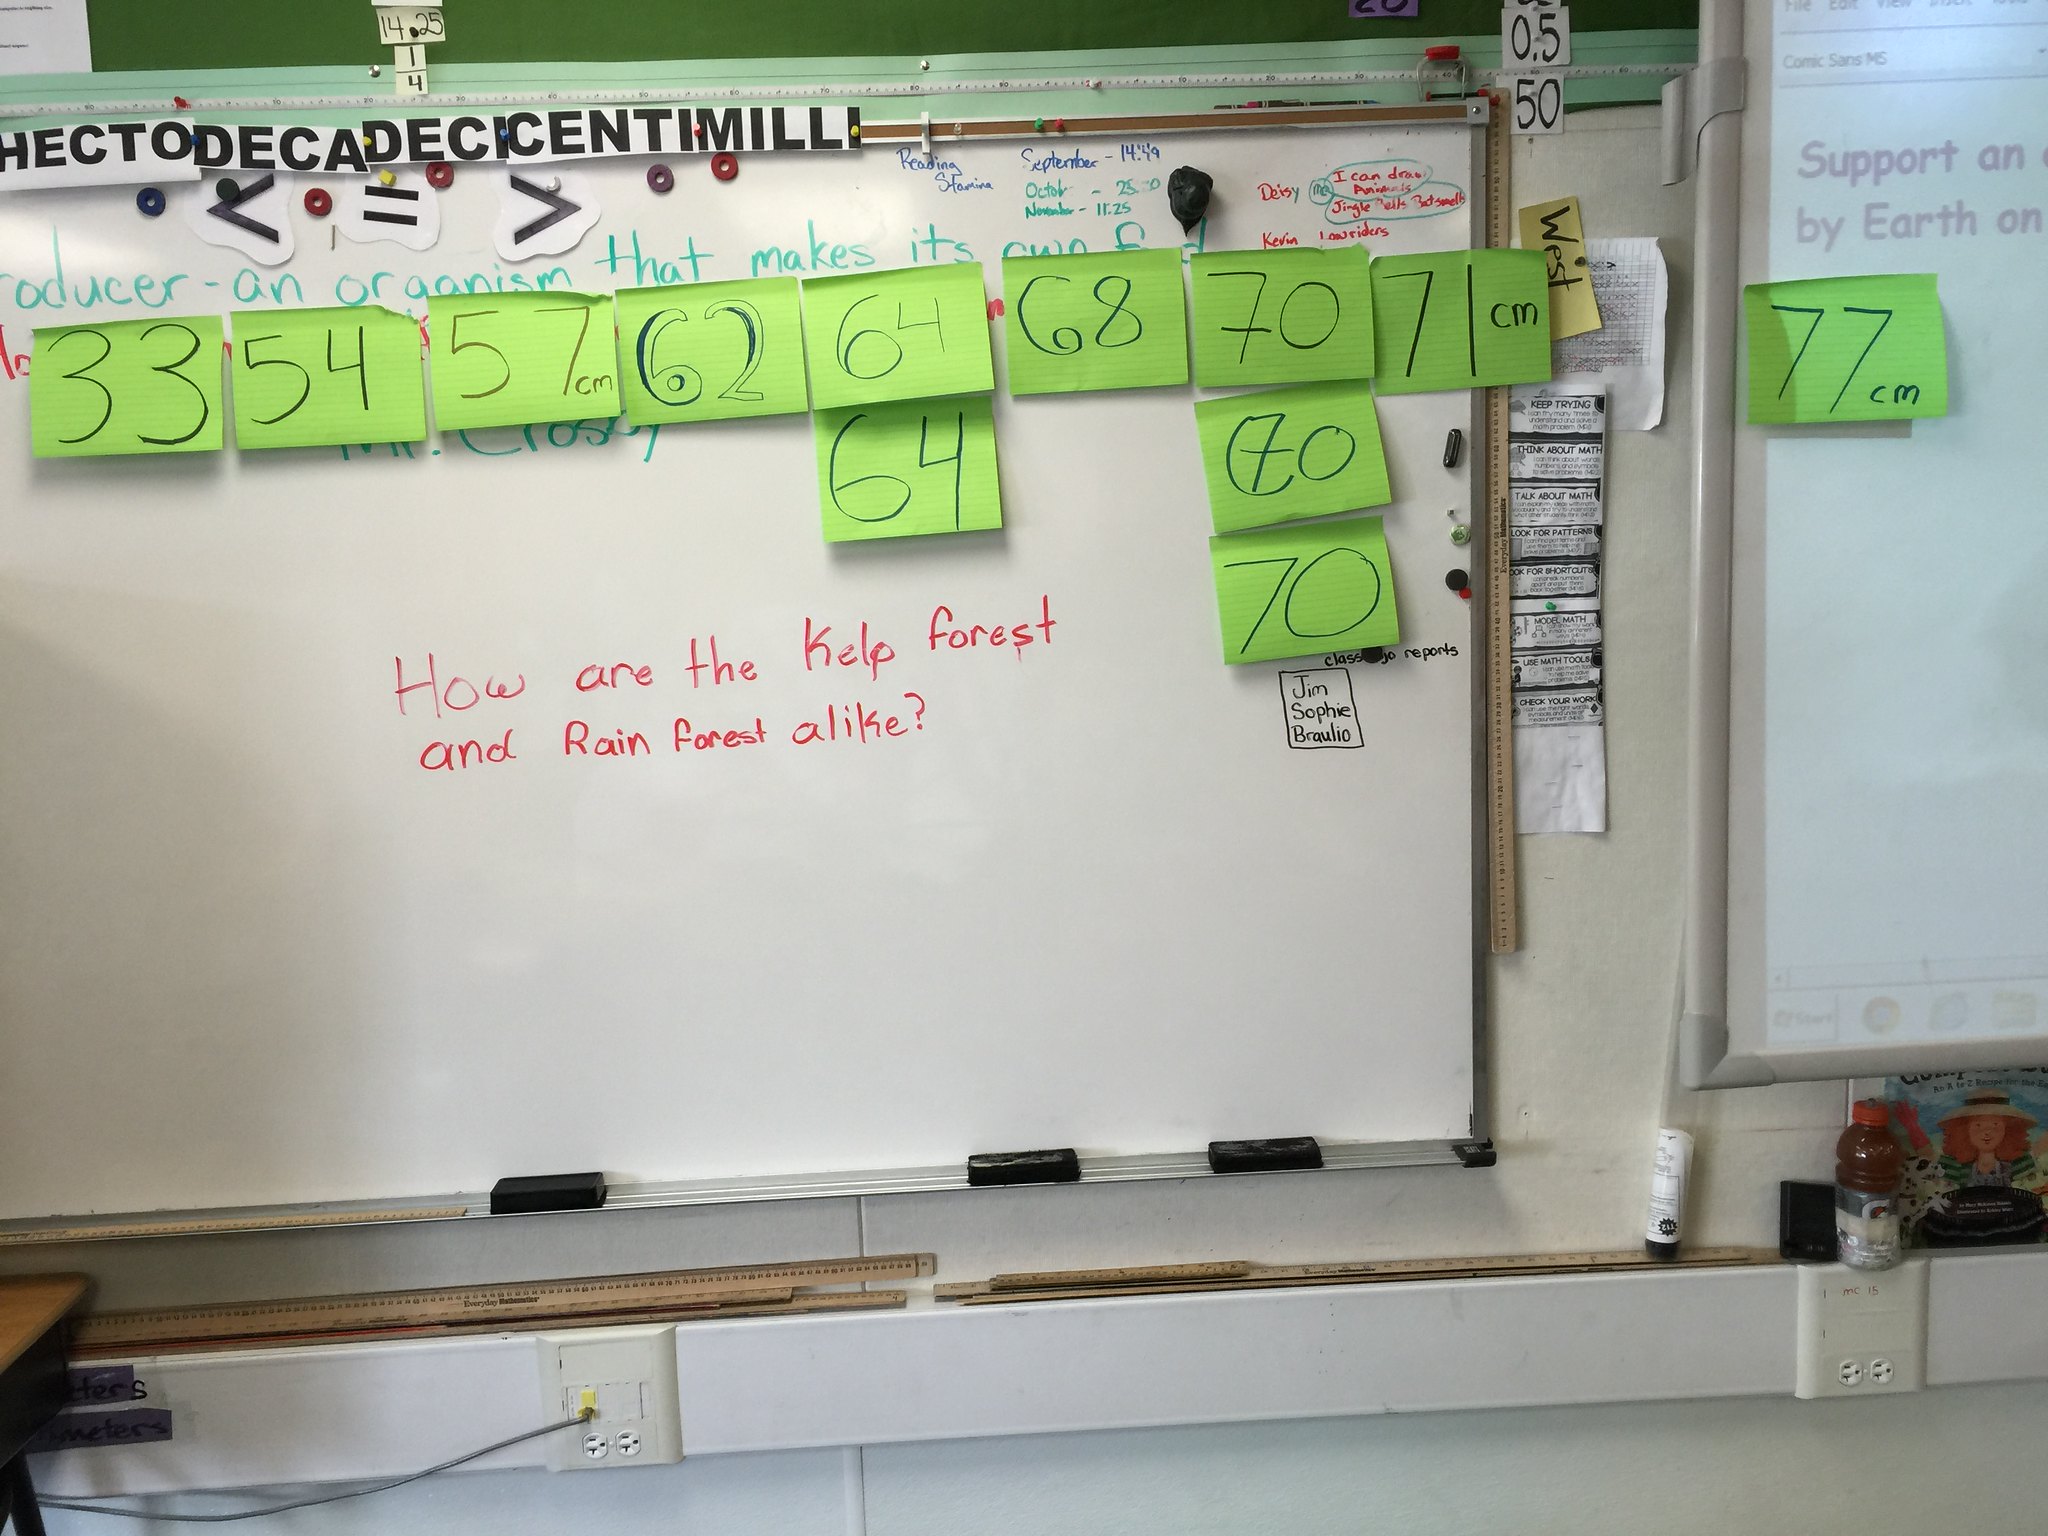
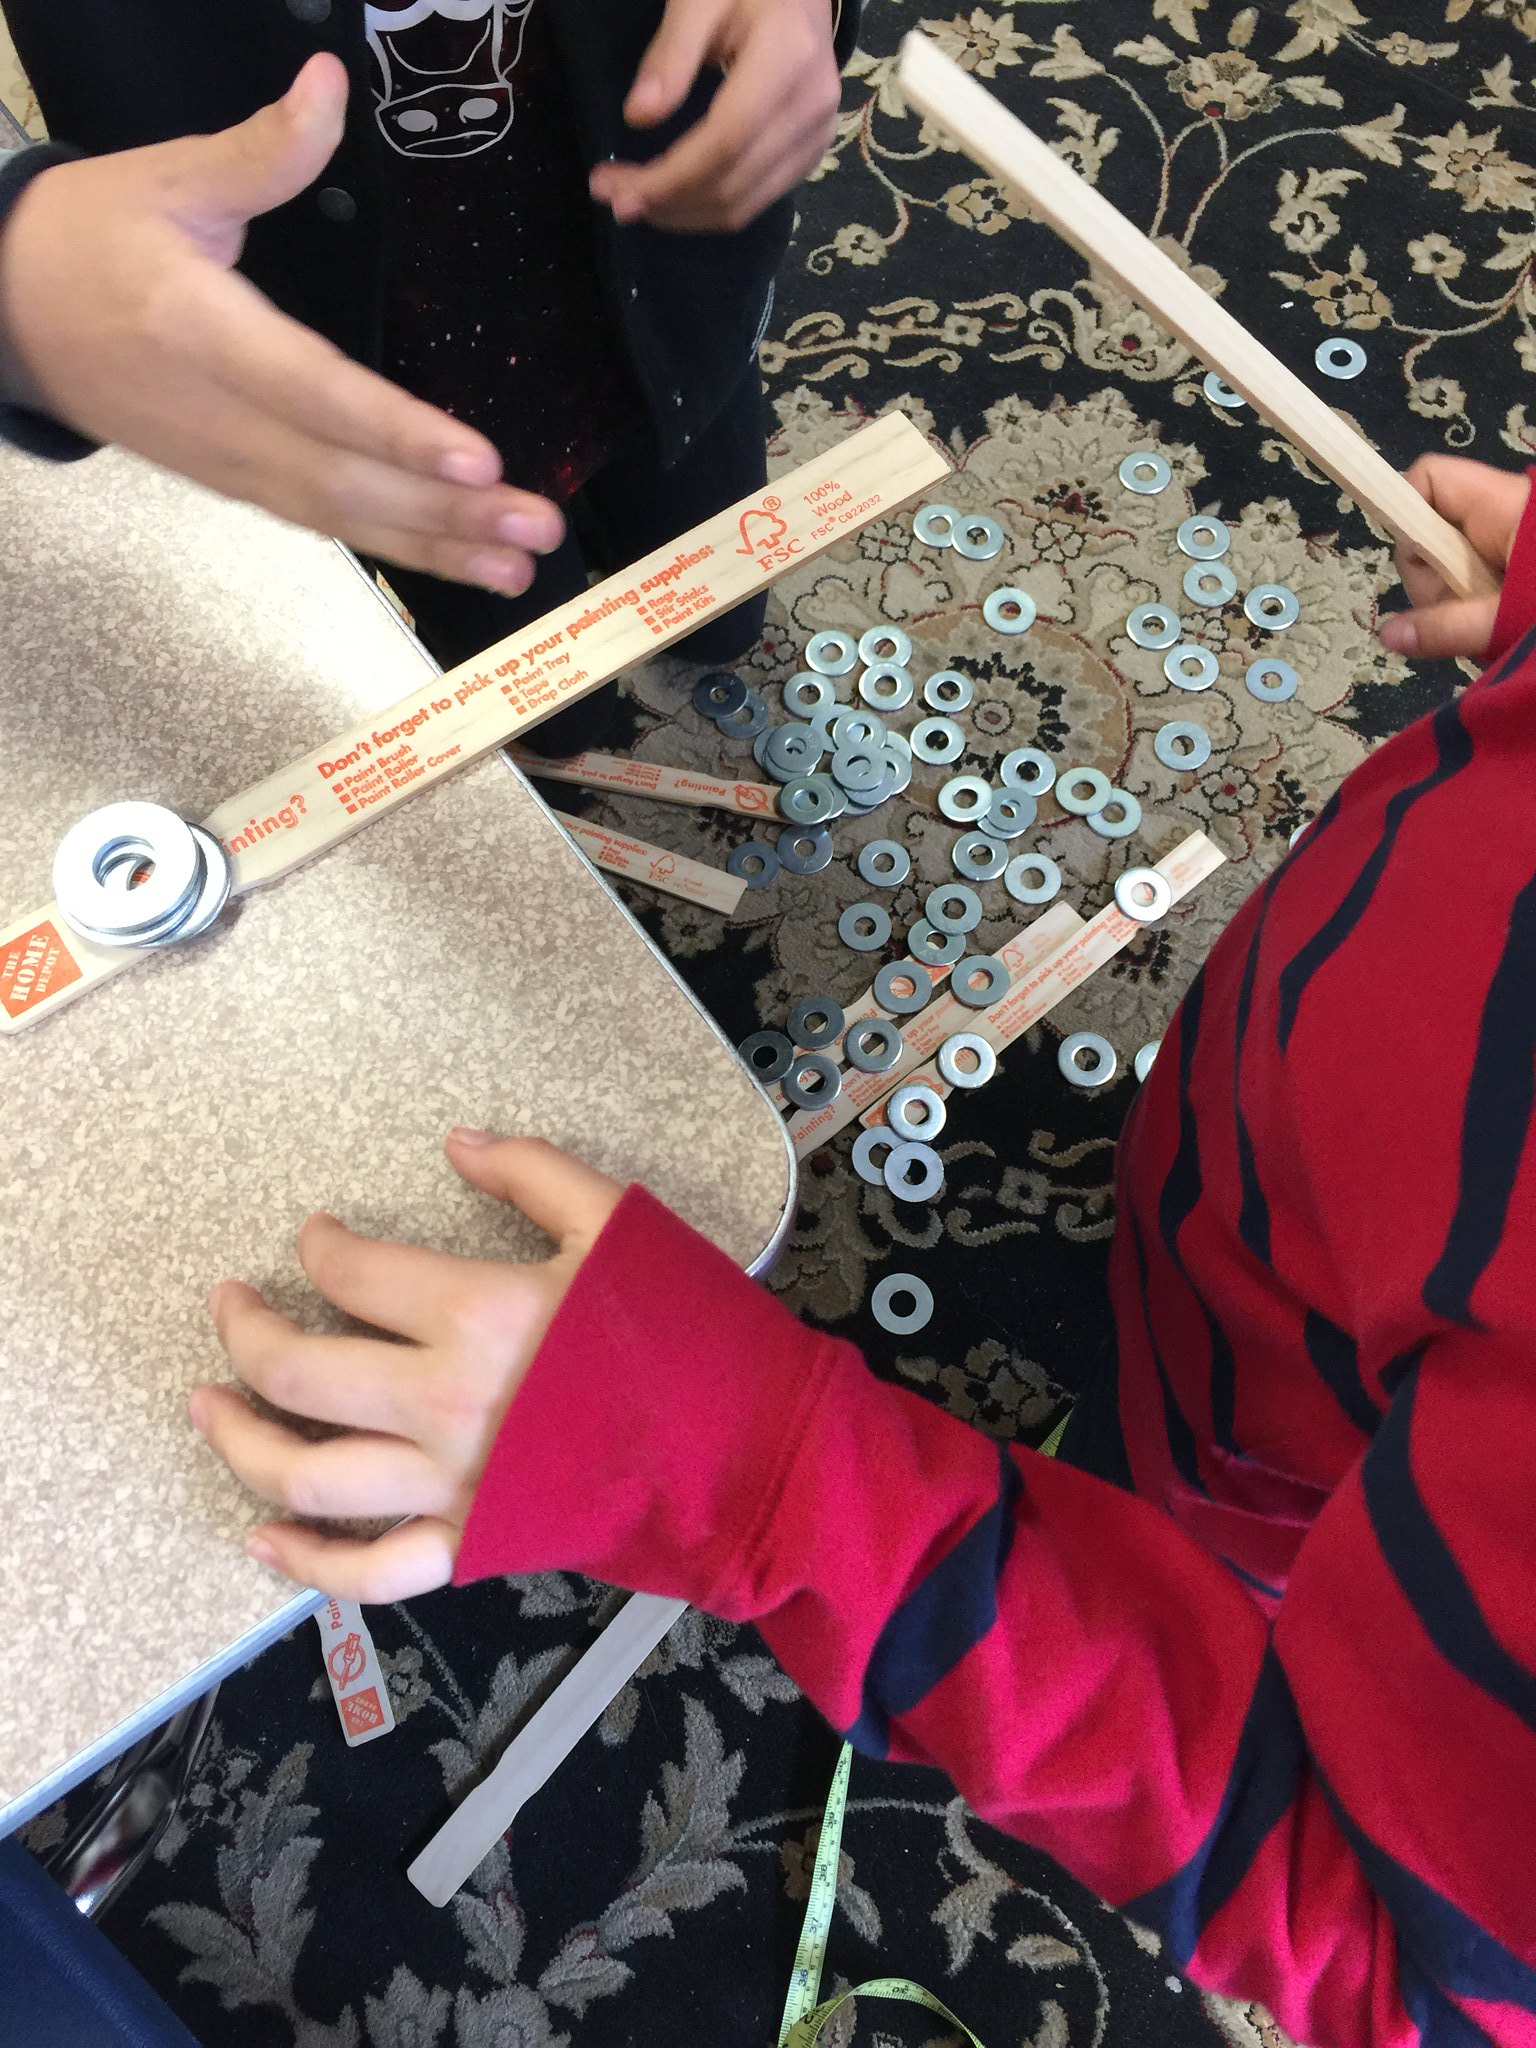 At the end of the first 20 minutes each pair was given a large “sticky note” to post the data from the longest span they had engineered.
We displayed these on the board and then after some discussion (I’m not sharing it all here for brevity, but the debrief is a powerful aspect) the students decided it would be a good idea to order the data from least to greatest. So we did:
Next we did a “gallery walk” around the room so students could check out the designs others had come up with, and we had them point out design features that seemed to lead to longer spans.
Now that students had some experience with building spans, I had them take what they had learned and asked them to try to build even longer spans. They enthusiastically got back to work … a few adjusted spans that were still standing from the first experience, but most started over from scratch.
It was apparent right away that they had learned not just techniques, but confidence too.
After an additional 20 minutes or so we collected their data on a different color sticky note, posted them and compared results: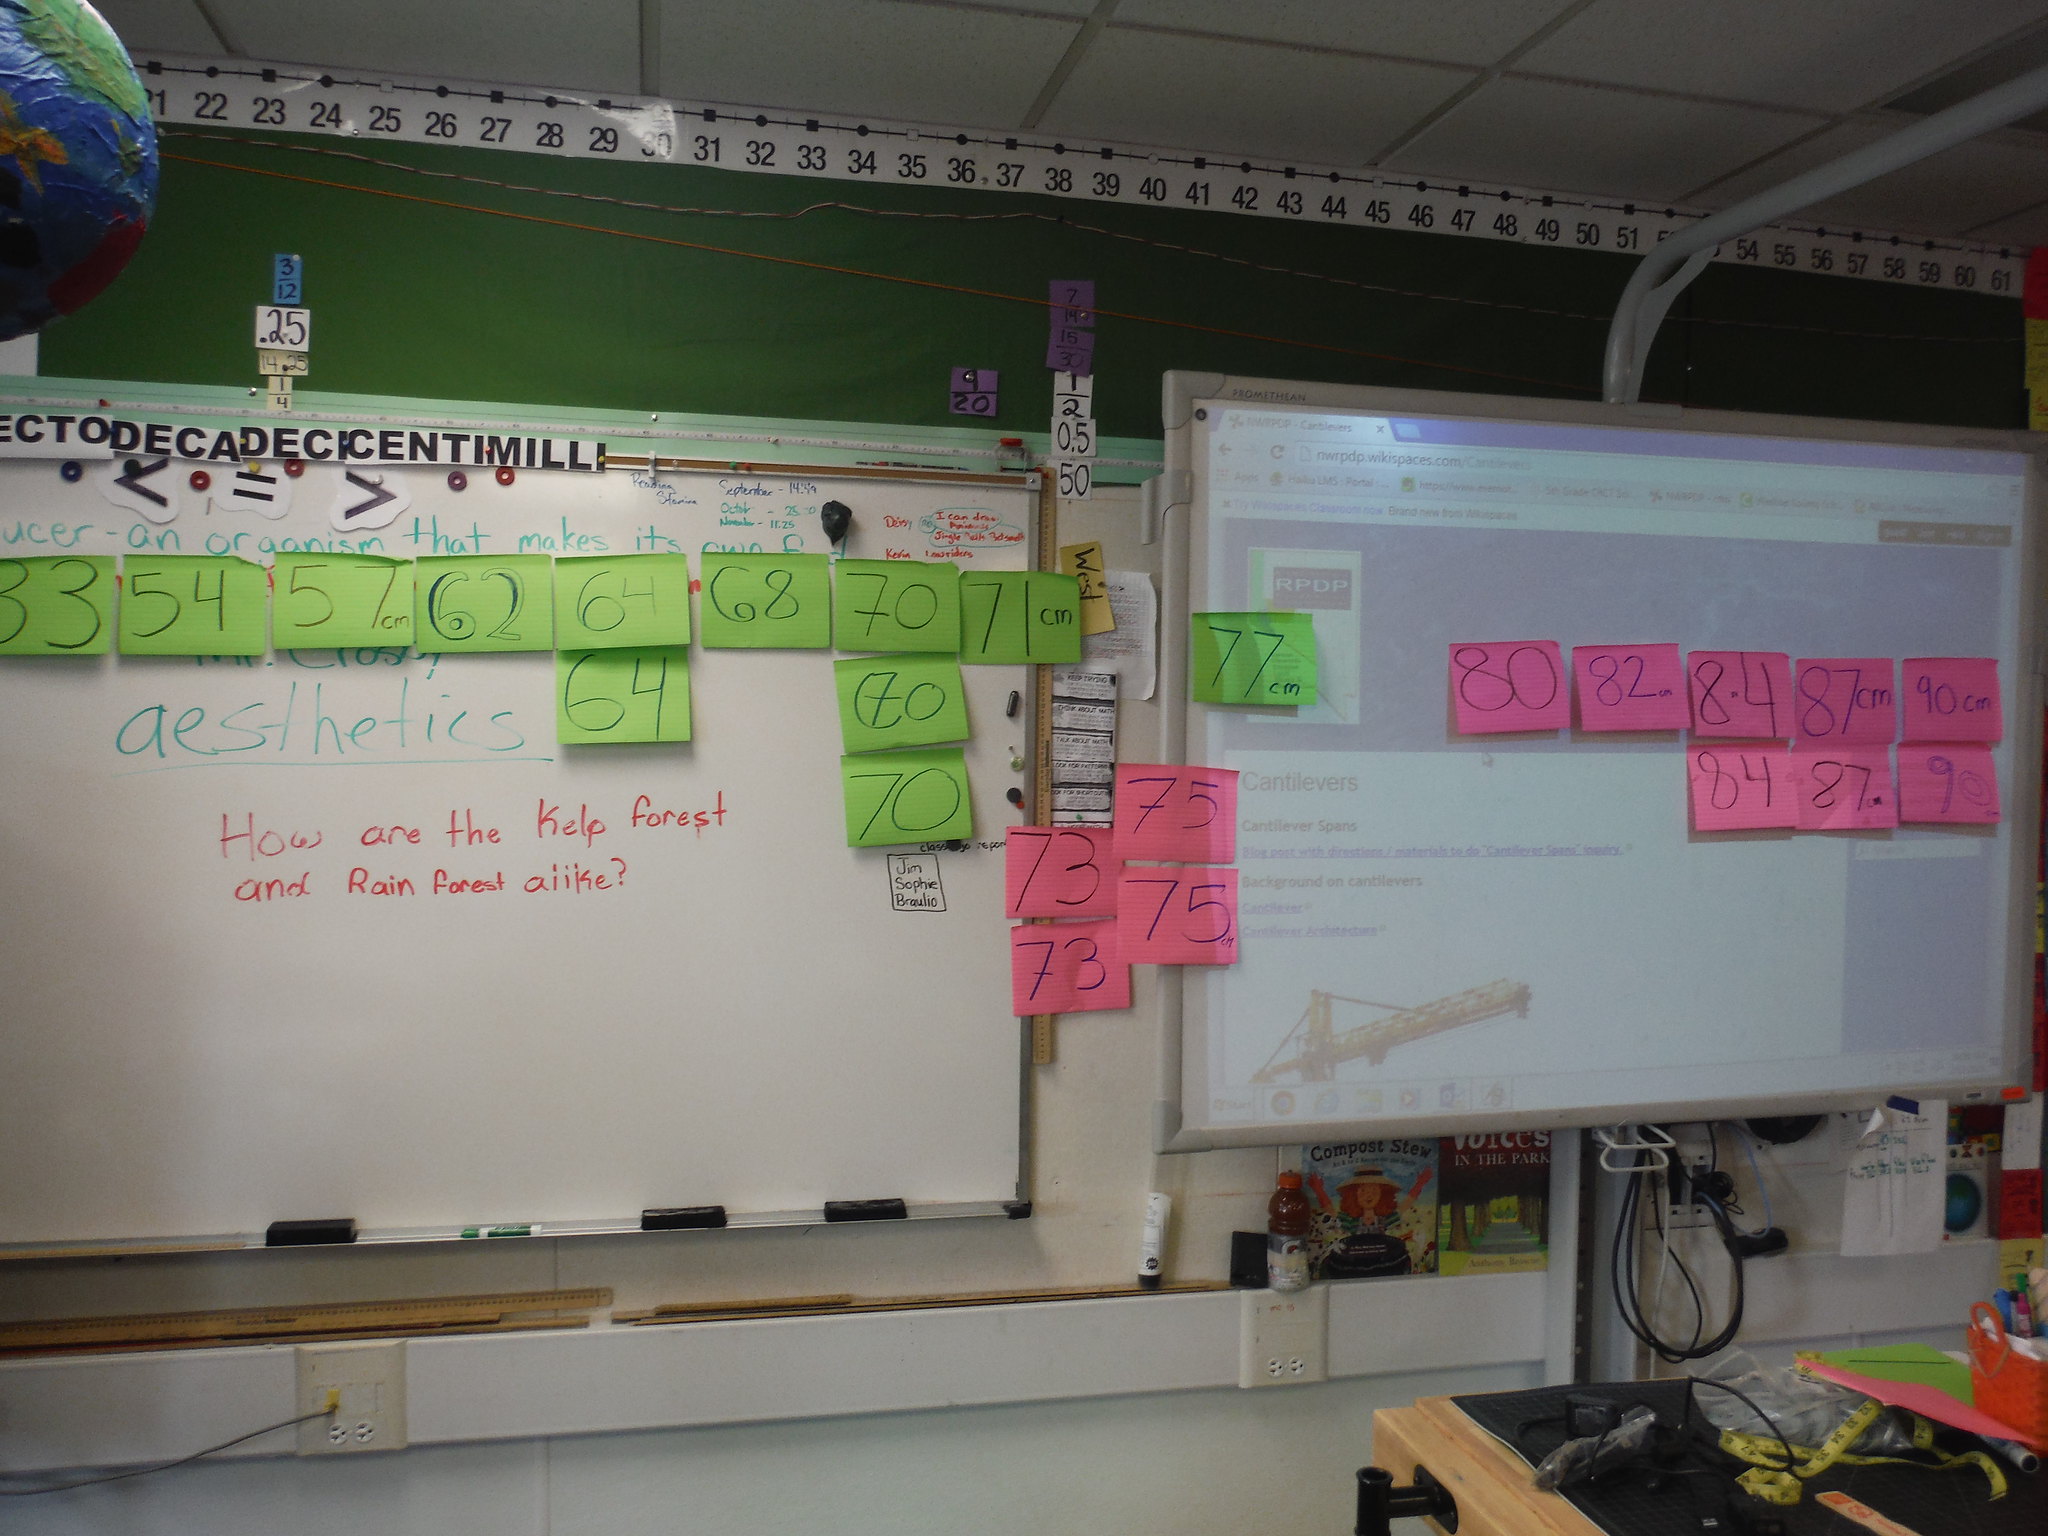
When asked to compare the data, students noted how the shortest span from the second experience was almost as long as the longest from the first. The data is rich with analysis possibilities (that I won’t go into now, but may add later, especially if you bug me, 🙂 ) and I can share from doing this numerous times that 90cm is short of the longest spans students have accomplished (even K/1st graders will build longer spans given repeated experiences).
We used this data sheet to begin figuring out how much their cantilever span would cost if you set a price for materials (easily made grade level specific by changing the numbers used), but I wanted them to figure out what to do with the data themselves and we didn’t have time … and Dan was excited about the prospect of crunching that data later when they had time to really go deep with it. NOTE: This photo doesn’t show the last line that asks for cost per centimeter.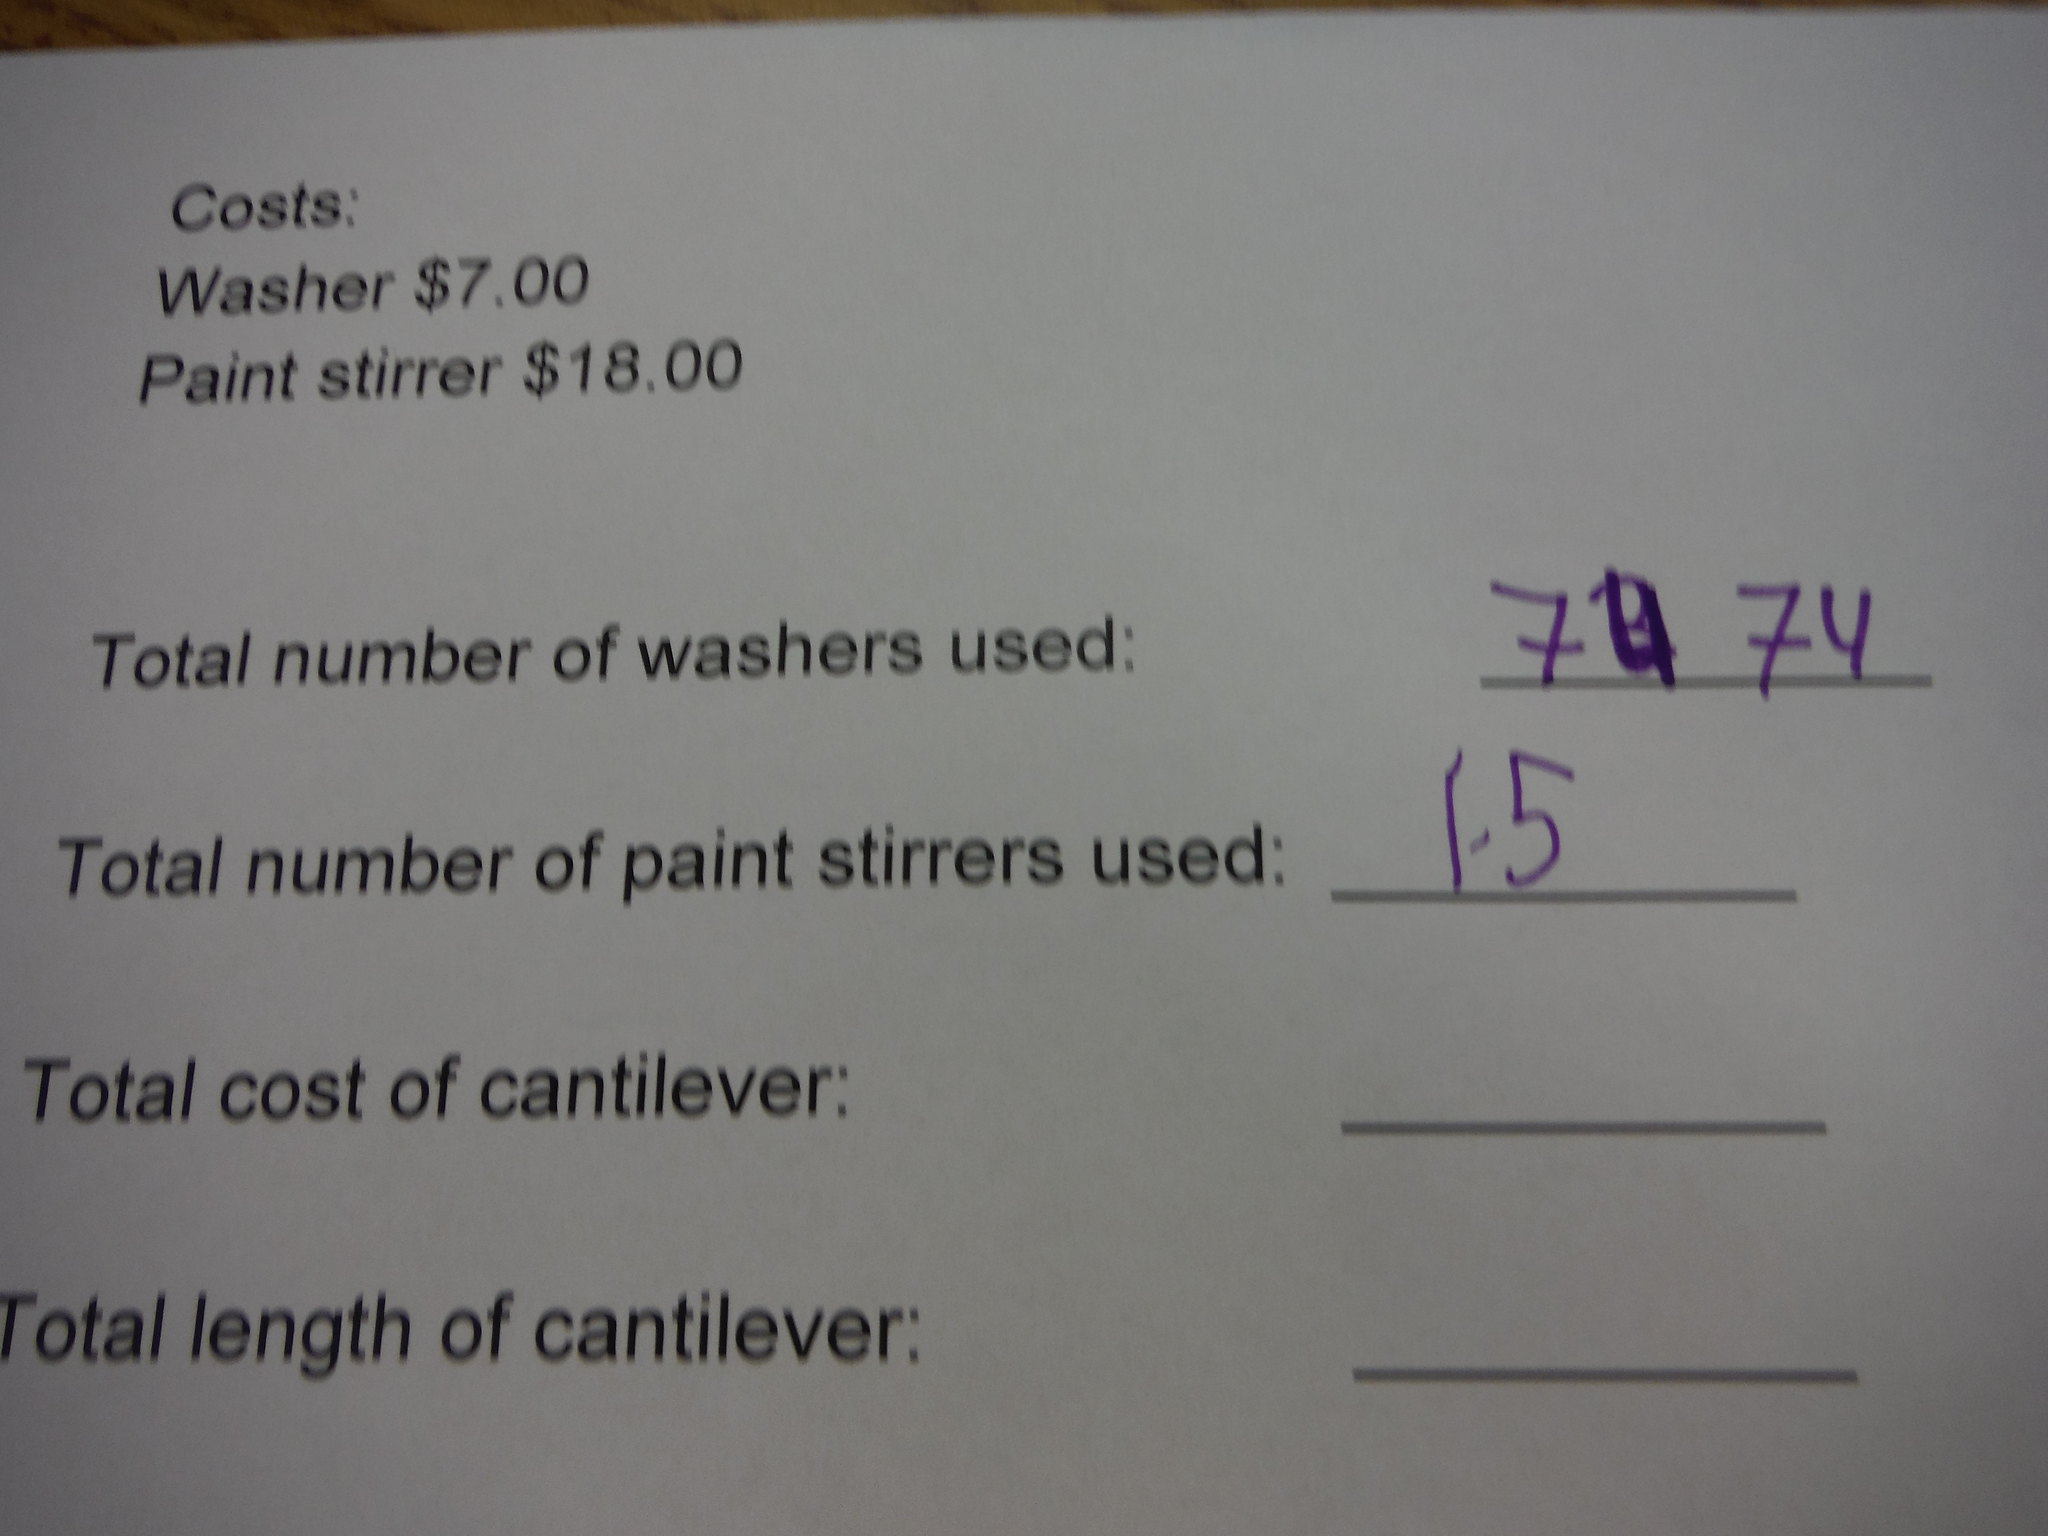 Lots and lots more to do … more investigations trying to make their spans longer …. other ways to analyze data … how to construct the most “cost effective” span and more. But not today.
The STEAM Challenge: And then I explained the word “aesthetics” and how often designs and products and architecture incorporate aesthetics to make them beautiful and even more functional. I used my iPhone and a box that pens came in as an example … “… the box and phone are about the same size, and the box shape takes no real extra, possibly expensive, design time and effort, but the rounded corners and thin profile and other aspects of the iPhone make it more visually appealing (“cooler”), easier to hold, easier to put in your pocket (etc.) ….”
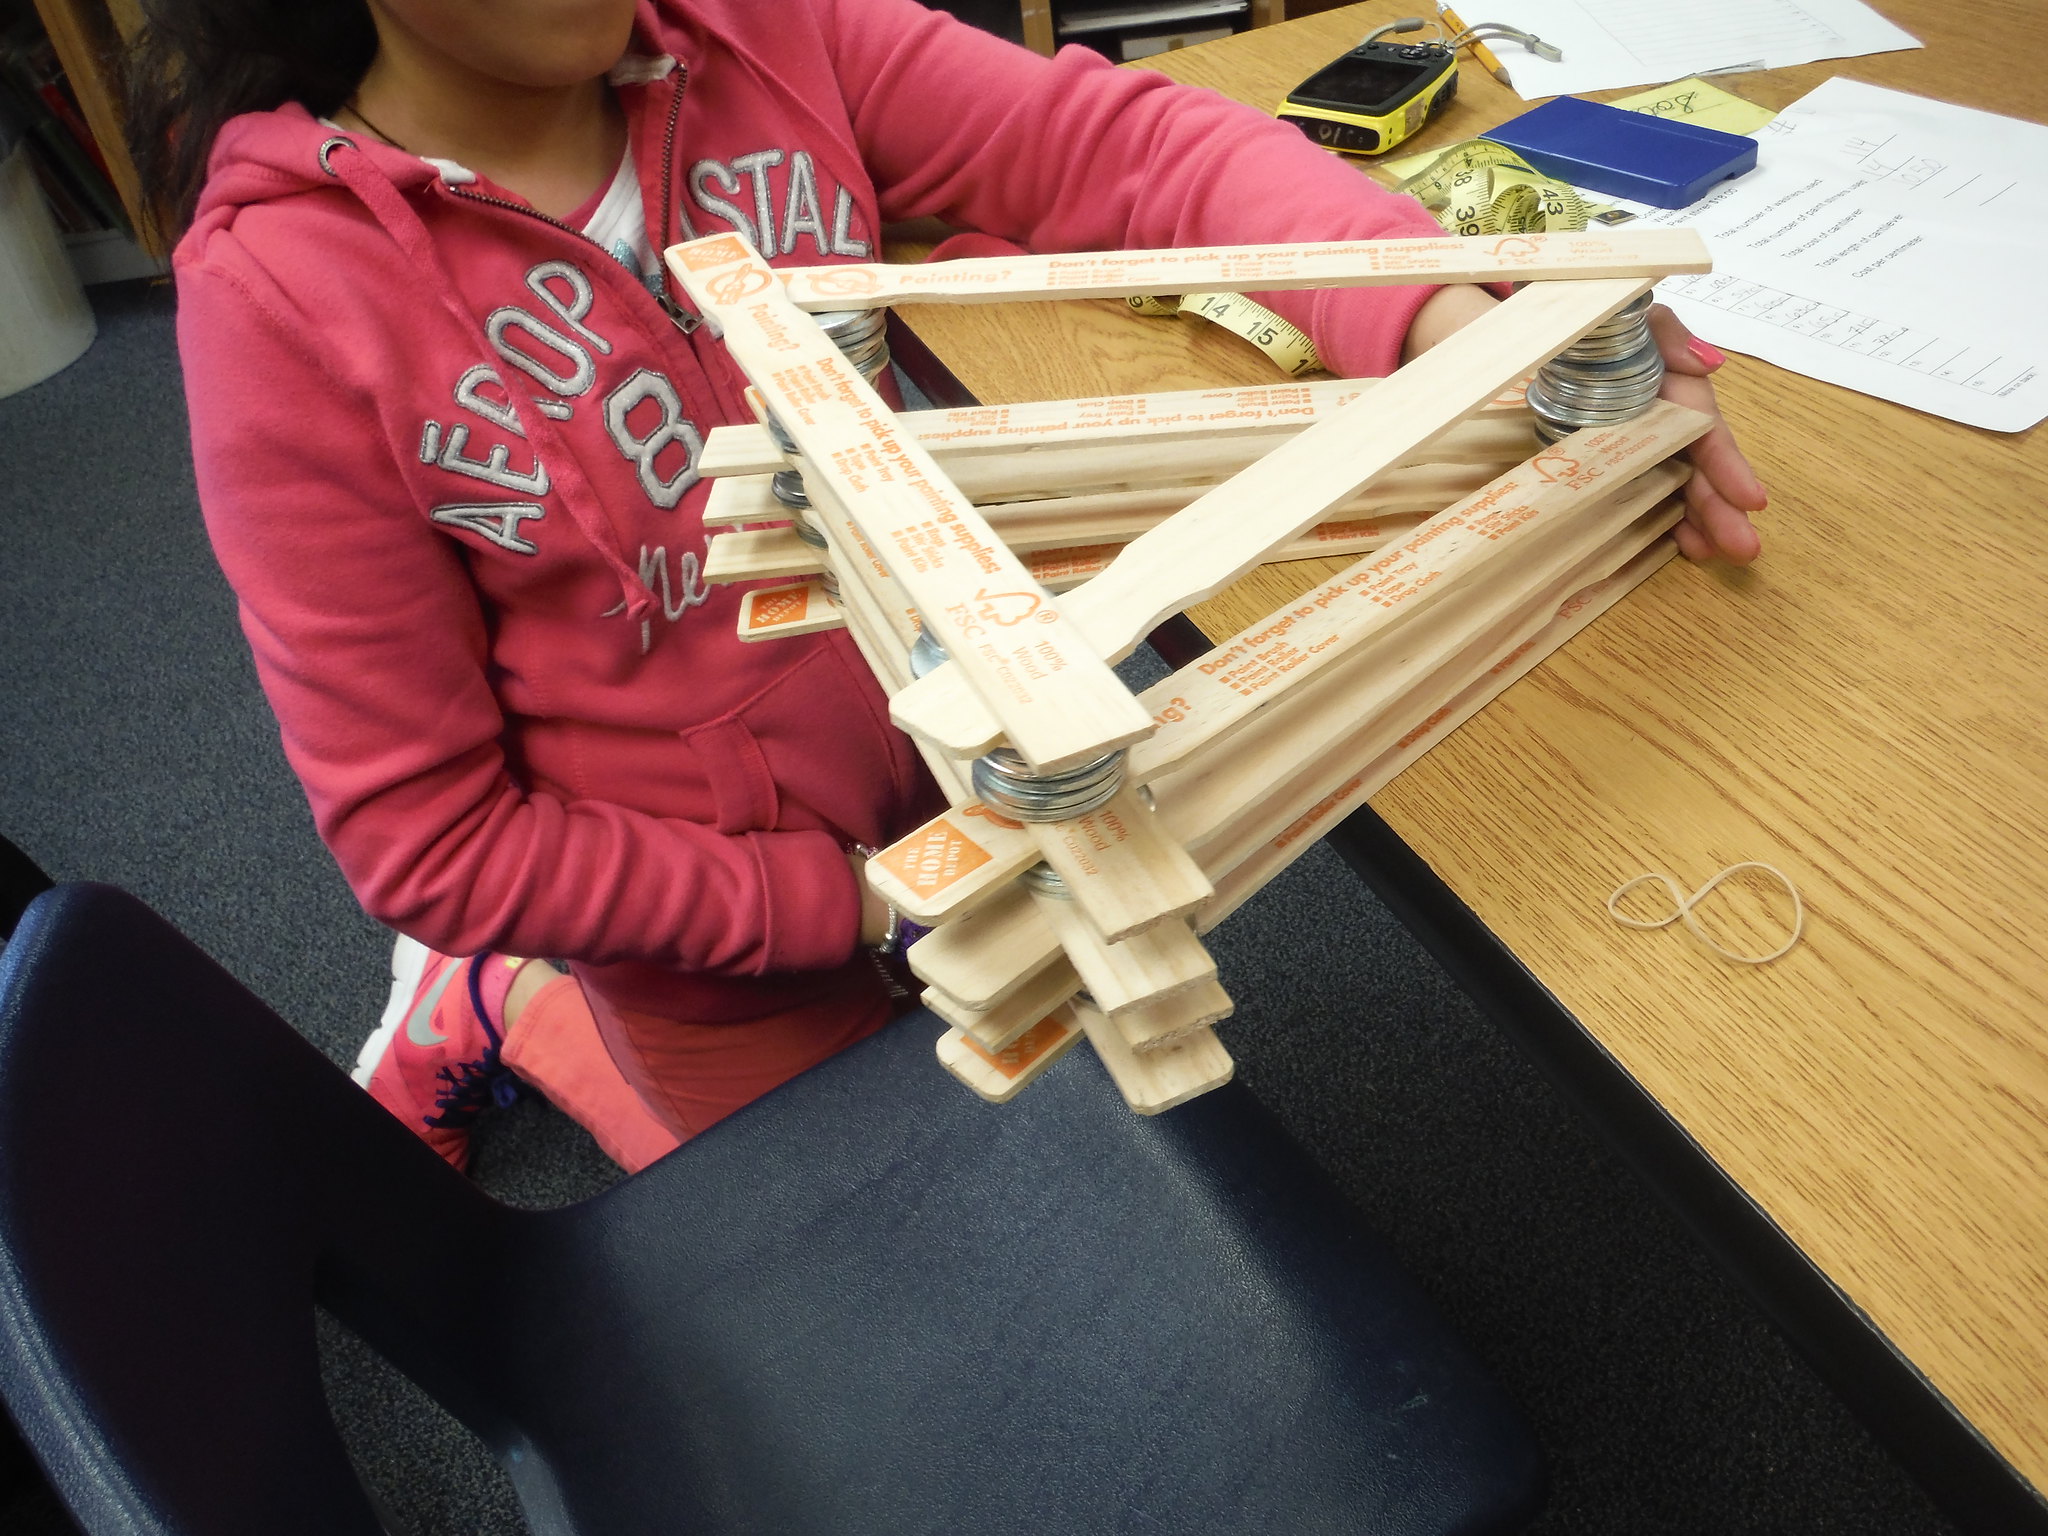
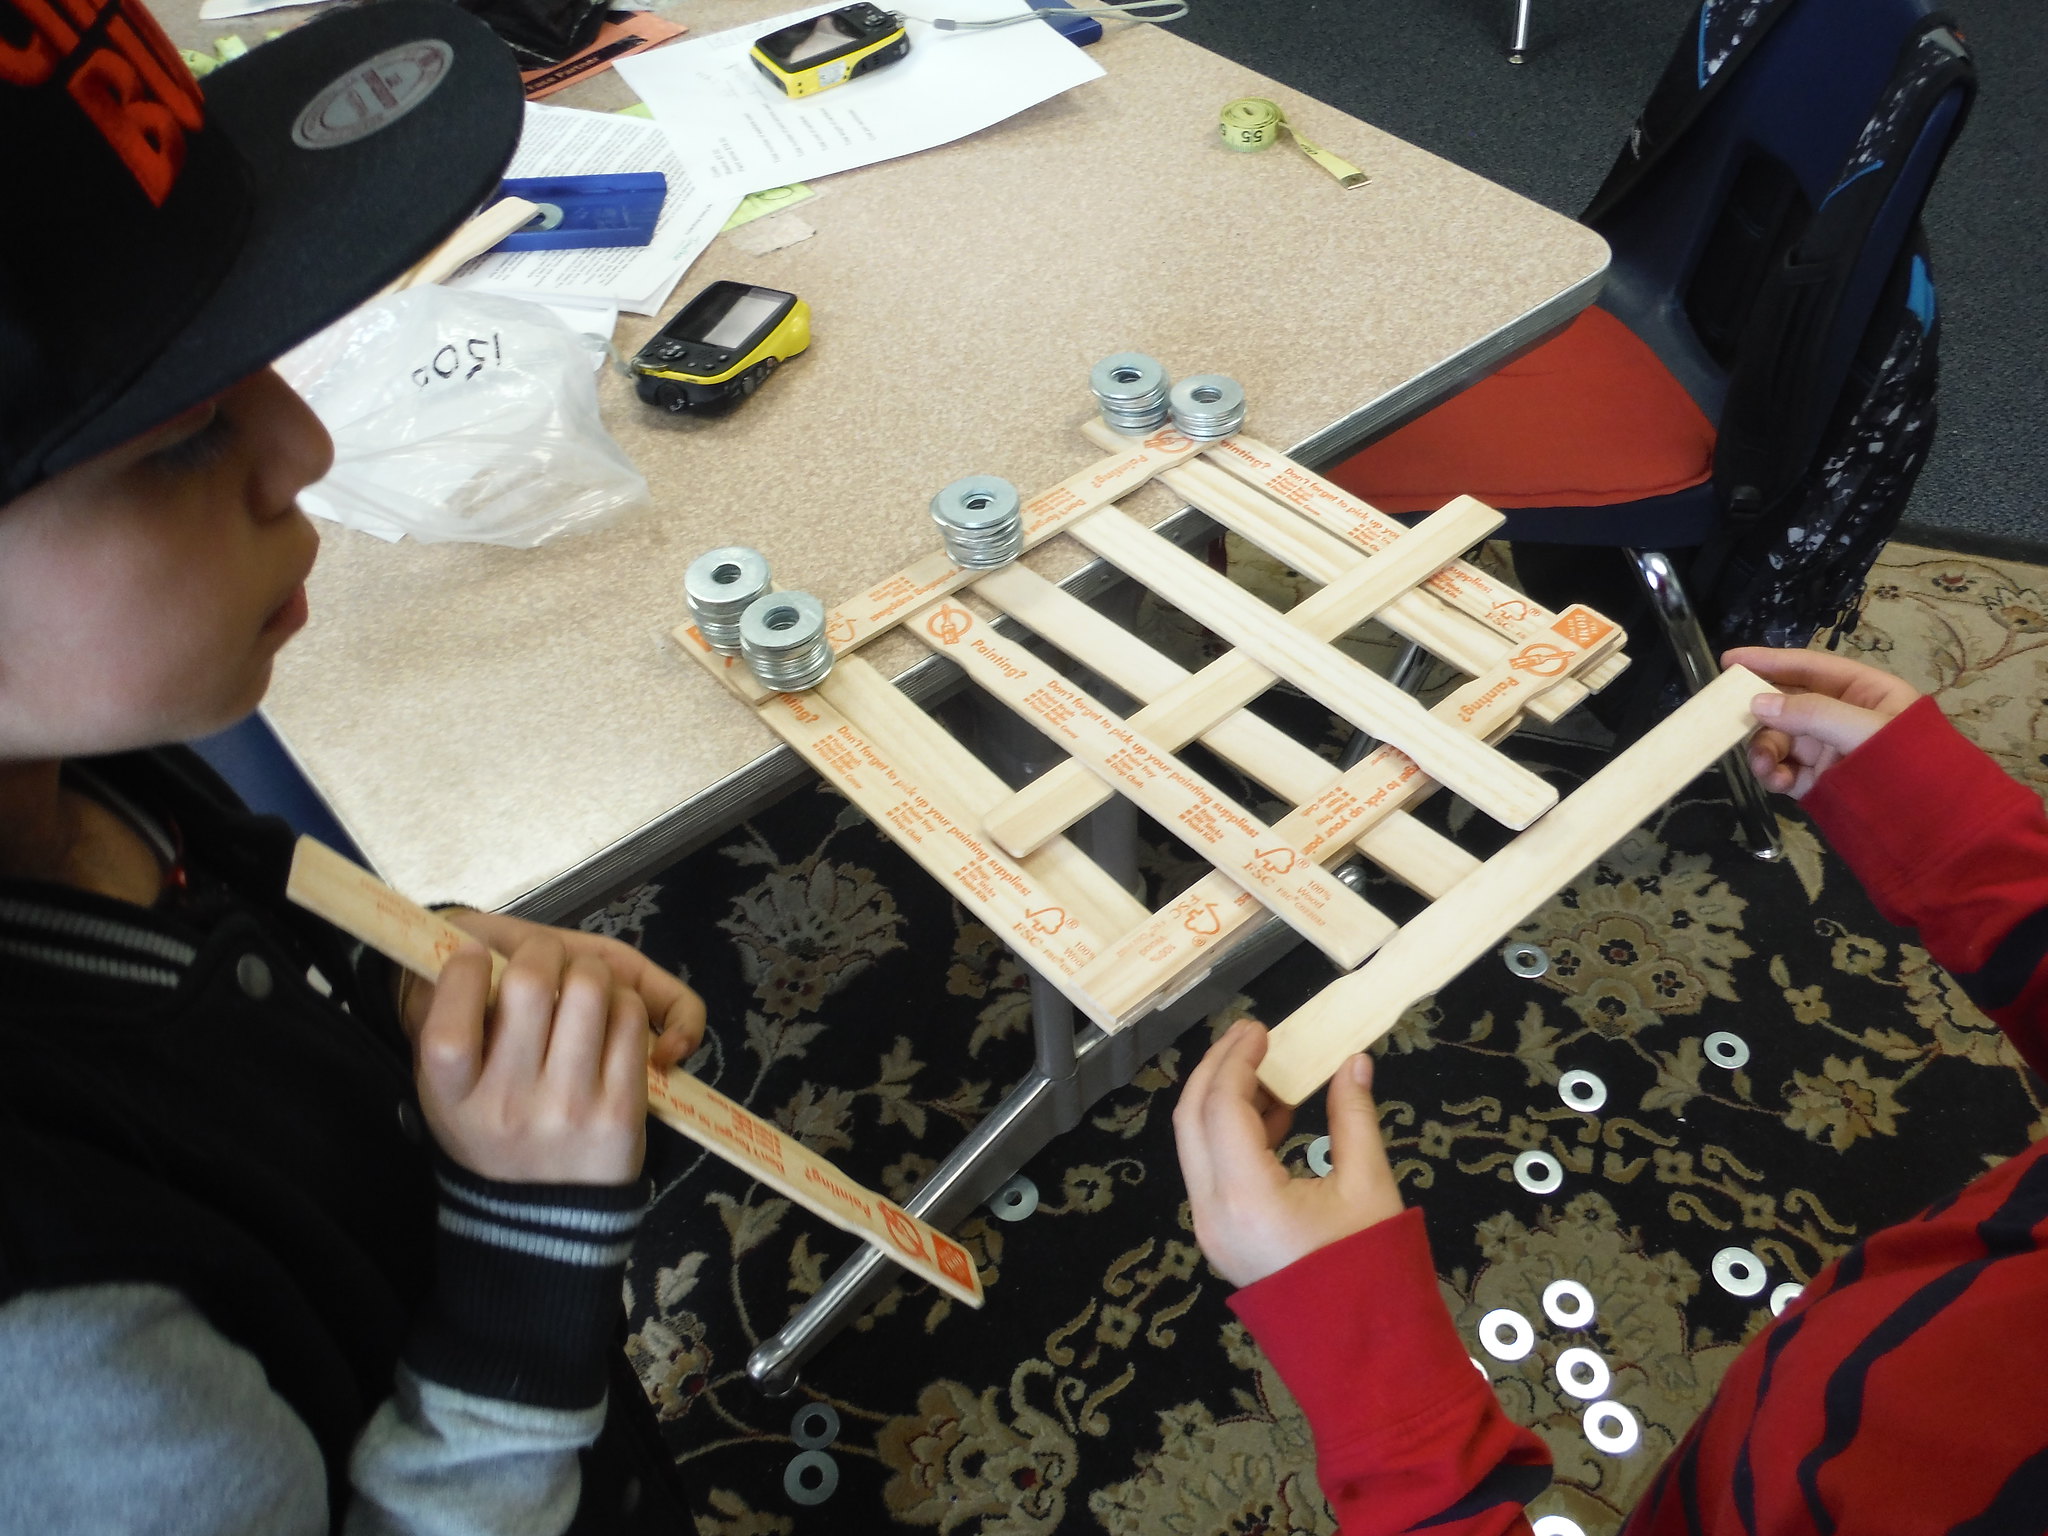
“Now your challenge is to build a structure that is still a cantilever, but how long it reaches off the table is not as important as how “aesthetically pleasing” … how beautiful it is. I’ll even supply you with extra materials if you run out before your structure is finished.” (Note, as students “finished” their structures, one extra challenge I gave them was to see how far off the table they could really get it … and they had fun pushing the limits until it crashed to the floor. NOTE: students had been working now for over 90 minutes and it might have been best to stop here if not earlier – but I wasn’t going to be able to come back soon, and Dan really wanted them to have this experience. But when I was done explaining this investigation it re-energized the class … they were very enthusiastic about jumping back in. Here are some of the results:
This group was super excited when they figured out theirs was transportable! 🙂 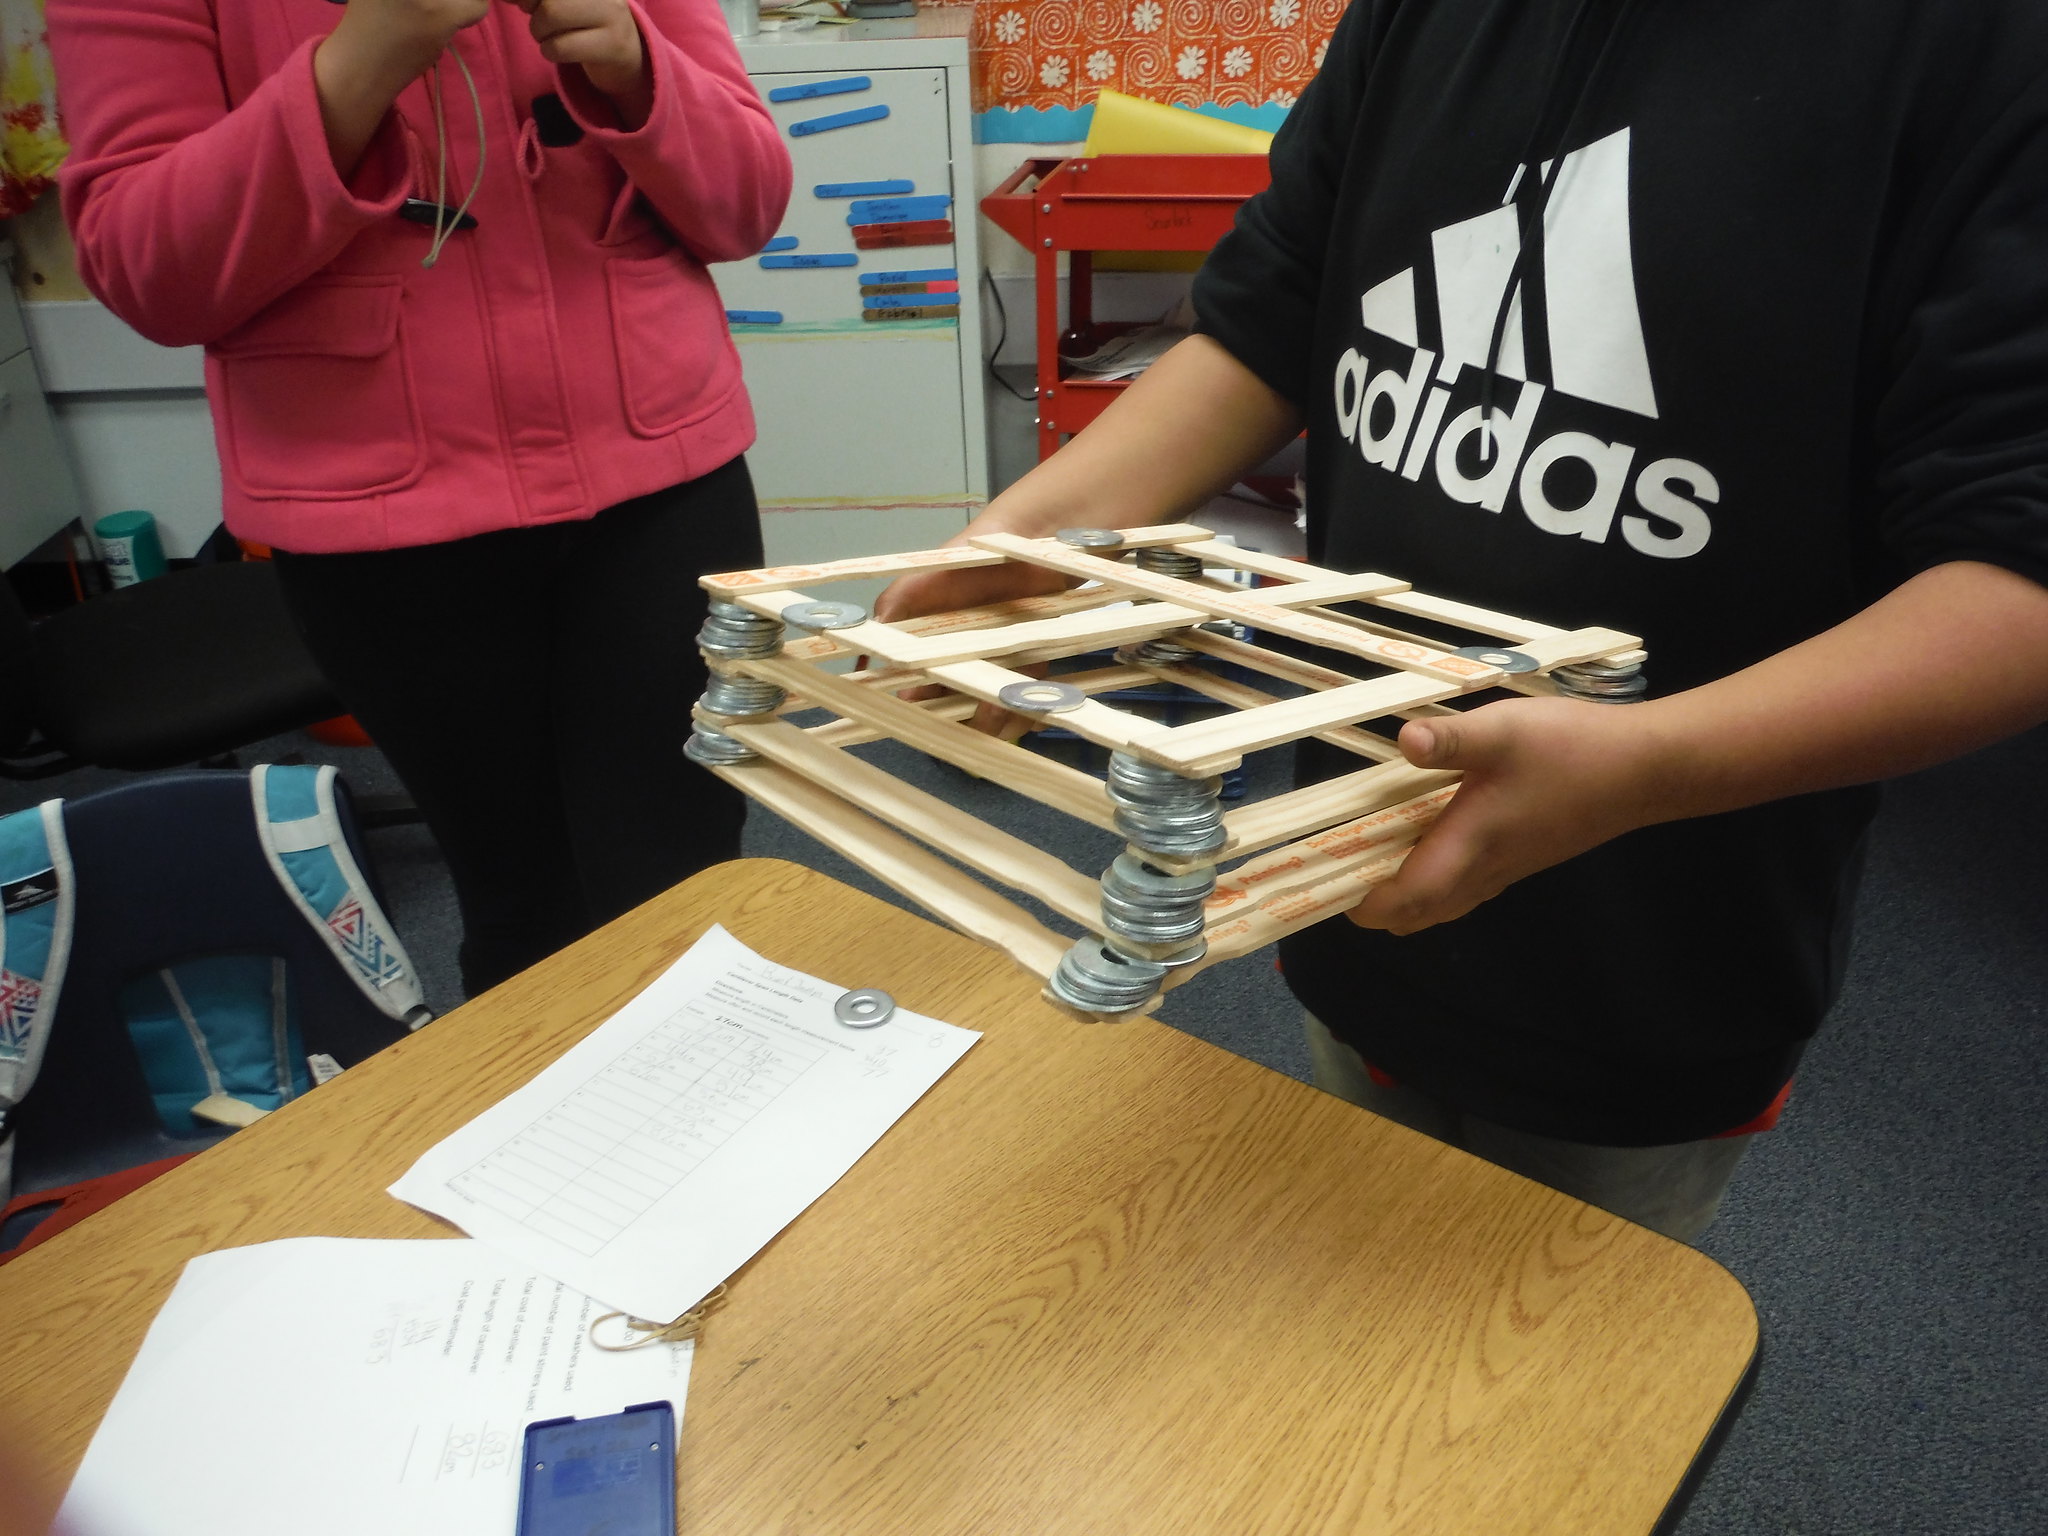
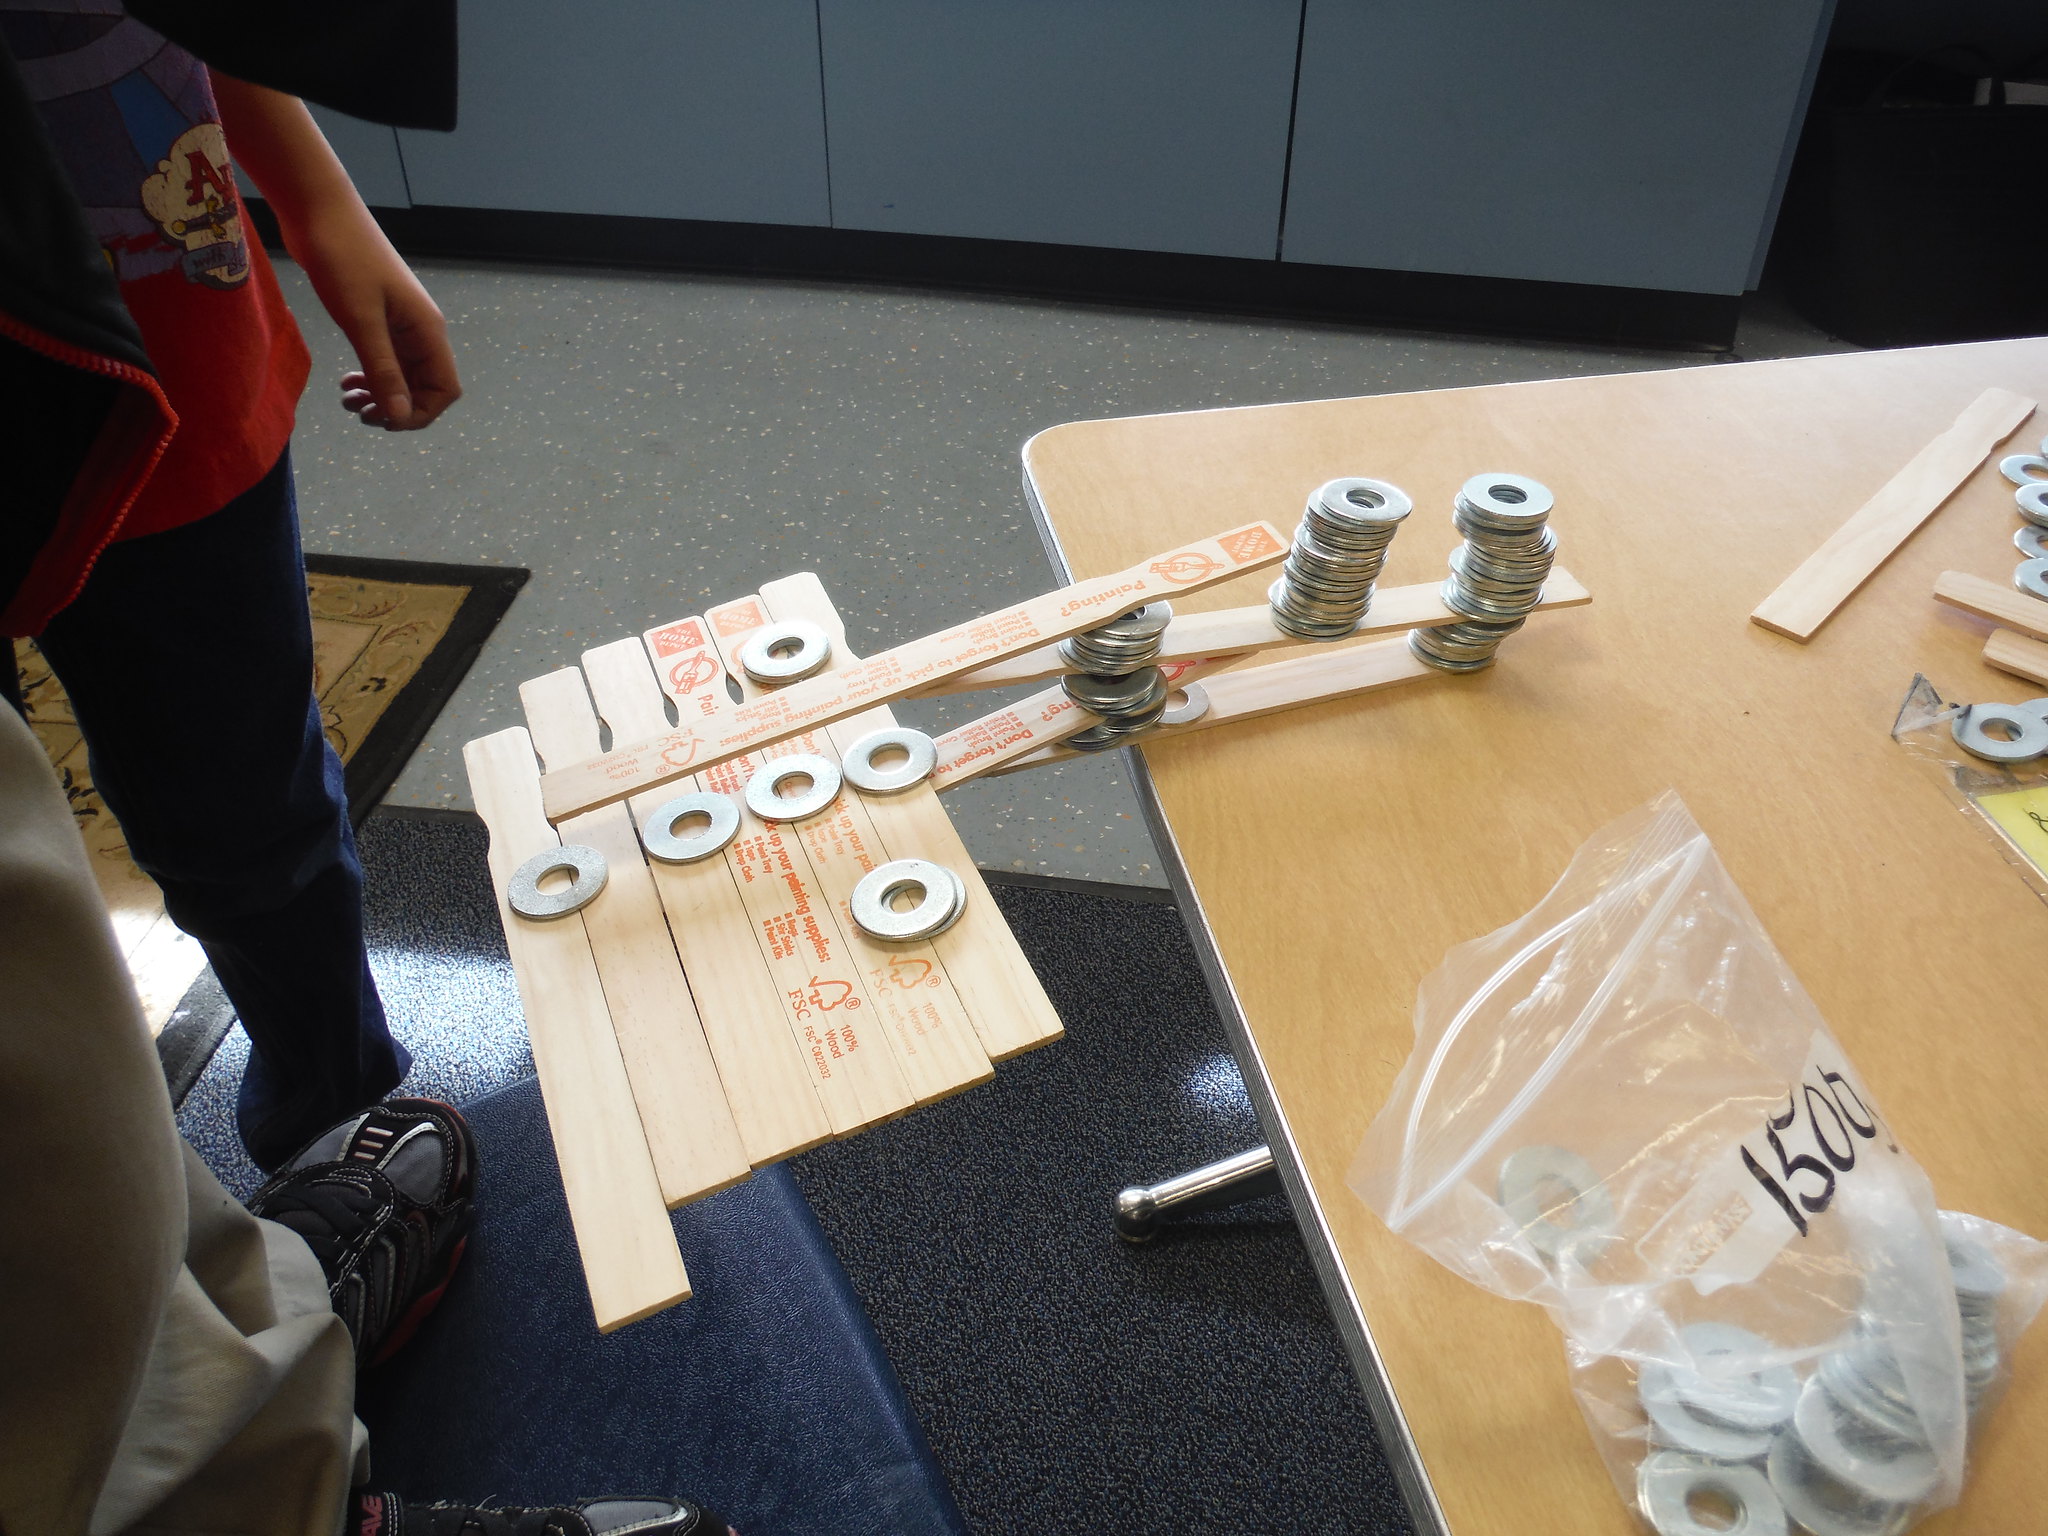
I just happen to be shooting a photo of this one when it collapsed! 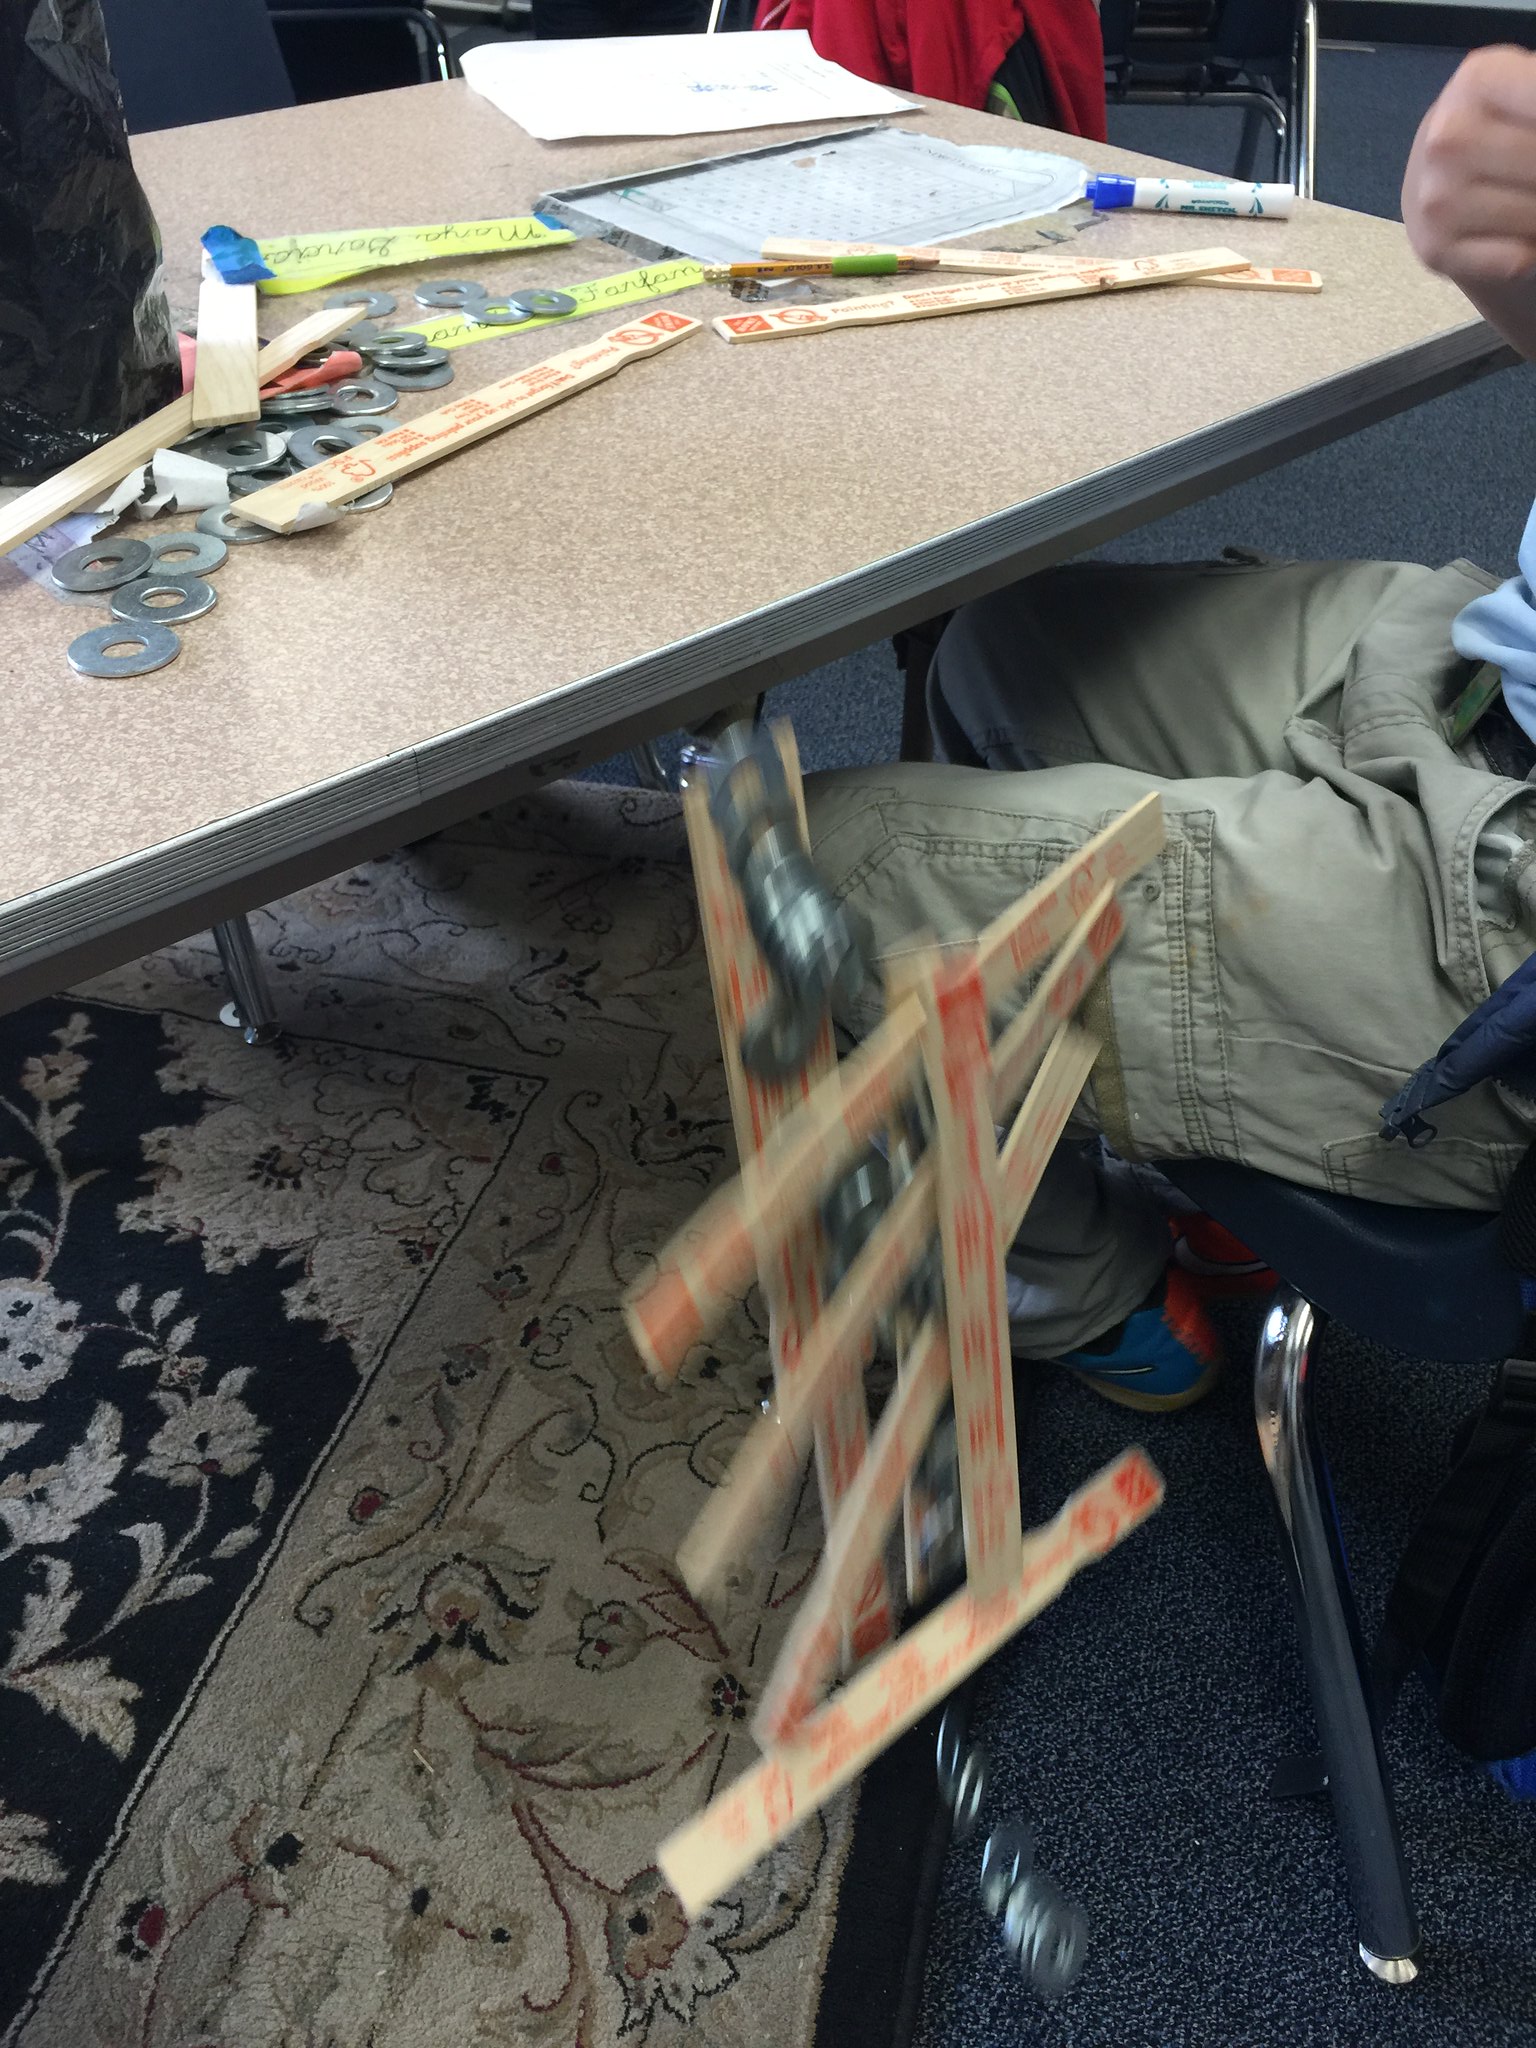
Imagine if students had more than 20 minutes and/or re-visted this experience on other days!
Check out more examples by following the link above to their Flickr set as well as this one and this one.
Before I left I explained that I would leave all the materials with them for a few weeks so they could continue their investigations. Cheers ensued. Dan said he would share more photos and feedback on what they did AND he suspected other teachers (some had even stuck their heads in to see what was going on) just might want to borrow them as well.
Learning is messy!
Exploring STEAM Education
Here's what happened - IT WAS AWESOME!
I announced in my previous post about my upcoming involvement in a STEAM (Science, Technology, Engineering, ART and Math) day at the Nevada Museum of Art. I was trying out a new idea to integrate art into what before had been strictly a STEM (Science, Technology, Engineering and Math) inquiry lesson utilizing cantilever spans (the lesson is explained here).
The original lesson was built on the work of Ken Wesson who gave Lou Loftin (my frequent collaborator in PD delivery) the original idea of using cantilever construction as an inquiry piece. He encouraged us to “go with it” and we have. We report back to Ken whenever we see him about how awesome the cantilever spans experience is. He usually just beams and encourages us to keep promoting it and innovating with it. Ken, by the way, is a great speaker, I’ve seen several of his keynotes and he brings the house down!
My idea to add the art component to the lesson was this: We started out following the original introductory lesson, pass out the materials and challenge the participants to build as long a span with those materials as possible (in groups of 2 to 3) … the difference was on this day that I only gave them 5 minutes to build. I mainly wanted to give them some experience with the materials and building a span AND to have them experience the STEM version even a tiny bit. We debriefed their experiences, I described the multiple ways to continue and leverage the lesson (which can go for days or weeks BTW) and then I changed the challenge … the focus:
“This time when you build your cantilever span your total focus is to be on the aesthetics of the span. It doesn’t matter how far out from the edge of the table it reaches, as long as it does, …make it beautiful, creative … GO!
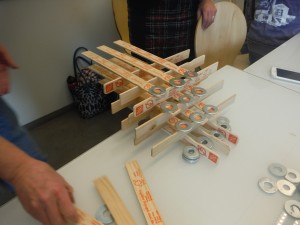
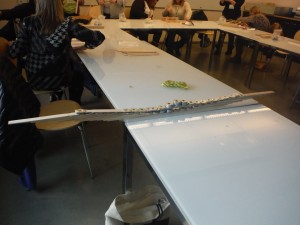
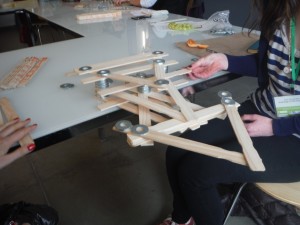
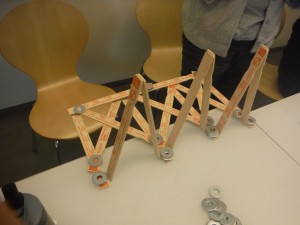
I was pretty sure this was going to elicit some creative structures … I way under estimated … the designs, even in the limited time we had (15-20 minutes) were fantastic! Here are just a few examples:
See what I mean? There are just too many to post … but here is a link to all of them on Flickr.
I had four groups of educators cycle through the 50 minute lesson during the day. When I debriefed them each group spoke about how they loved the creativity aspect. We would always make time for a “gallery walk” during each session and many noted how they were so focused on what they were creating that they didn’t even notice what those all around them were doing until we did the walk. Many took photos and asked questions and conversations began about the process … unfortunately we always had to cut those conversations short. We did discuss the writing, math, research and other integrations and connections … including collaborating with classrooms anywhere in the world, that should happen along with the STEM or STEAM version of this or any lesson.
If you’ve already experienced cantilevers with your students I fervently suggest going back and having them experience this “art” connection variation. If you’ve never done it I suggest having your students build long spans for awhile (days or weeks) and then after they have experience with the materials try the aesthetics piece (but certainly do it any way you and they want … just a suggestion) I can’t wait to get into some classrooms and try this with students! Reminder: The cantilevers lesson is appropriate for ALL students Pre-K – 12. When I do get into classrooms I’ll report back! If you beat me to it, please share your experience!!
Learning is messy!
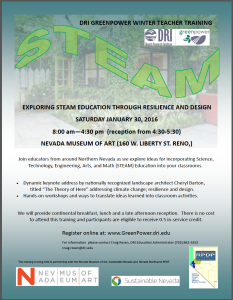
Exploring STEAM Education
Through Resilience and Design
When I was approached months ago about being part of this STEAM (Science, Technology, Engineering, ART, and Math) training at the Nevada Museum of Art this Saturday I jumped at it.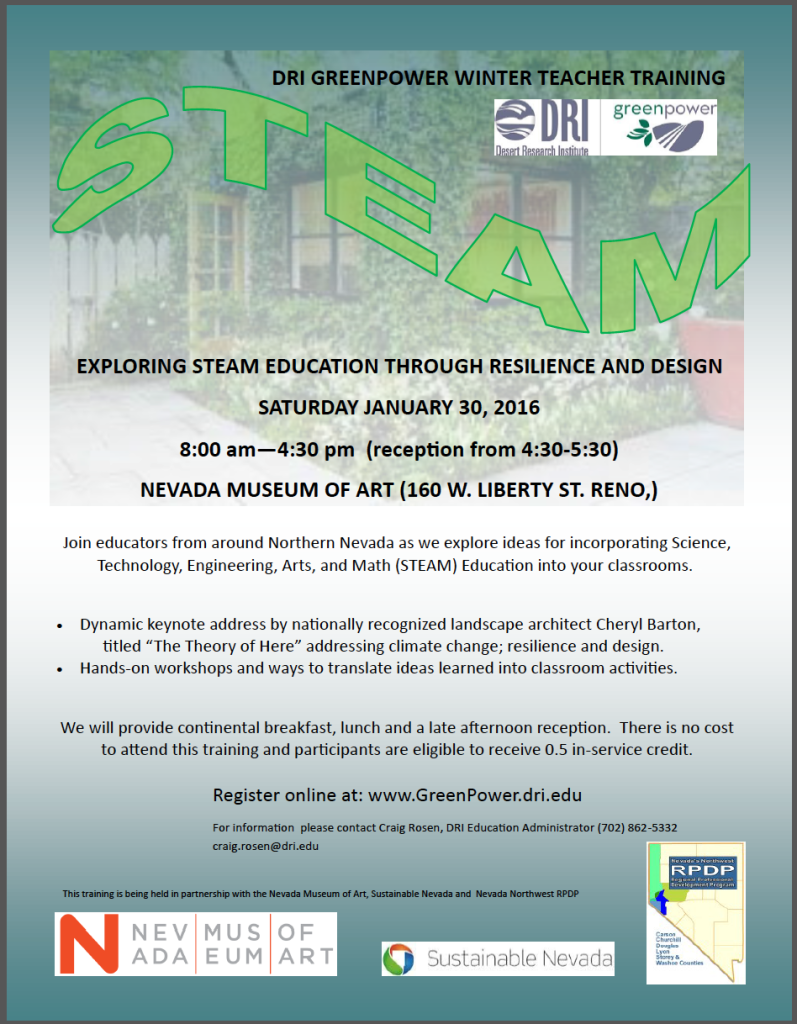 There are close to 100 teachers registered and a waiting list … apparently there is a an unmet demand – who’da thunk> 🙂
Cheryl Barton will be kicking things off with her keynote, “The Theory of Here.”
To tie-in to Cheryl’s work I’m doing a hands-on lesson with cantilever spans that I’m adding an aesthetics component to that I’m excited about. I’ll be doing it 4 times during the day and have to fit it into 50 minute periods … I’ll let you know how it goes.
Learning will be messy!

![DSCF0003[1]](https://c3.staticflickr.com/8/7469/29103462882_bca8f00f99_z.jpg)
![DSCF0023[1]](https://c2.staticflickr.com/9/8016/29132778921_9276484789_z.jpg)
