The Eclipse That Almost Wasn’t

Have telescope, will travel

Along with millions of others last night we set out to witness and observe the “Blood Moon, Supermoon Eclipse.” Living in the high desert has an advantage when it comes to using telescopes since we have a greater percentage of sunny days and “Moony” nights. But that wasn’t the case on this night. There was a thin cloud cover that we were optimistically hoping would clear, or be transparent enough to see through at a bit at least. We set up two Celestron 9 inch wide telescopes and hoped for the best.

When the time came for the Moon to make its appearance however it was a no show. We instead found a tower on a distant peak and zeroed in on it. The image, per how telescopes work, was upside down and backwards … and not all that interesting to see … but a crowd that grew to over 200 people on the top floor of a parking garage at the University of Nevada, Reno, didn’t care. Soon there was a line at least 20 people long queued up to take turns peering at whatever we could find.
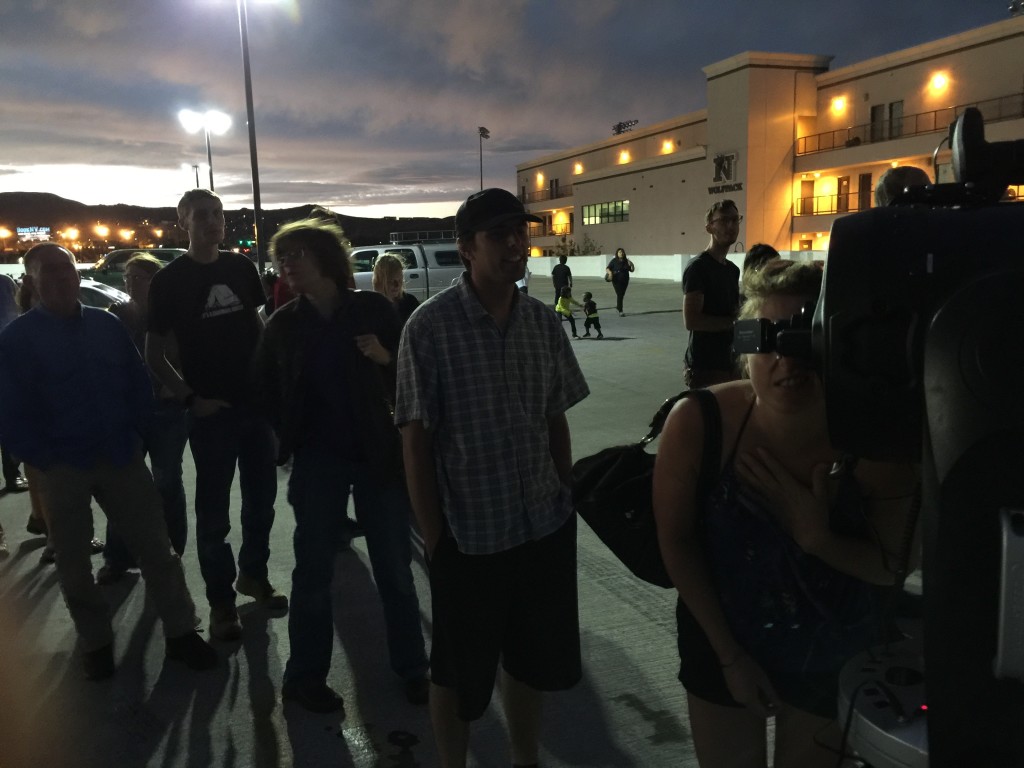
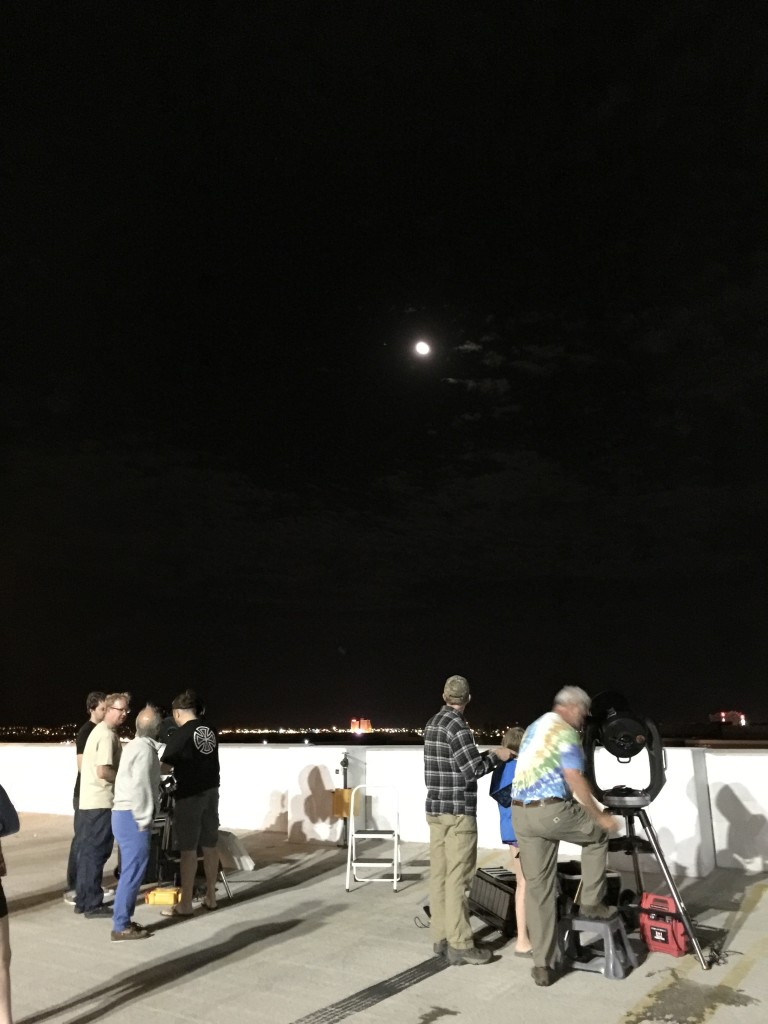
Hopeful eclipse watchers line up to view tower on top of mountain peak since eclipse is obscured by clouds.

Hopeful eclipse watchers line up to view tower on top of mountain peak since eclipse is obscured by clouds.


Actually what was behind us to the west was much more interesting to look at than the cloud shrouded sky where the eclipse was happening.
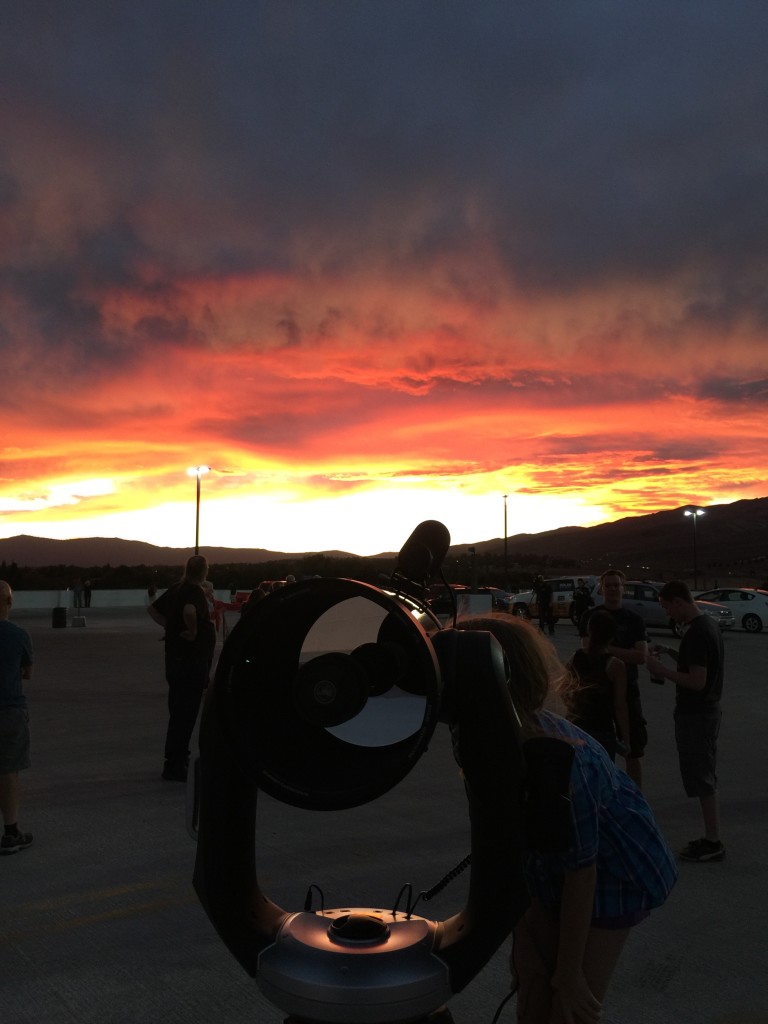
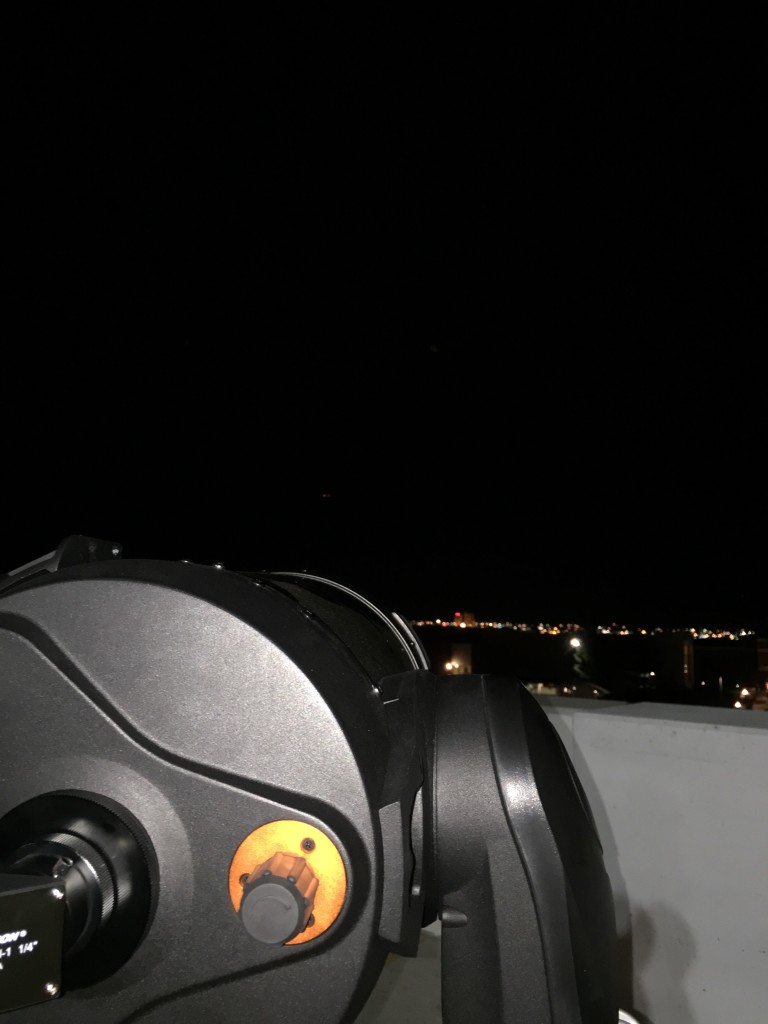
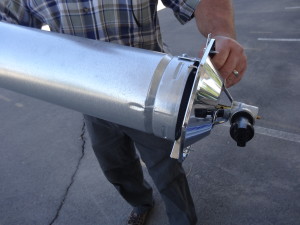
Note the mirrored surface in the back of the telescope looking into a blank sky while the real show is behind it.

Note the mirrored surface in the back of the telescope looking into a blank sky while the real show is behind it.


Next door, the Flieschmann Planetarium was showing a brief video about the eclipse and how eclipses work, as well as a live stream from NASA of the eclipse from a cloudless location. Little by little the tower on the mountaintop became less and less interesting and the crowd dwindled to a handful. Most made their way to the planetarium until the live feed stopped coming in from NASA.

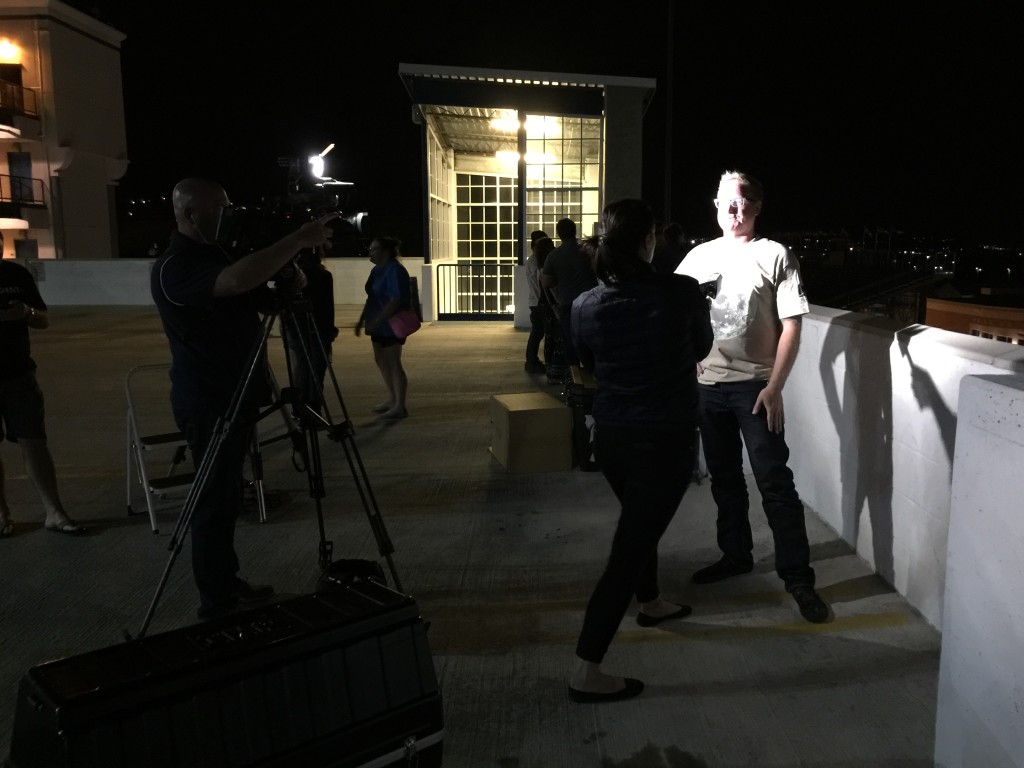
A local TV news team showed up to do a story about the eclipse and they were as disappointed as the rest of us. They did shoot a photo of the eclipse shot from somewhere else in the country that I pulled up on my phone. I held it out in front of their camera approximately where the eclipse was actually happening and they taped it and we all had a good laugh. Then, since things weren’t looking good they interviewed us and left.

Dan Ruby, Director of the Fleischmann Planetarium is interviewed about the eclipse.

Dan Ruby, Director of the Fleischmann Planetarium, is interviewed about the eclipse.

Cars full of disappointed viewers departed and we were left behind to watch in case the clouds cleared (the eclipse was still going on up there for another hour or so), but eventually we decided to pack up.

Move along, nothing to see here!

Move along, nothing to see here!


So we started to take down the telescopes when I looked up and saw just a hint of Moon which quickly disappeared again, but others had glimpsed it too. We stopped and waited, and sure enough several minutes later the Moon popped out … mostly … still clouds partly obscuring the view, but there it was and we quickly started resetting the telescopes.

As we were getting things lined up people started showing up. Some were here before, others were new visitors.

There it is!

There it is!

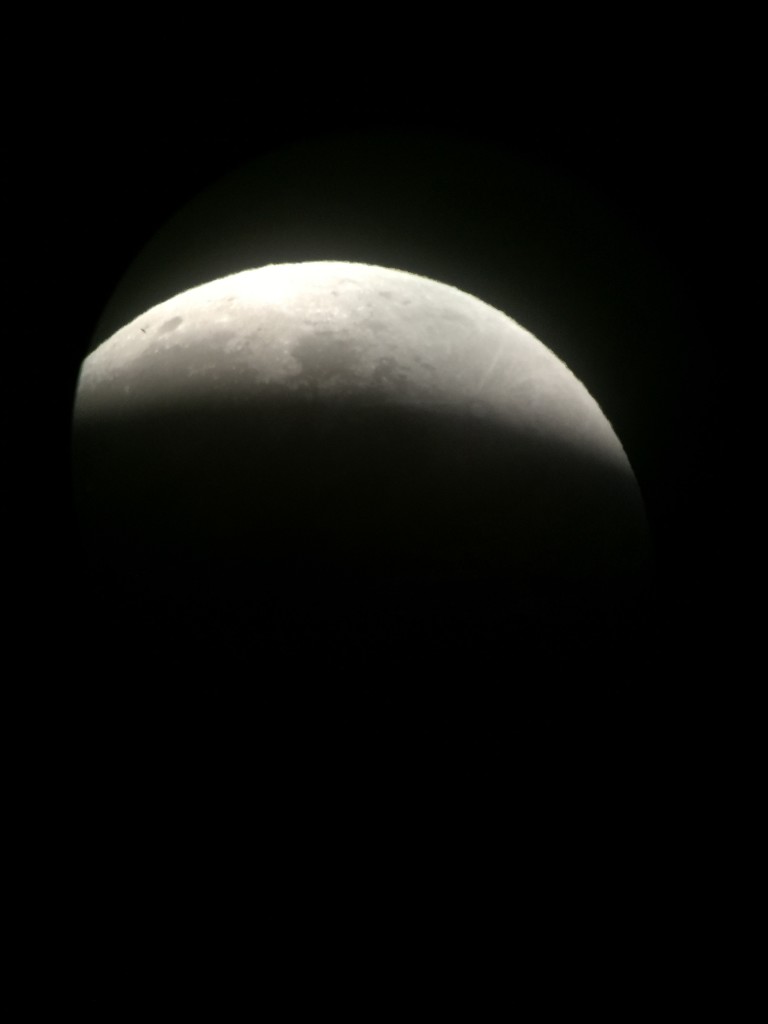
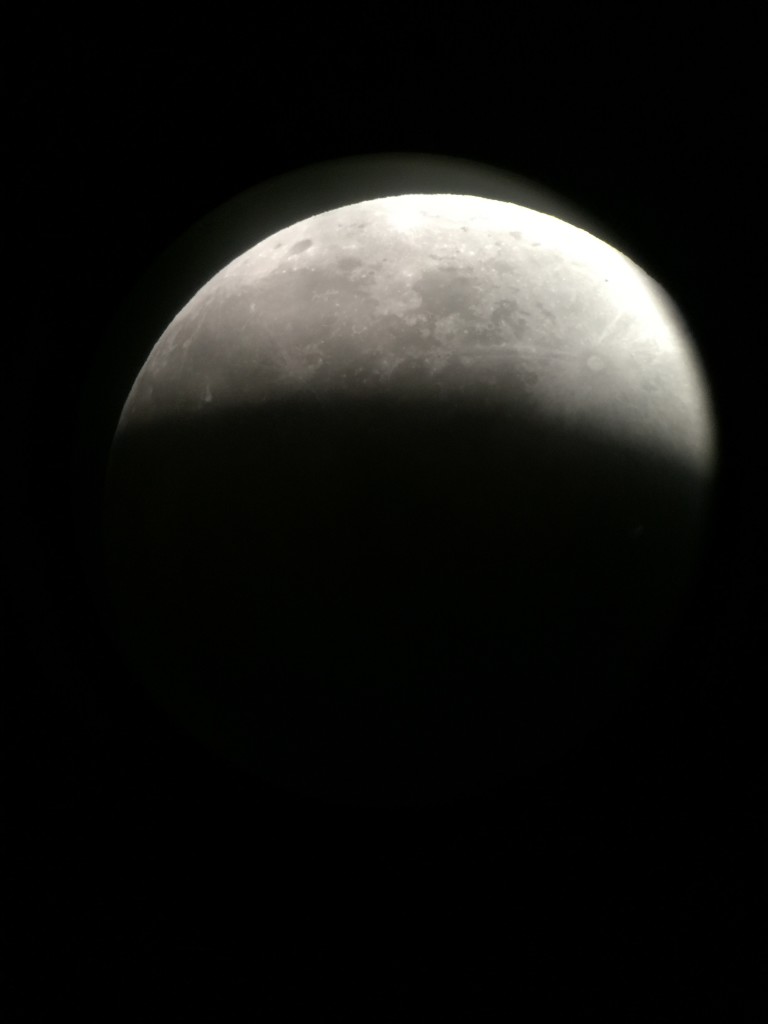
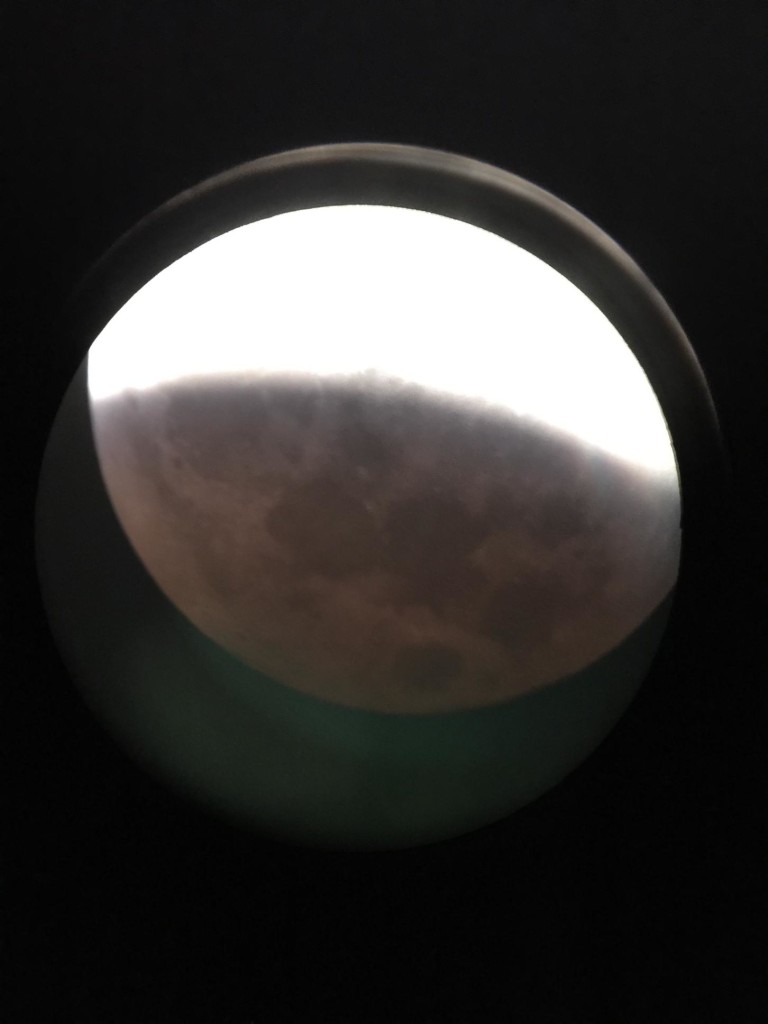
Soon we had a line of viewers. Once everyone had had a chance to look we took turns holding our phones and cameras up to the eyepiece to try and snap photos. Holding steady and pushing the button at the same time without moving is a challenge, but we got some views:

IMG_4190


IMG_4198


What you see is the part of the Moon coming out of eclipse. The dark area is still red, but too dark for the phone’s camera to pick up.


We managed to get one that showed some of the "Bloodmoon"

We managed to get one that showed some of the “Blood Moon”


So what could have been a disappointing evening turned out to be a good time had by all. We managed to answer questions about eclipses and made some connections with people in the community. As usual there was some messy-ness involved … but that’s what made it a great evening!

Learning is messy!


Yes, the High Hopes Project will rise again!

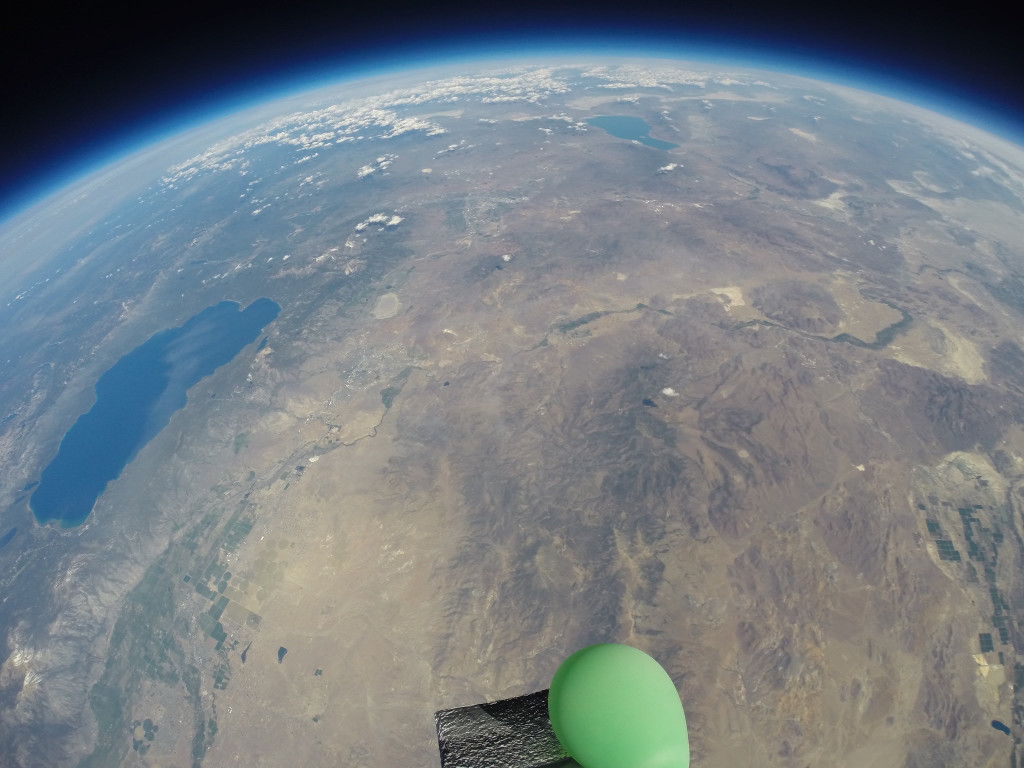
Photo taken from near space, June 2015, from the High Hopes Project balloon.

Photo taken from near space (26,200 meters / 86,000 feet), June 2015, from the High Hopes Project balloon.

I’ve been asked a number of times since the new school year started if the High Hopes Project will happen again this year, and the answer is yes! We met yesterday with a group of dedicated local middle school teachers that requested to have major roles in the project for their classrooms this year and discussed their participation as well as how the rest of the world can be involved. There will be some differences this year, but the return of some of the most popular aspects of the project as well. This Edutopia article about last year’s project will give you some notion of the project and the links on the project wiki page will further inform you about how you can be involved as well as links to photos and videos. We have to resurrect / restore the project blog and web pages, but the Flickr, YouTube and Twitter accounts are still up and running.

We will be bringing back, with a bit of a twist, an elementary bio-engineering project where students (yes, your students can  participate!) do a long term experiment to find a type of paper that will biodegrade quickly, or a substance that can be put on paper to induce it to biodegrade as quickly as possible. The paper has to be able to run through a printer or copy machine BTW …. and we will explain more about the project fairly soon. So be looking for updates here and on the project blog.

Learning is messy!

Why STEM Education Is Important – Podcast

A few weeks ago I was asked, along with Lou Loftin, to be interviewed about STEM learning for the 21st Century Mindset Podcast produced by Doug Taylor. We discuss a couple of recent blog posts about STEM and Making, and then share what we are up to lately and how STEM learning is being implemented (and not) in our area. We also deal a bit about what STEM is and isn’t and how it is too often silo-ed into a school’s schedule as opposed to becoming a culture within the school. The link to the podcast is HERE.

Learning is messy!

Tissue Paper Balloon Construction and Flight “How-To”

Materials and step-by-step with video and photos.

I’ve had lots of requests from people that remember this post from last year lately – so I’m reposting it to make it easier to find. This is a fantastic STEM activity. Plenty of “messiness” involved:

Tissue paper hot air balloons are one of those powerful STEM learning experiences that lend themselves so well to being cross-curricular.
There are the construction aspects that include measurement (length & angles for example) and skills like cutting with scissors precisely, gluing and following directions. Making mistakes, learning from those mistakes and moving on (messy learning). Collaboration, since in the classroom students usually construct the balloons in pairs or small groups. The engineering design process since as students launch their balloons they can note design changes that would lead to an improved design, make changes and relaunch to check results, and so much more. Oh, and yes, one of my favorites, there are artistic design aspects as well.  LEFT: Tissue paper balloon launch from 2013. Note the excitement of the kindergarteners as they chase it down! At this age teachers sometimes choose to construct a “class balloon” or two or three (but certainly more at times). Classes sometimes “buddy” as well – a 5th grade and a 1st grade for example.


Link to PDF of construction steps – also includes different sizes of tissue paper – we used 20 x 26 inch (51cm x 66cm) paper in videos below because it is what you usually find.

MATERIALS – So, what’s required for construction?

For EACH balloon:

– 18 sheets of 20 x 26 inch (51cm x 66cm) tissue paper (or note other size possibilities in PDF linked above) (100 sheet packs are around $12)

– scissors,  meter stick, protractor, marker, glue stick (during construction you will use the entire stick),

Here’s the video of what you would expect to get done during the first class period – about 45 to 60 minute period.

Part 1 – below

Day 2 directions below – again, expect a typical class period more or less:

Day 3 directions below:

Day 4 directions below:


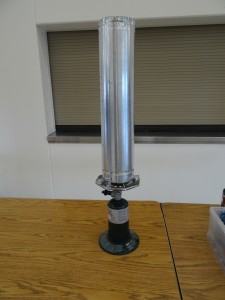
OK, so you have a finished balloon (or balloons perhaps) – how do you launch them? Here are the directions to make the launcher you see used in the video.

Materials:

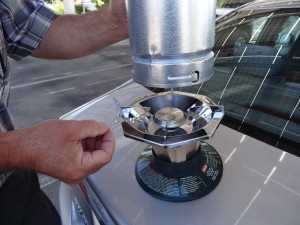
– (1) – 5 inch x 2 foot double wall stovepipe – from hardware store – about $12

DSC02874


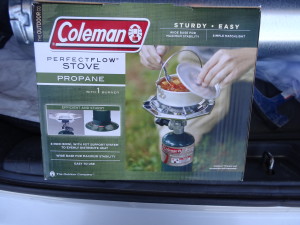
– (1) – Coleman (or other brand) propane 1 burner stove – about $35

DSC02875


– (1) – Propane tank (see in photo above of stove)

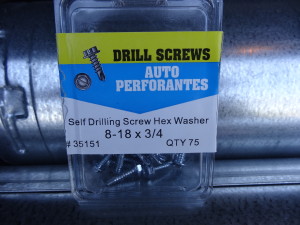
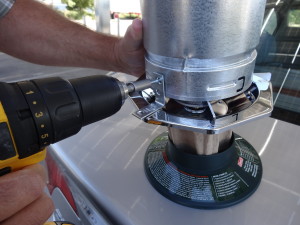
– (4) – 8-18 x 3/4 self drilling screws (box shown has 75 screws, but you only need 4)

DSC02876


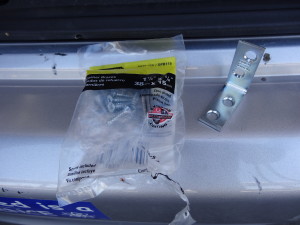
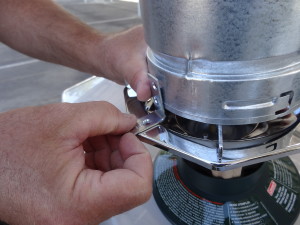
– (2) – 1 1/2 inch x 5/8 inch corner braces (pack in photo includes screws – BUT THEY ARE NOT THE ONES YOU USE)

DSC02877


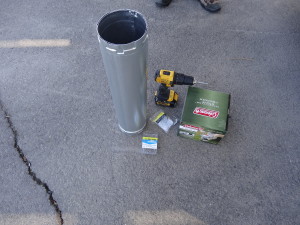
– (1) – drill with screwdriver bit for driving screws. (see it in photo with other materials)

DSC02879


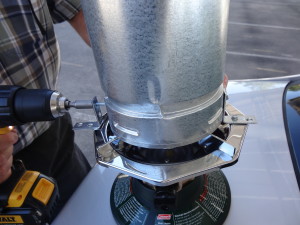
(1) – Screw the stove pipe to the stove using the corner braces – each corner brace has 4 holes for screws, but you only use 2 of them.

DSC02882


DSC02883


DSC02884


Repeat with a corner brace 180 degrees opposite the first brace.

DSC02885


DSC02886


Attach the propane tank and you have a finished launcher. We use a butane lighter to light ours. We also have a squirt bottle of water to put out any fires – rare, but tissue burns pretty quickly. At the balloon races with 14 of these going, we also had fire extinguishers (never used one) available.

DSC01270


Here is a link to a Flickr set from launch day at the races. Also some pics of weather balloons we launched –  NOTE – we check these launchers out to local schools so they can launch at school – teachers often want to go further with the design process now that the students are excited.

Learning is messy!

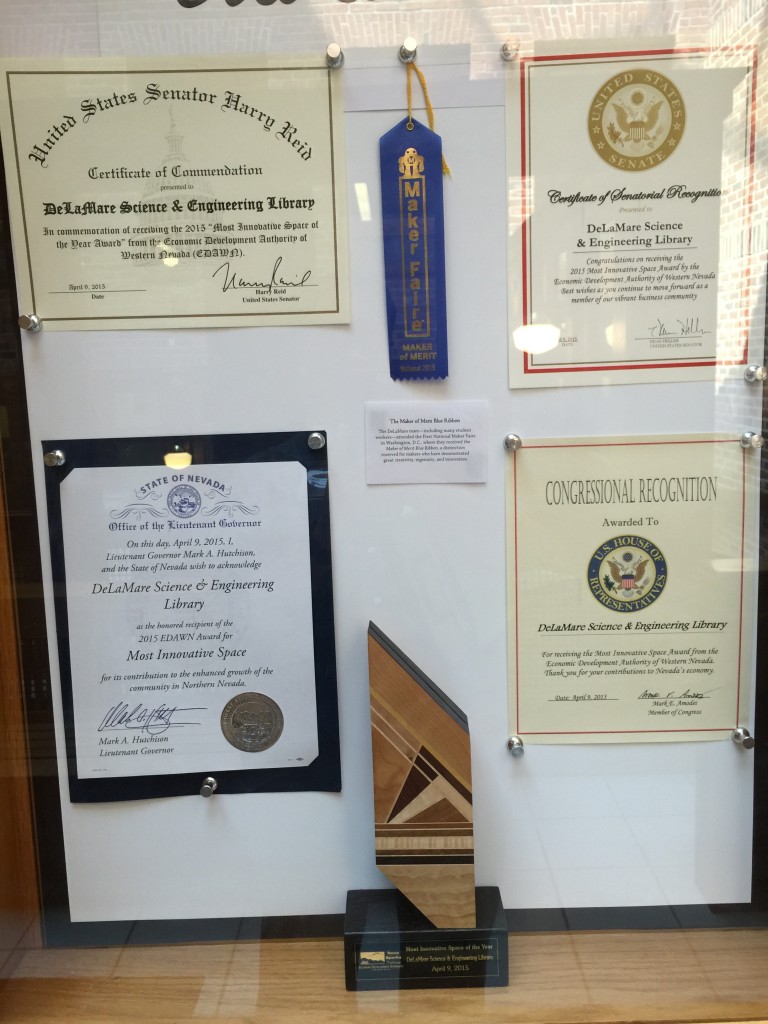
DeLaMare Science and Engineering Library

Maker and Collaboration Space

Last week I was part of a small group that was given a tour of the award winning DeLaMare Science & Engineering Library on the campus of the University of Nevada, Reno.

IMG_4008


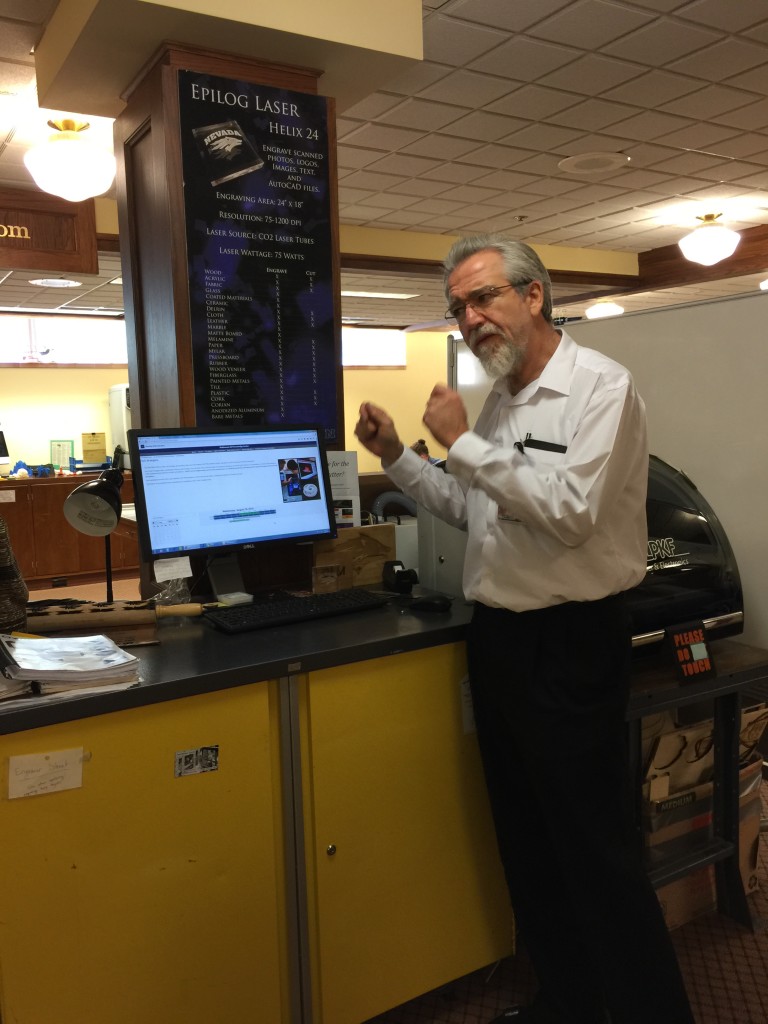
Todd Colegrove,  head of the DeLaMare Library, took the time to show us around.

IMG_4012

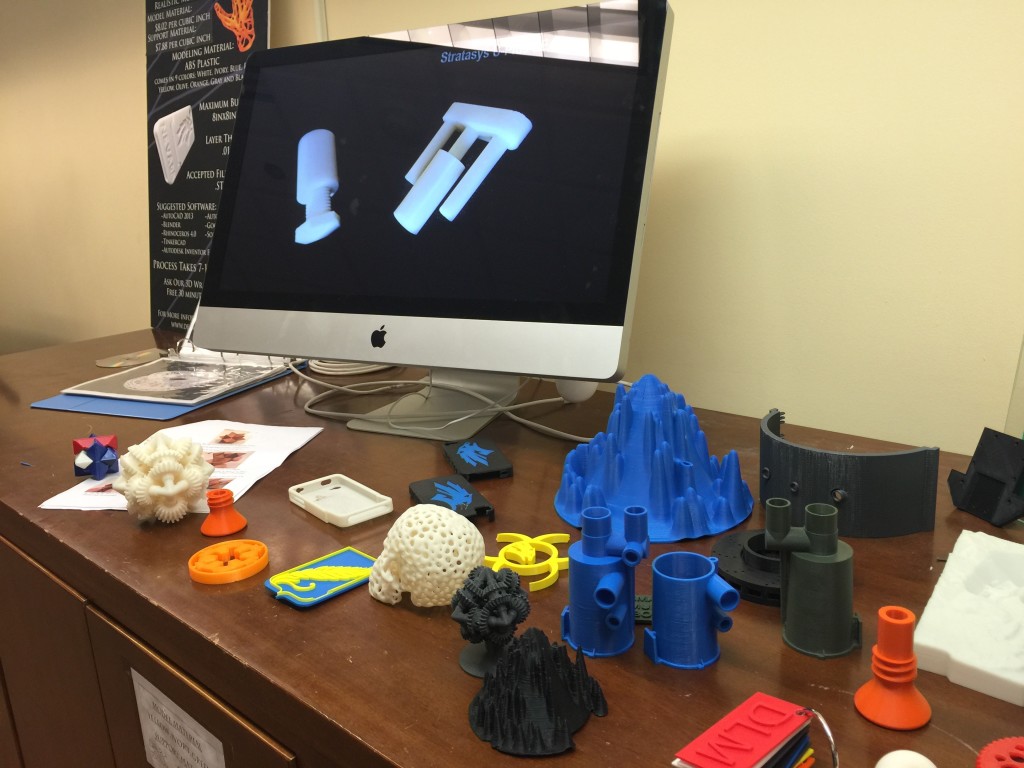
We saw laser cutters, 3-D printers, large format printers, Lego Robotics, Arduinos and many more resources which they will not only allow teachers and students to use, they have people ready to help you learn about and use them. Since they are a no-profit they will also print your 3-D designs for cost.

They also have collaboration rooms, many that have walls made of whiteboard material, tables, chairs, computers and more, that can be checked out and used. They also support classroom field trips to the facility that be everything from a tour of the facility and resources available, to using the facility to plan and “make” using the library’s resources.

IMG_4013


Here’s a YouTube video that shows the resources and maker spaces they have available:

IMG_4010


IMG_4009


IMG_4014


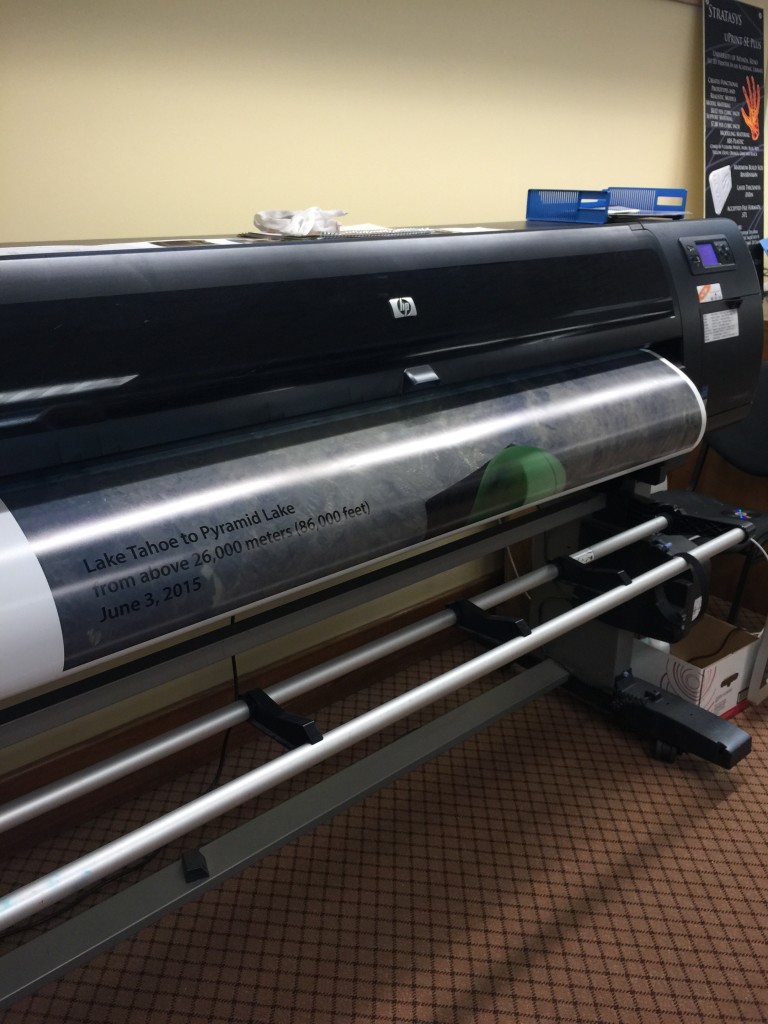
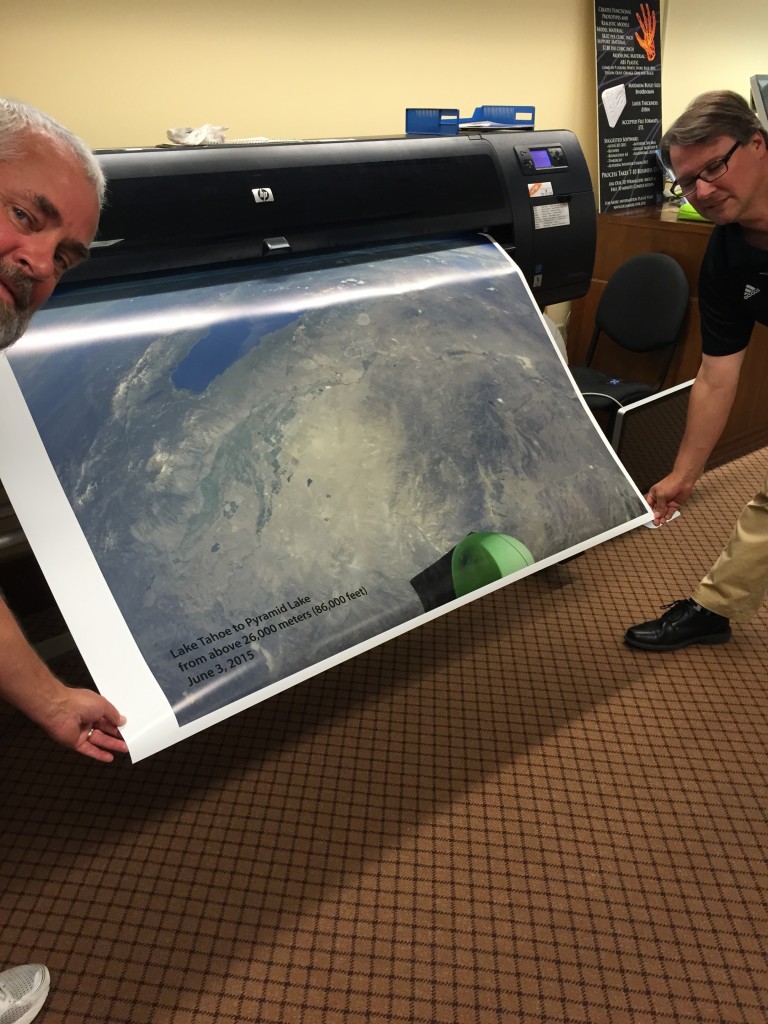
We took advantage of the opportunity to print out in large poster size one of our favorite photos from the “High Hopes Project.”


IMG_4015

We printed on a nice matt paper in 42 x 54 inch size and it cost less than $30.


I’m planning on making a trip to learn about and use the DeLaMare Library as part of classes and trainings we offer to encourage teachers and the community to take advantage of this incredible resource.

Learning is messy!

Get off to a great start!

Beginning of the year lessons, activities!

I repost this selection most years because it is a popular post and because I found building the community in the classroom so crucial. Why wait? Start off right away giving students opportunities and experiences that lead to a collaborative atmosphere.

Beginning of the Year Classroom Learning Activities,” –  I posted last year and it explains some of my favorite activities and includes links to longer more explicative versions.

Every Piece of the Puzzle is Important” – is a great project that teaches simple word processing and printing skills while demonstrating how we are all stronger when we realize what strengths we each bring to the group.

The Important Book, A Writing Lesson” – is a very popular post on this blog. Not only is it a great way to teach paragraphing, I use it to teach writing blog posts but especially blog comments.

Have a great start to your year!

Learning is messy!

Classroom Blogging Options Post by Wes Fryer

Get blogging with your students this year!

When I’m asked what is the “biggest-bang-for-the-buck” technology learning tool for classroom use I still say blogging (so much so I co-wrote a book on blogging – see sidebar). Blogs can be writing and conversation, which by itself is awesome, but blogs are also places to post and share photos, video clips, podcasts, collaborate globally and so much more. They are also a powerful home/school connection which seems to be on everyone’s radar these days. I strongly advise anyone that wants to provide their students with a powerful learning tool, that you consider setting up a class blog this school year.

Having said that, I wanted to share a post I only wish I had the time to research and write. Fortunately my friend Wes Fryer took the time to do just that … and he did an awesome job of it. He shares about the blog platforms available and their strengths and weaknesses based on his own experience blogging, but also his students’ blogging experiences.

Wes titled his post, “Classroom Blogging Options (August 2015)” – check it out yourself and share it with others to help promote classroom blogging!

Learning is messy!


Just had to share this photo

A week or so ago I came across this photo on my phone. I took it while we were preparing to launch the “High Hopes Project” balloon this past June at Lake Tahoe and had never taken a close look. The balloon had just been inflated and we secured it to a picnic table while we prepared the payloads it would transport to 86,000 feet. I wish I could say I thought a lot about setting up the shot and getting it just right, but truth is I took it pretty spur of the moment because we were all busy getting things ready to go. If you click on the photo it will open in another window and be much sharper. Hope you enjoy it!

The High Hopes Balloon patiently waiting on the beach at Lake Tahoe to be launched spring 2015

The High Hopes Balloon patiently waiting on the beach at Lake Tahoe to be launched spring 2015.

Learning is messy!

Welcome to the new look!

I explained a few weeks ago that “Learning Is Messy” was getting a new look and address, and here it is. There still might be a few updates and changes to come as I learn more about what has been wrought here. The old site was getting a bit clunky and unwieldy – blog theme updates would often lead to unwanted changes in appearance and function, and I was not happy with how my hosting company handled things at times.

So change is good, now I just have to deal with the changes, which shouldn’t be too hard. I have to give credit to Jim Beeghley who orchestrated the move to a new host and implementing the new blog theme. He got everything up and running before “turning the keys” over to me. He’ll probably get a few more help requests from me … I kind of feel like I’ve gone from driving a pick-up truck with an automatic transmission to a race car with a manual 6 speed … so I’ll probably strip the gears a few times … but I’ll get there. That’s part of “messy learning” after all!

Lots going on as one of the 6 school districts I serve has already gotten back from summer, and others will be back in a few weeks. Again, welcome to the new look!

Learning is messy!
 

Edutopia Post About the High Hopes Project!

A few weeks ago I was asked to submit a post for Edutopia (Supported by the George Lucas Educational Foundation) about our “High Hopes Project.” It was a challenge based on my schedule right now, but on the other hand it forced me to be more thoughtful in explaining what is a multi-layered project. I was restricted, thank goodness, to 800 words or I might still be writing. You can check out the post here. It does the best job so far (according to my biased opinion) of explaining the project.


Learning is messy!!!