NASA Pathway to Space – Drone Edition

Rockets and High Altitude Ballooning Yet To Come

PathwaystoSpace2015_Inservice_pdf I announced the NASA Pathway to Space class for teachers about a month ago:

“Starting next week a team of educators (including me) will be providing a class for local teachers of grades 3rd – 12th which will include hands-on training in building and flying drones, rockets, planes and designing payloads which we will then launch on a high altitude balloon to somewhere between 65,000 to 100,000 feet.”

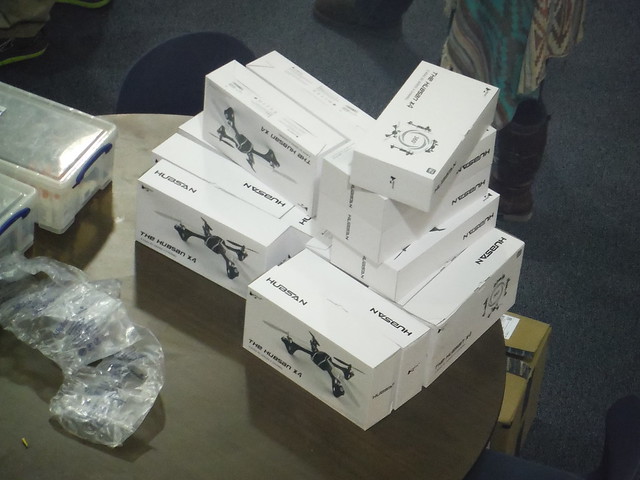
I mentioned at the time how, along with the training, teachers would receive a drone (UAV) and build and keep another as part of the class. The first 4 classes focused on drones. Not just building and flying them, but on the laws and ethics that teachers and students must take into account in using them.

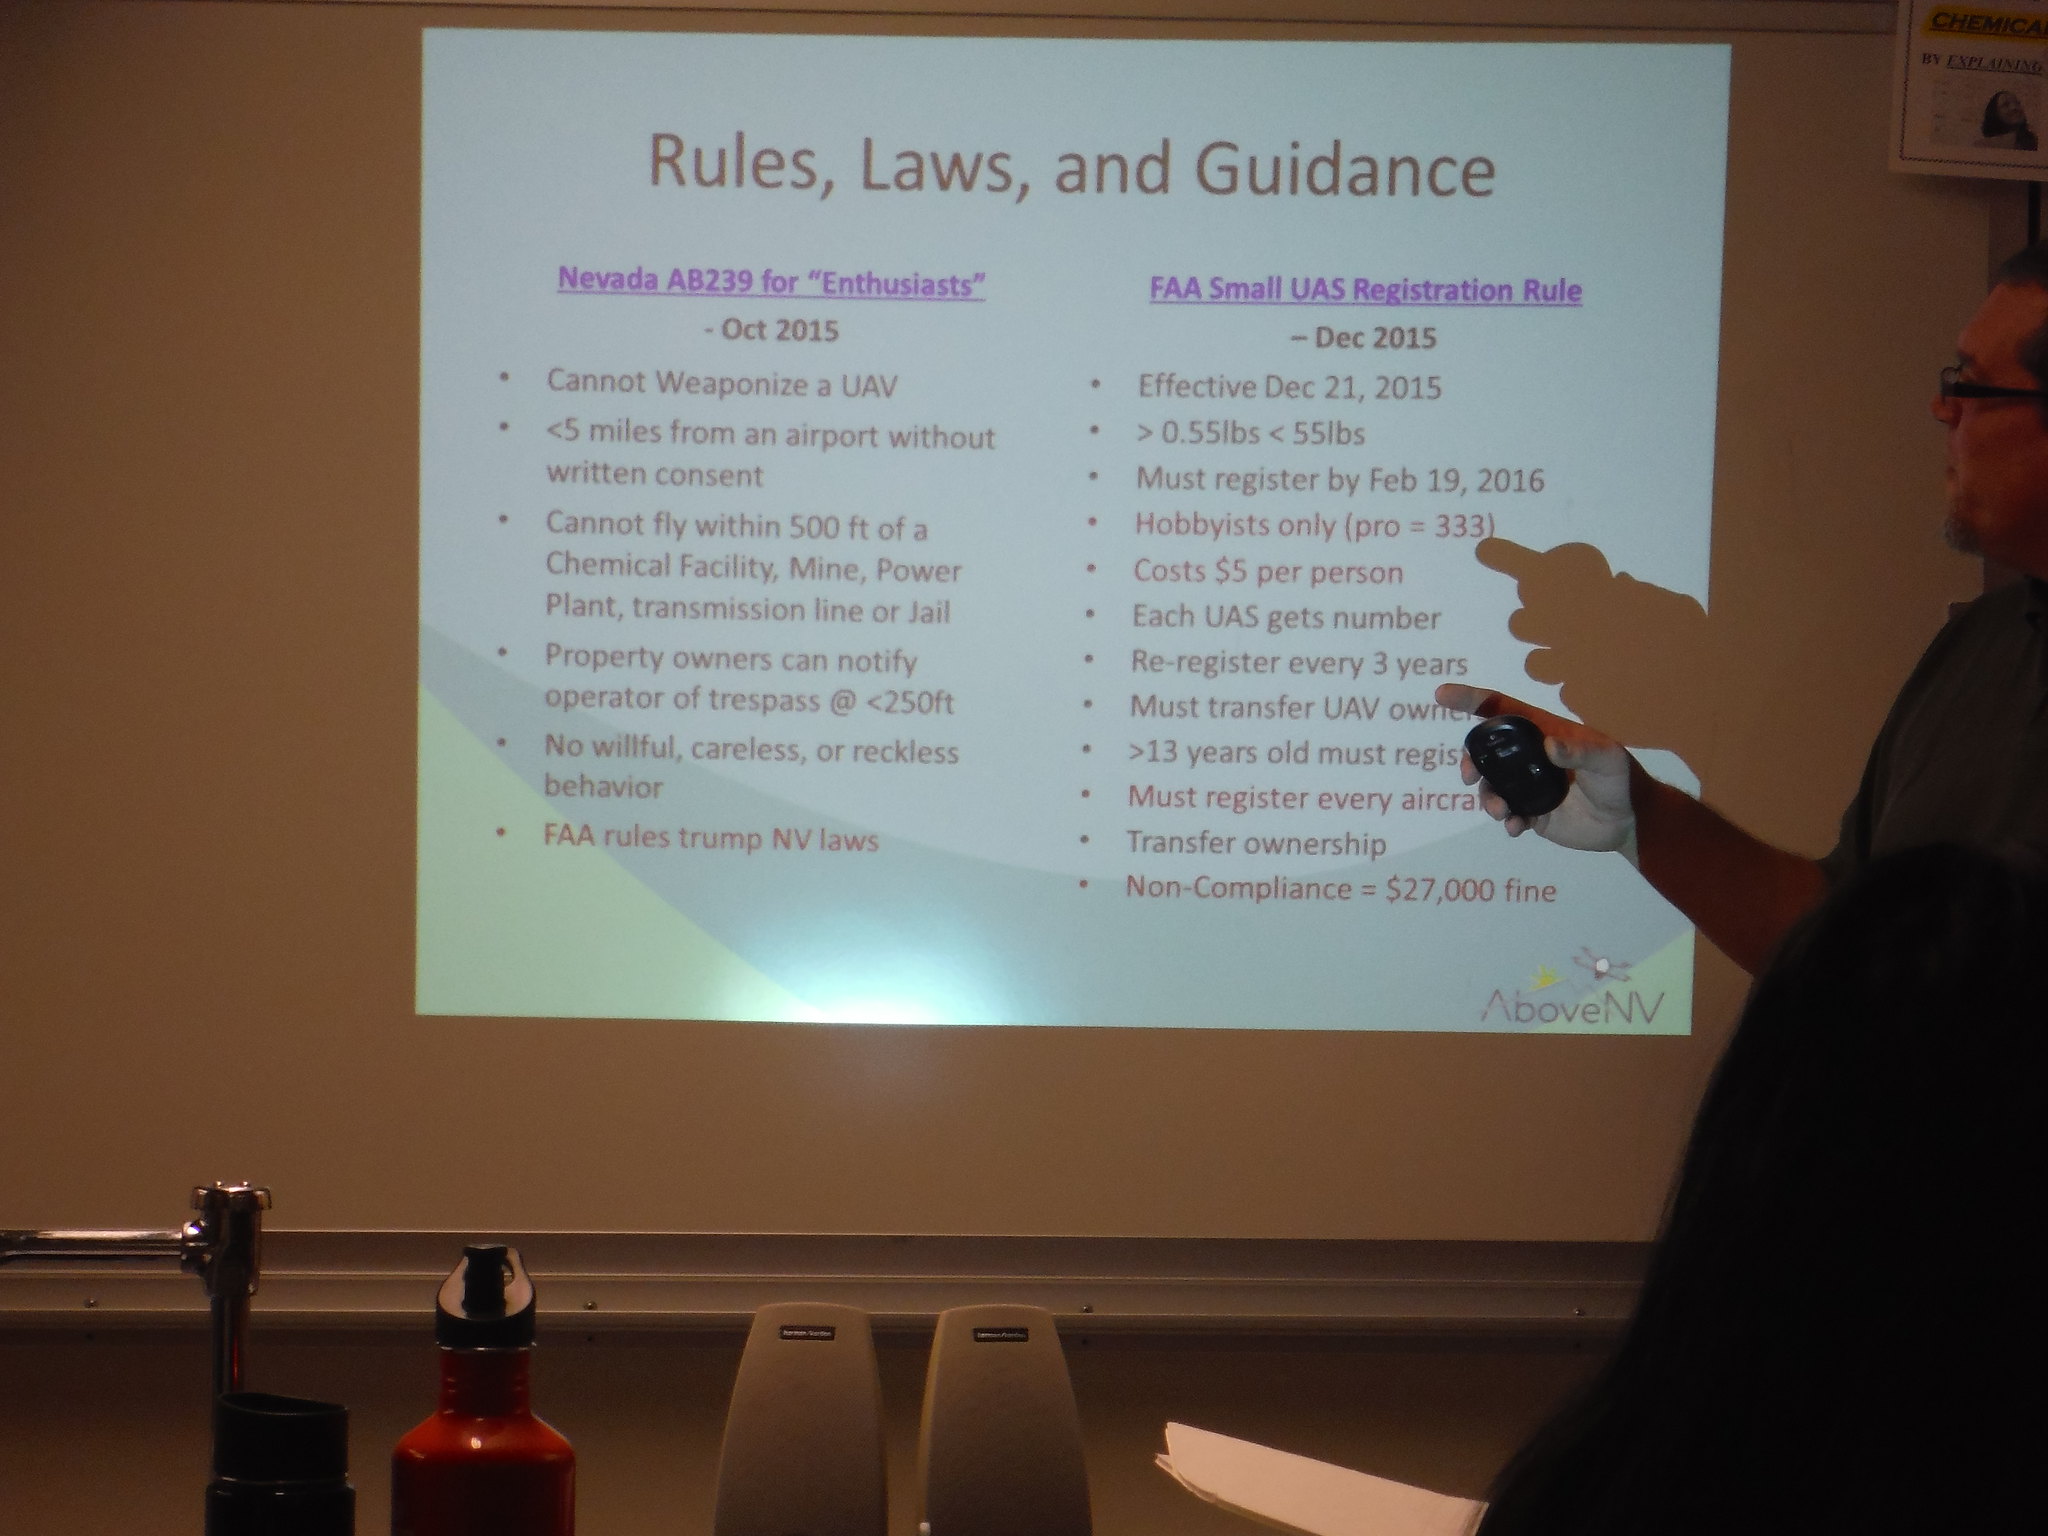
Below: Kirk Ellern from “AboveNV” explains some of the rules and laws around drone or UAV use. DSCF0289

  DSCF0312

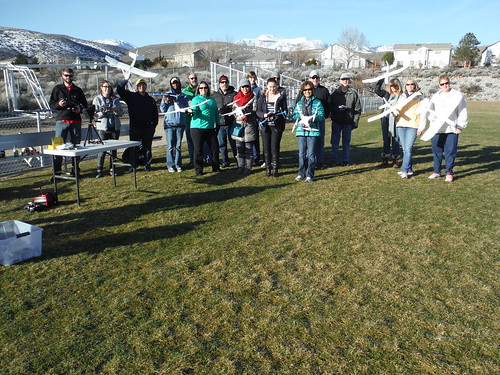
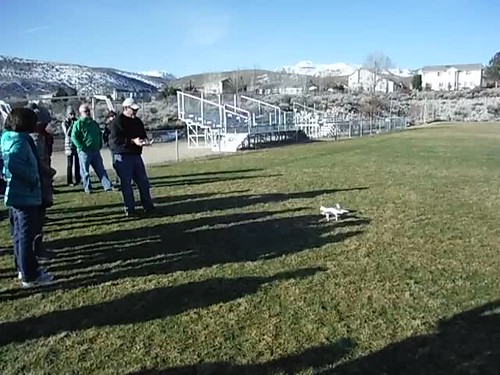
Above: Participants getting the hang of flying their new drones (cost just less than $50 including remote). 

Learning to fly the little drones is actually more difficult than the larger ones which is why Kirk Ellern and Rob Dunbar from AboveNV suggested using them. “If you can control one of these little fairly indestructible guys, piloting the larger ones is relatively easy.”
DSCF0329


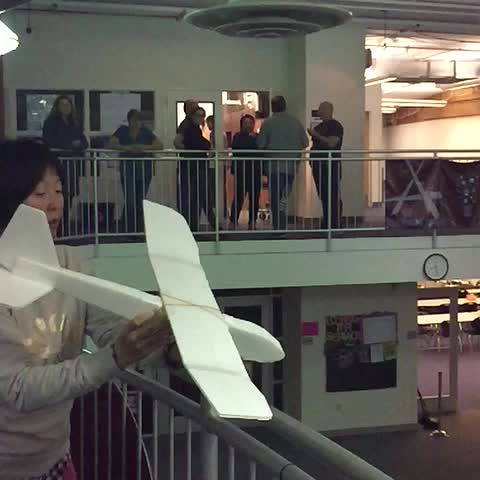
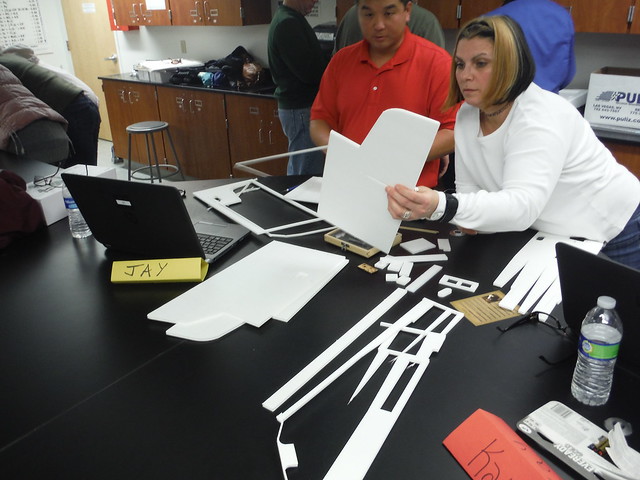
Next, each participant built a “chuck” plane from a kit – so named because you throw or “chuck” it to make it airborne. However, these planes are designed to have a motor, remote control and more added to them if one wishes to do so.

  DSCF0350 

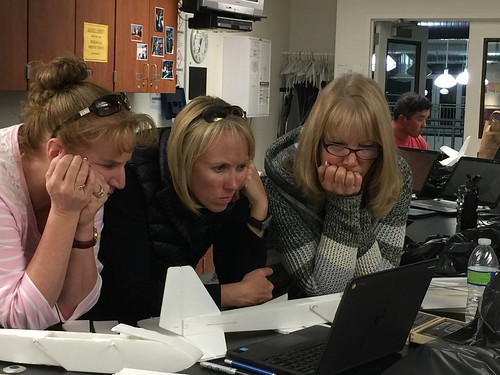
Teachers building their planes, YouTube videos demonstrate each step of the building process.
Untitled
HOBC8940


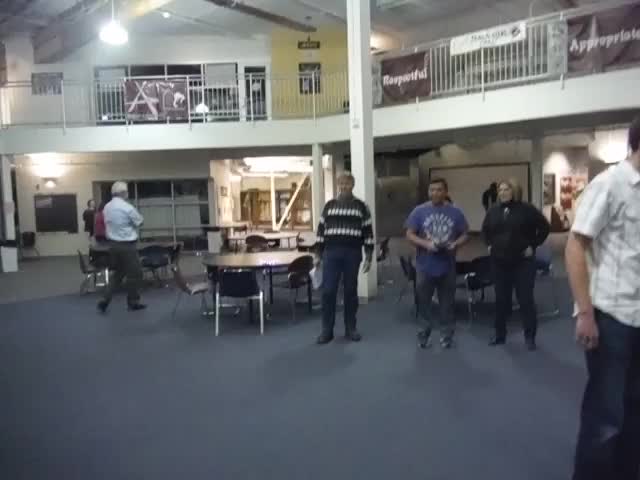
Above: A first flight

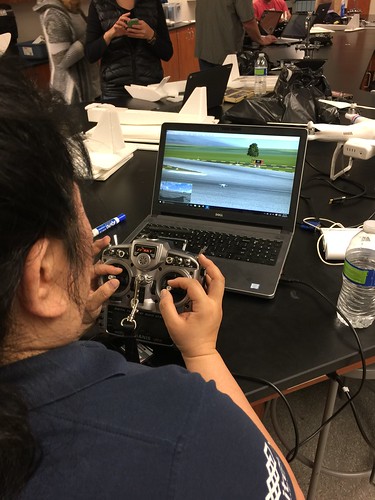
So they’d be ready to fly larger drones they were given time with flight simulator software.
Untitled

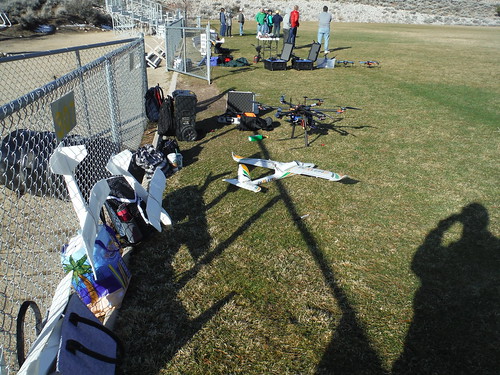
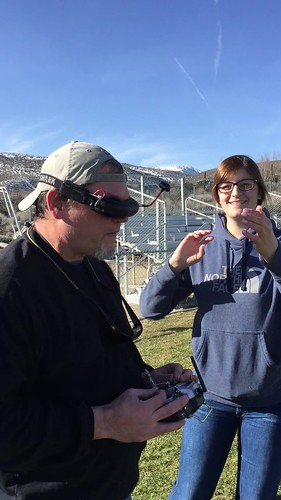
We designed this class so that we meet on 2 to 3 Tuesday evenings to learn about and build drones, rockets, balloon payloads and then on a Saturday to fly what we’ve learned about and built. We were ready now for our “Drone Saturday” – so we met on a soccer field at a local high school and thanks to “AboveNV” and friends bringing multiple drones of all sizes we learned about and flew drones for hours. This included flying some while wearing goggles that see through a camera on the drone, so you are flying the drone like you are onboard.

DSCF0535

  DSCF0524

DSCF0531

  IMG_5365

IMG_5367

We really lucked out in that there was not a puff of wind all morning which made it easy to fly all the different sizes and types of UAV’s (Unmanned Aerial Vehicle) we had available. Here’s a link to all the photos from our “Drone Saturday.”

Up next is rockets!

Learning is messy!

As Promised …. Cantilevers With Students

STEM and STEAM

Untitled

In my last post, where I tried out including an art component to this powerful engineering problem with cantilevers on teachers, I explained that as soon as I could try it out with students I would get back about how it worked. Fortunately one of the teachers in that training volunteered his class.

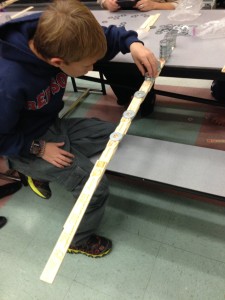
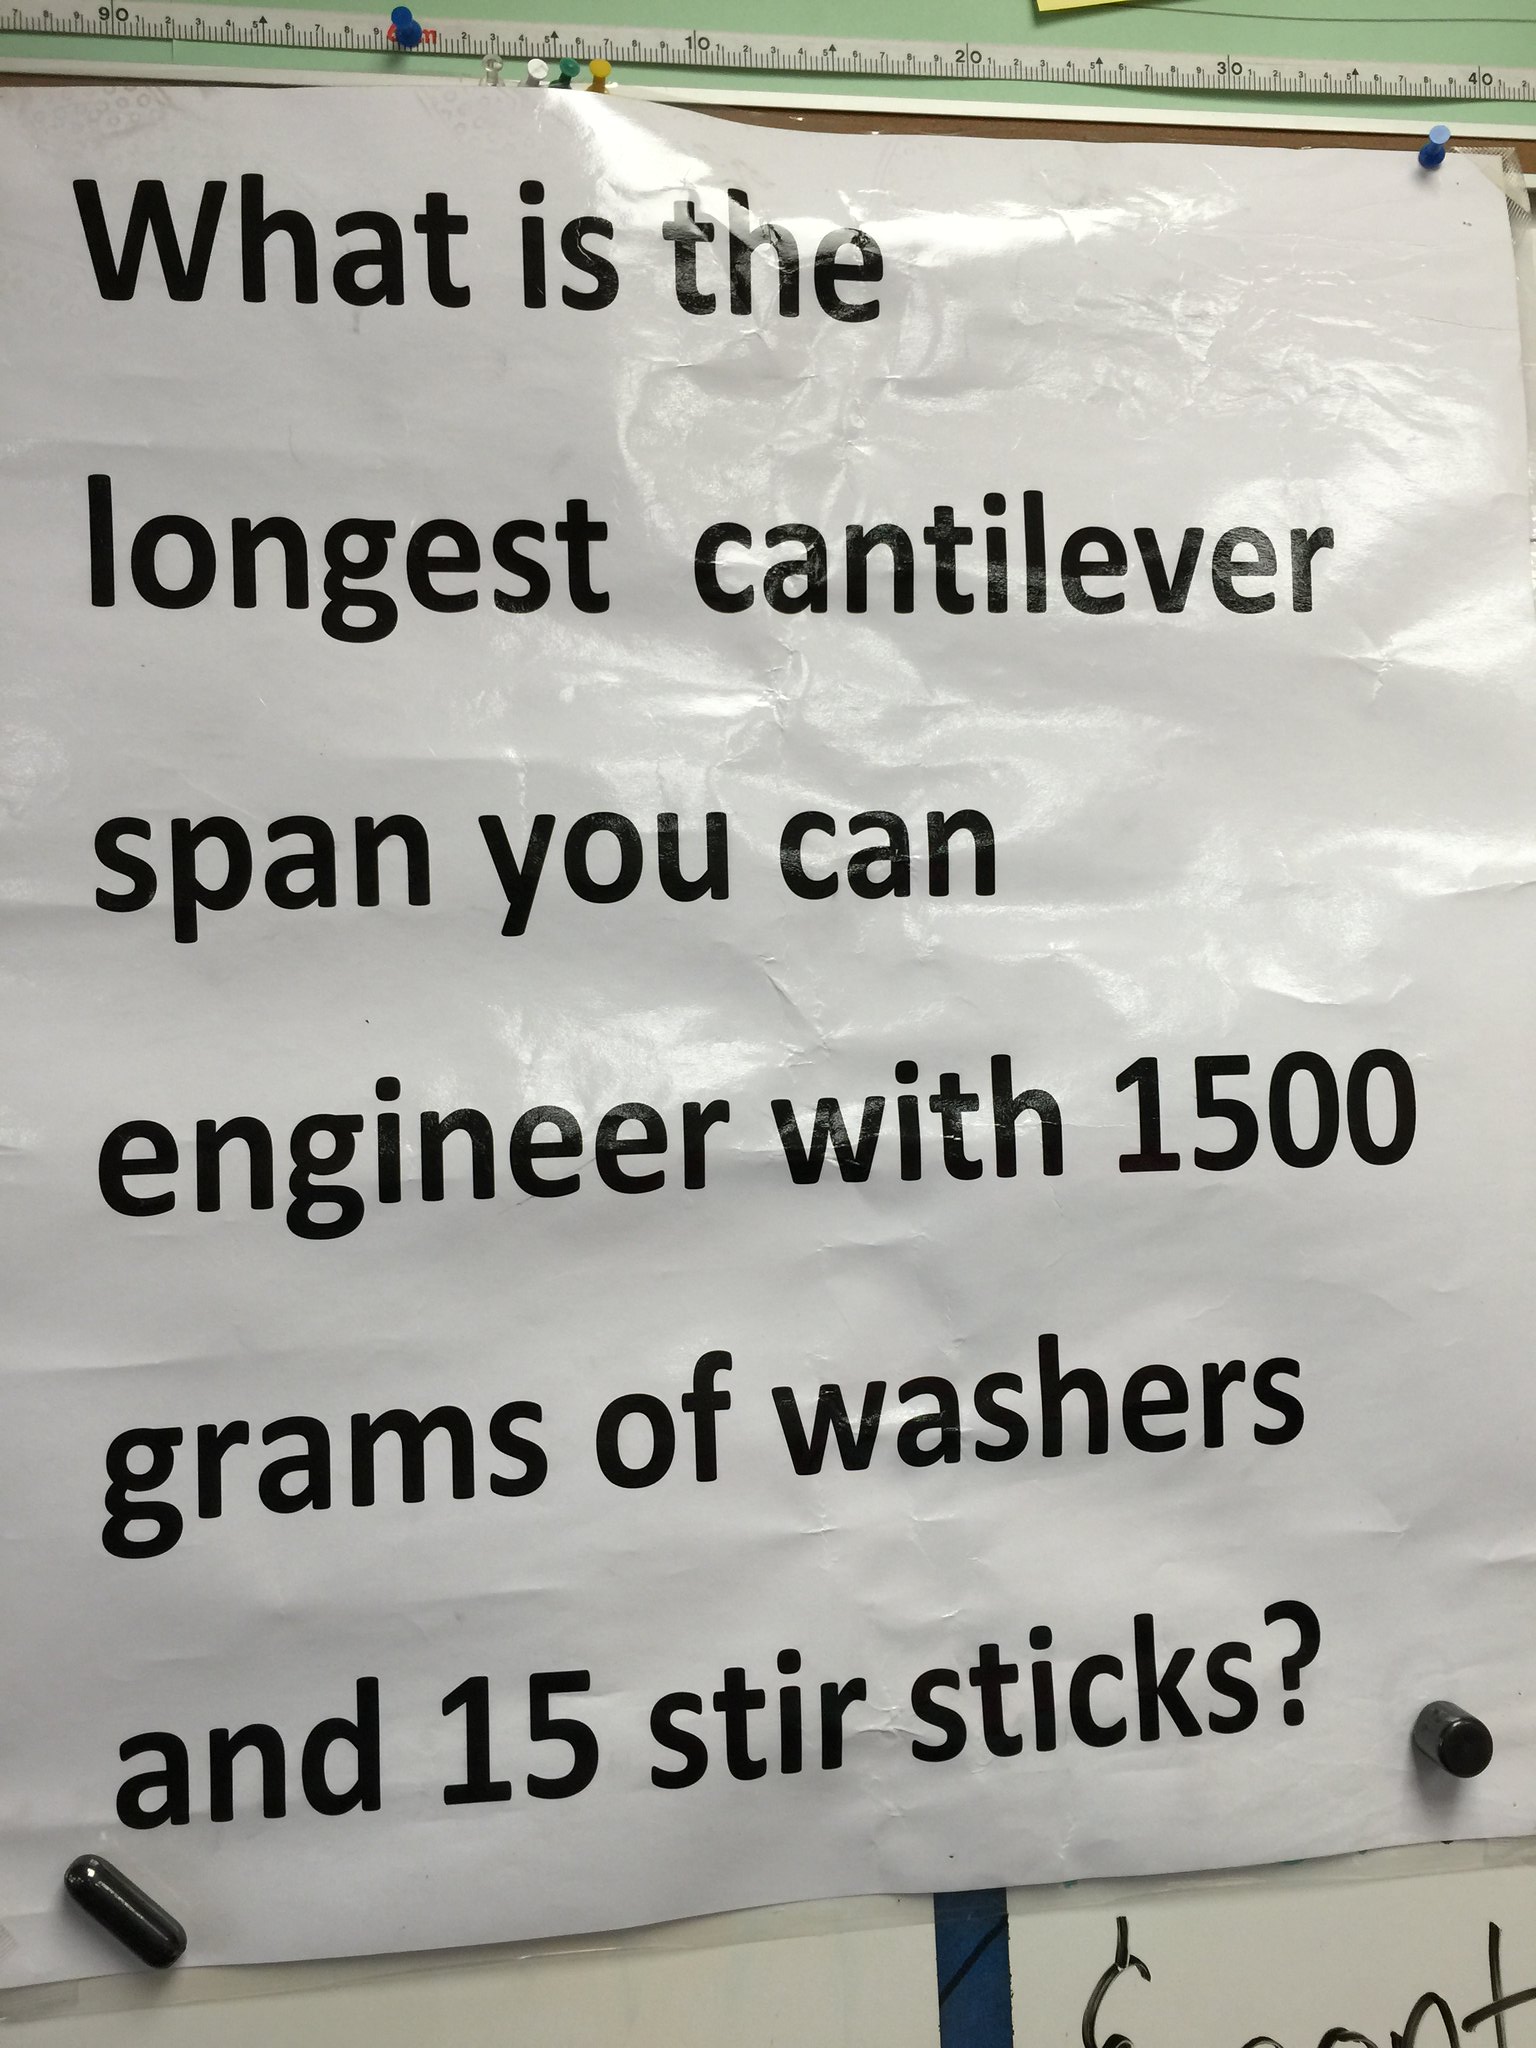
The first challenge 5th grade students received today in Dan Scurlock’s class is seen to the right:

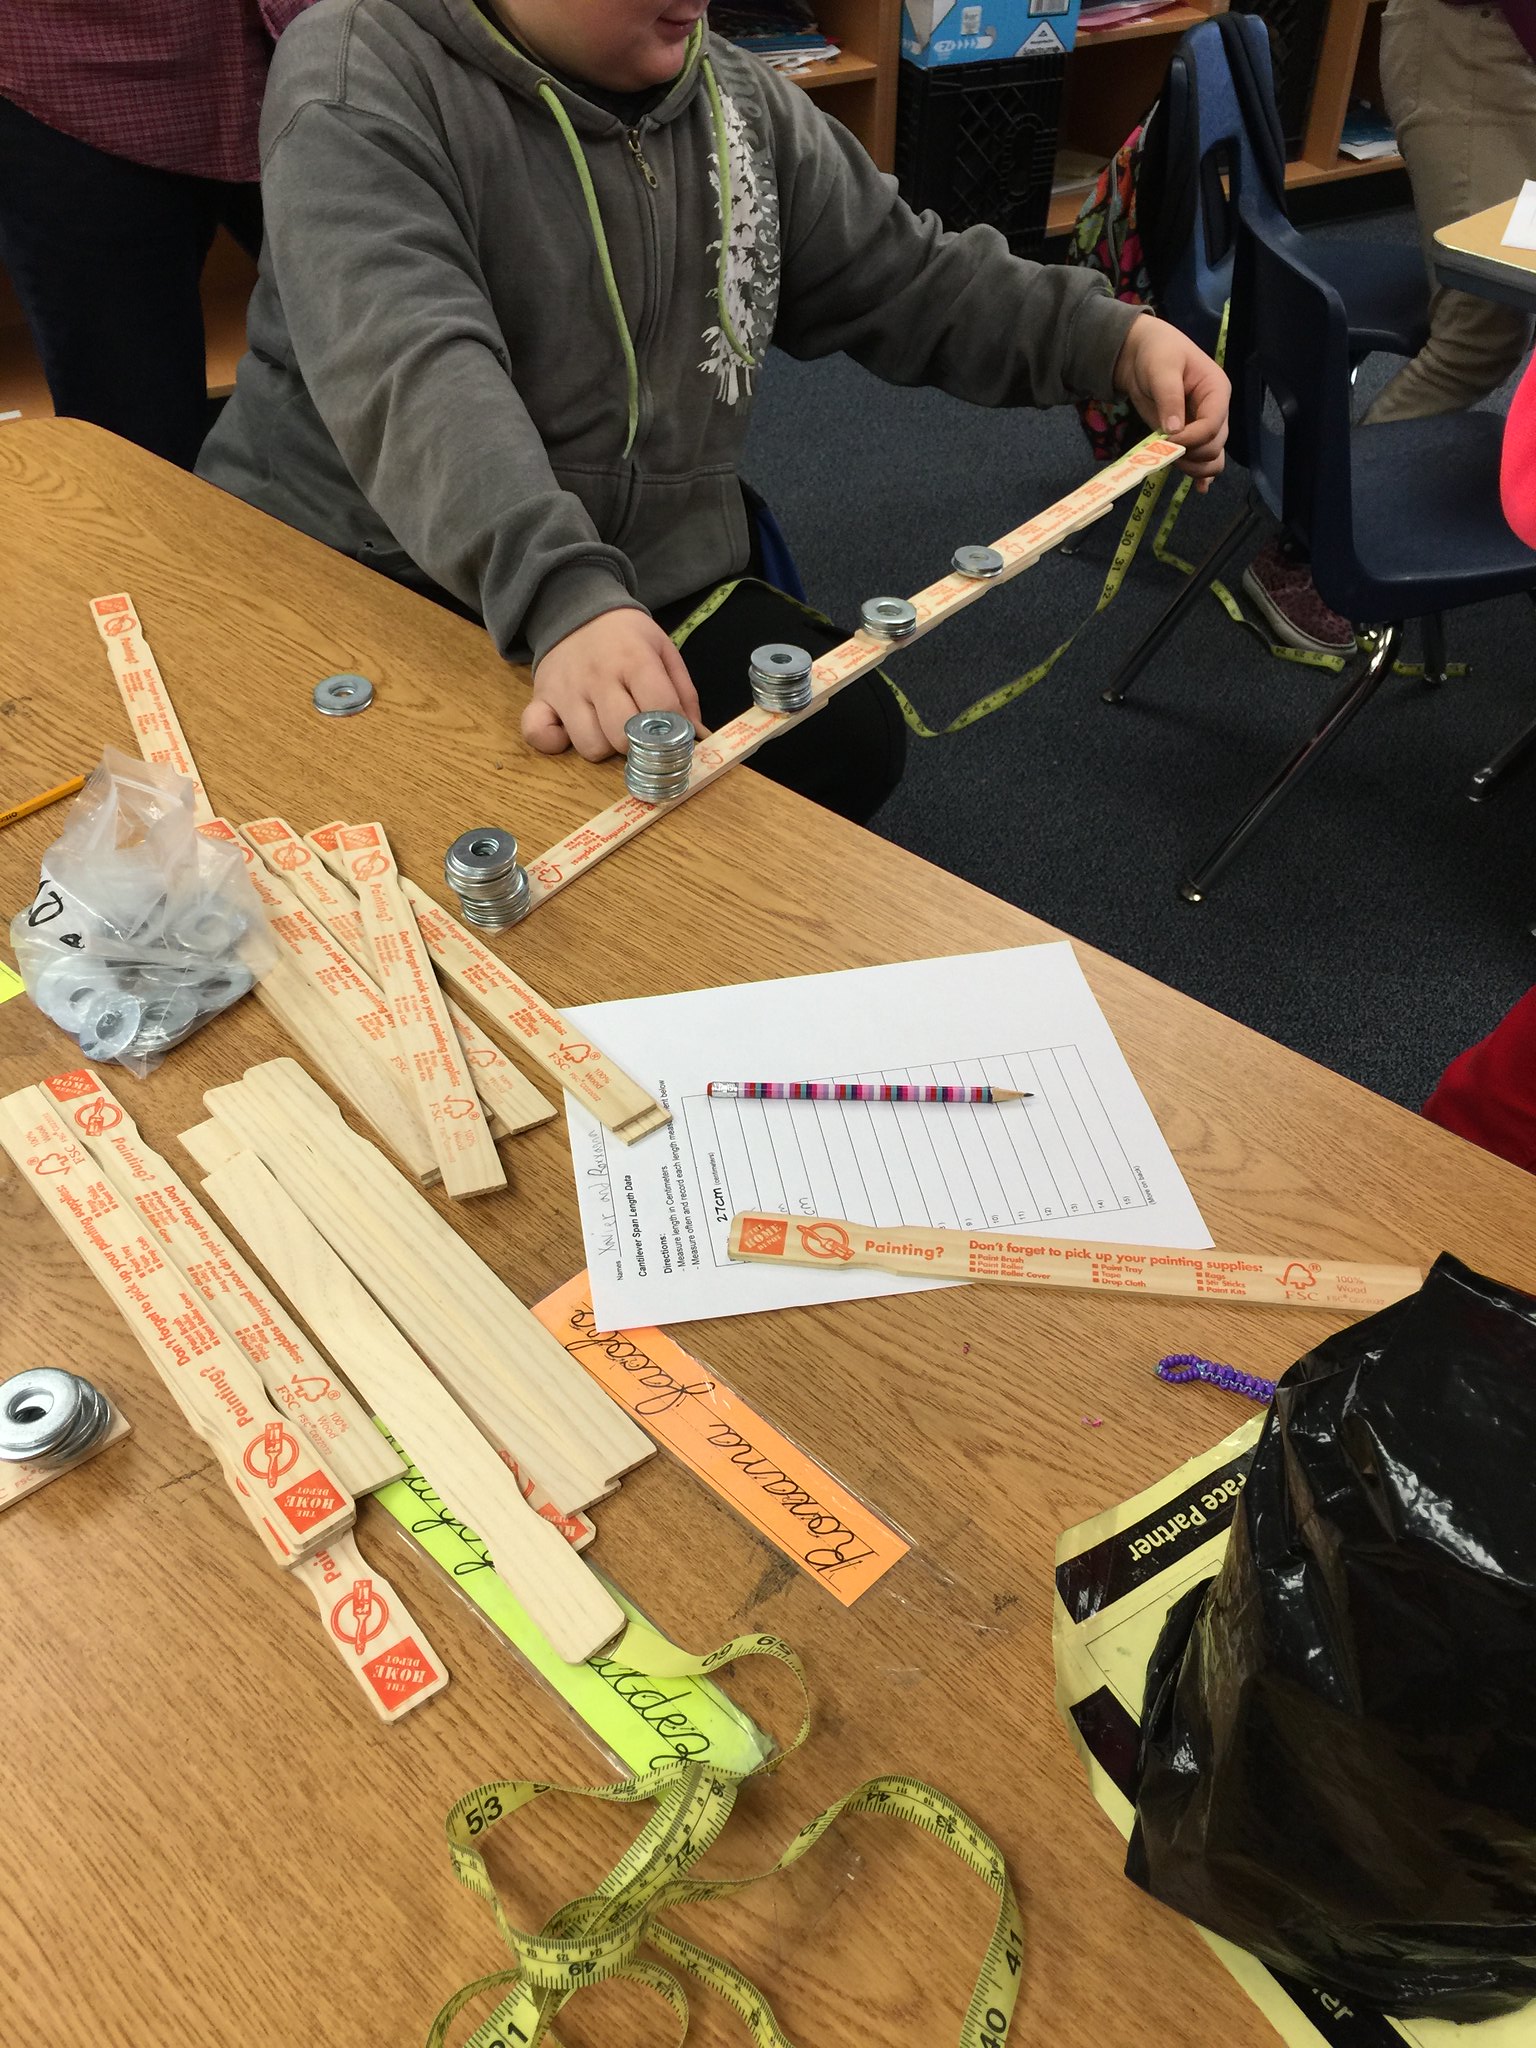
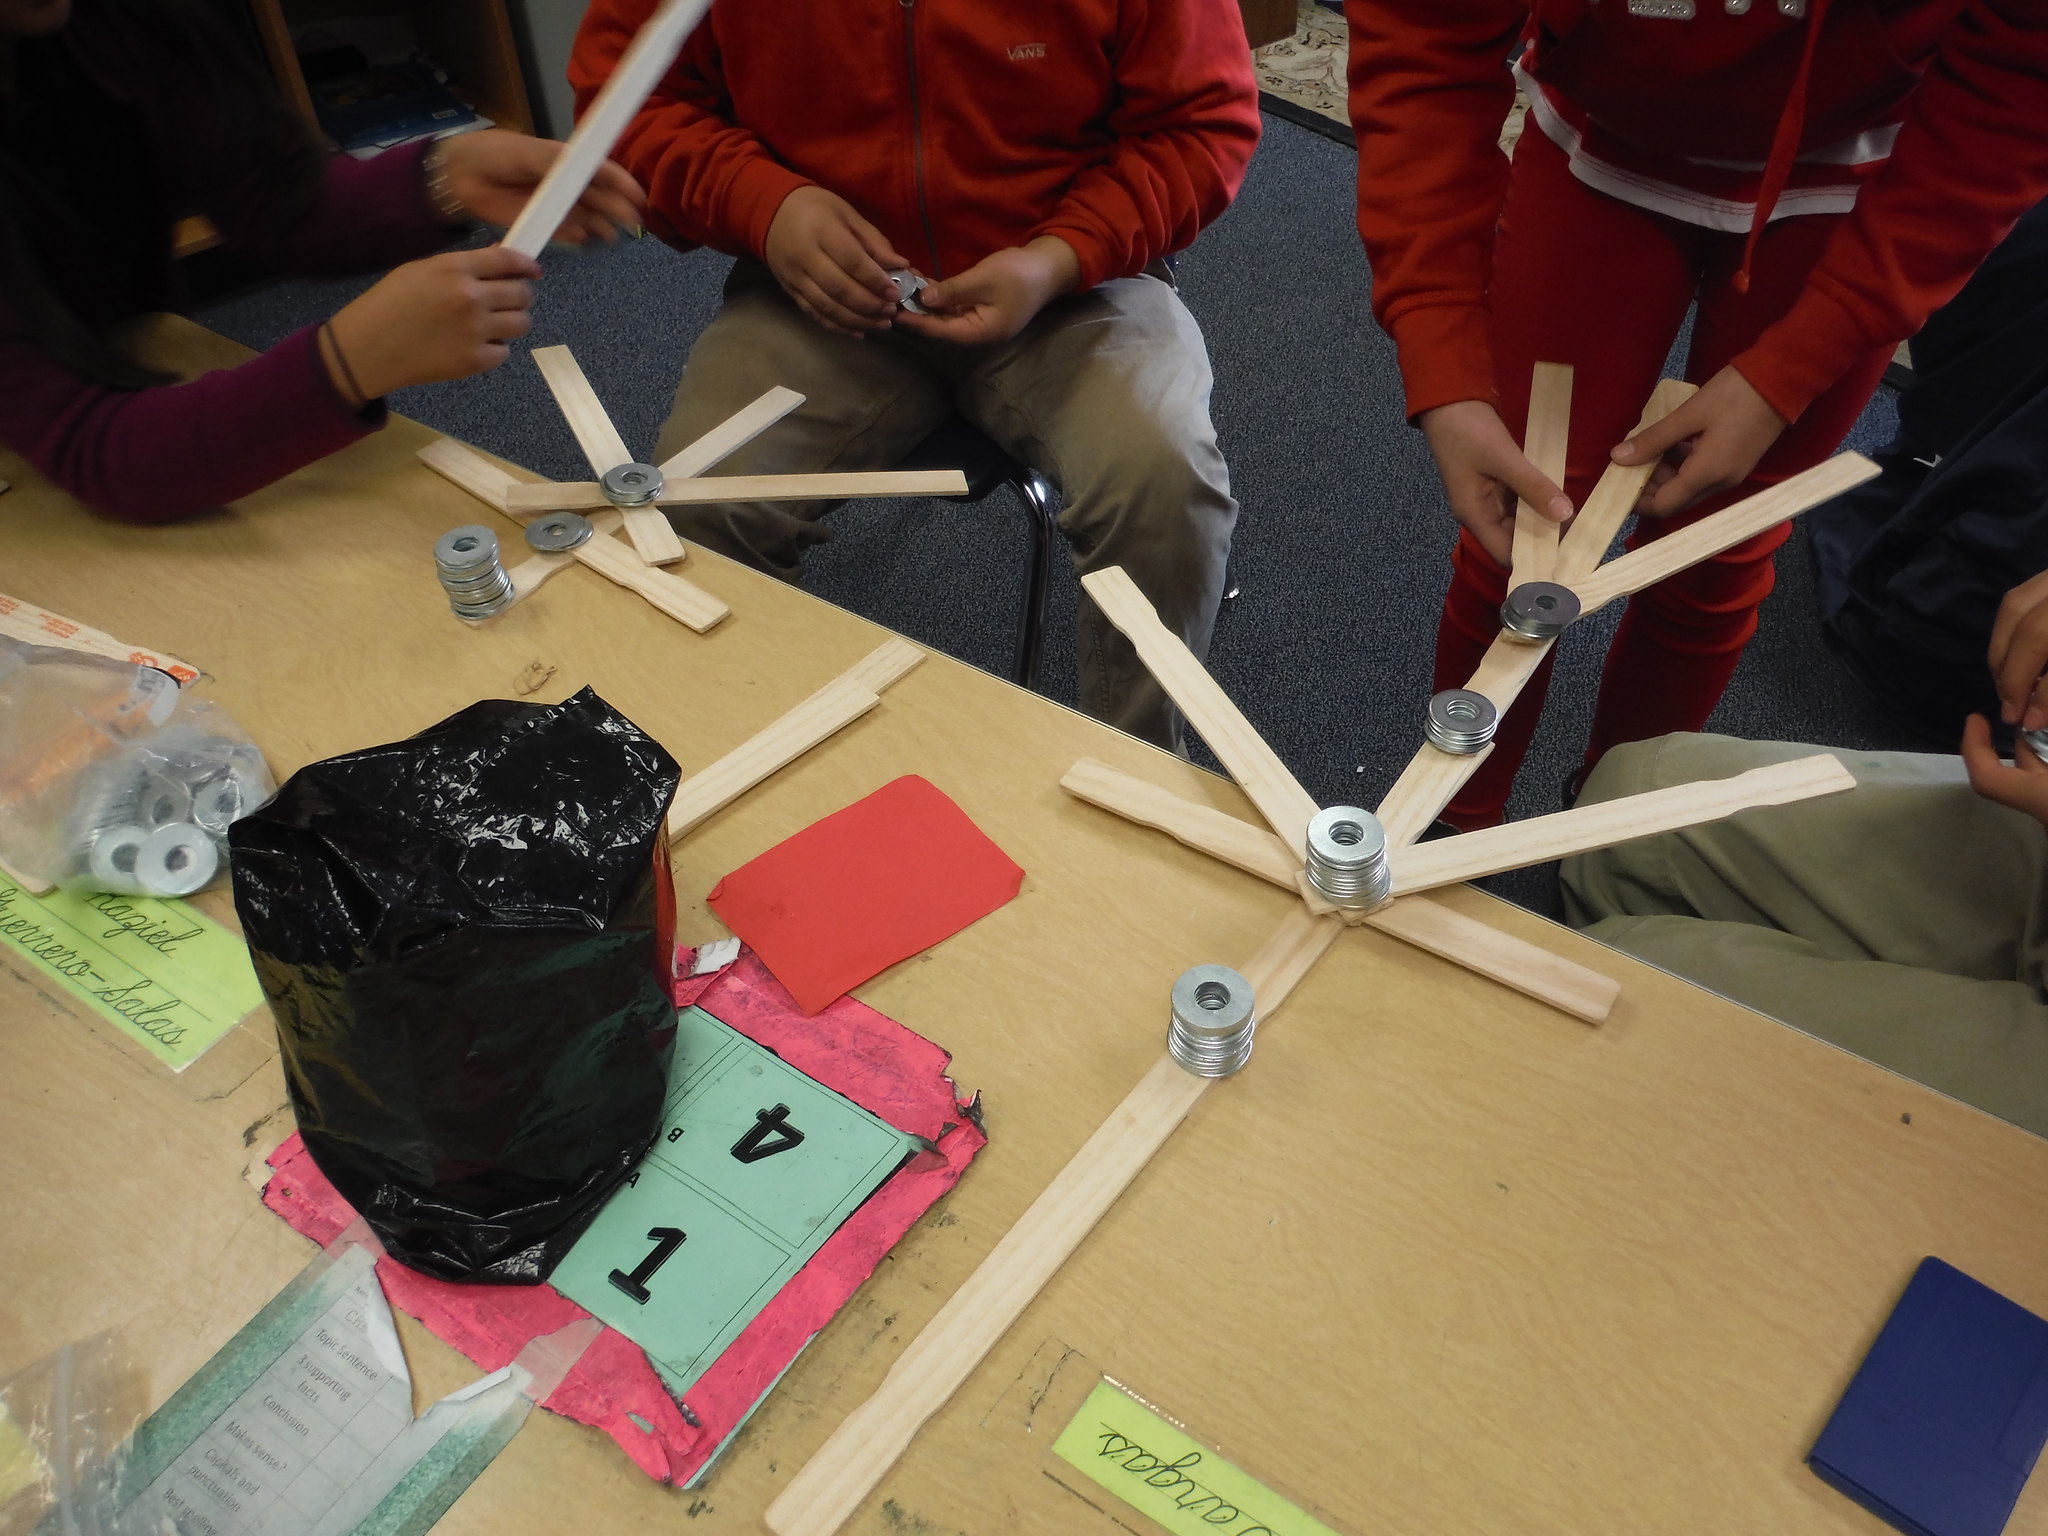
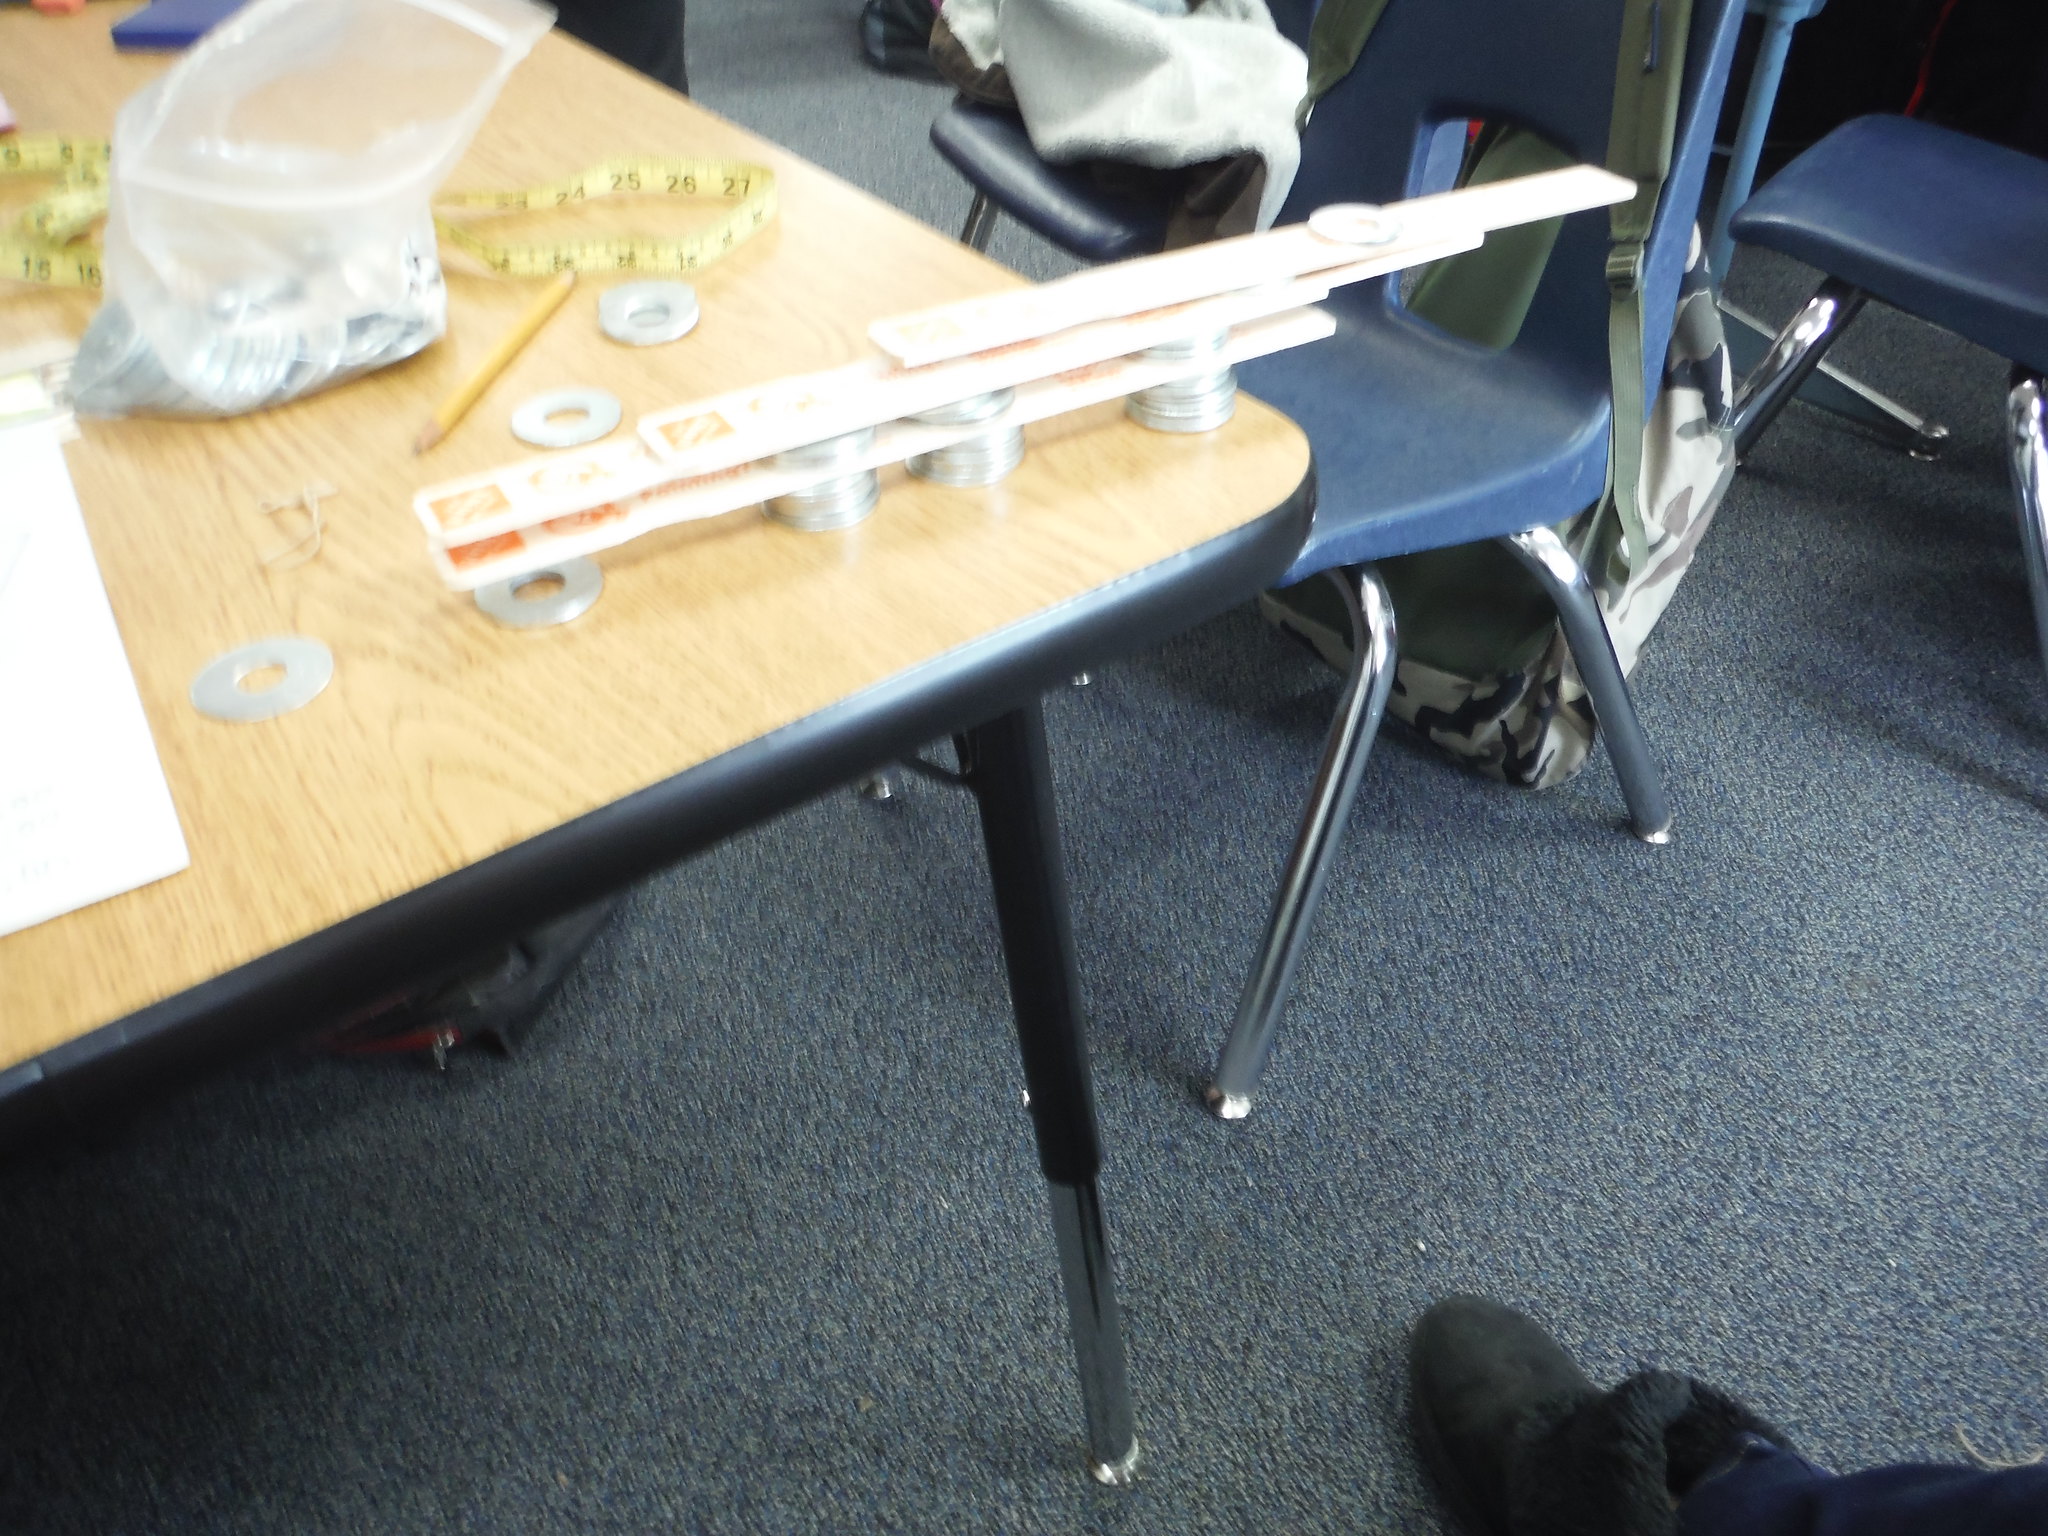
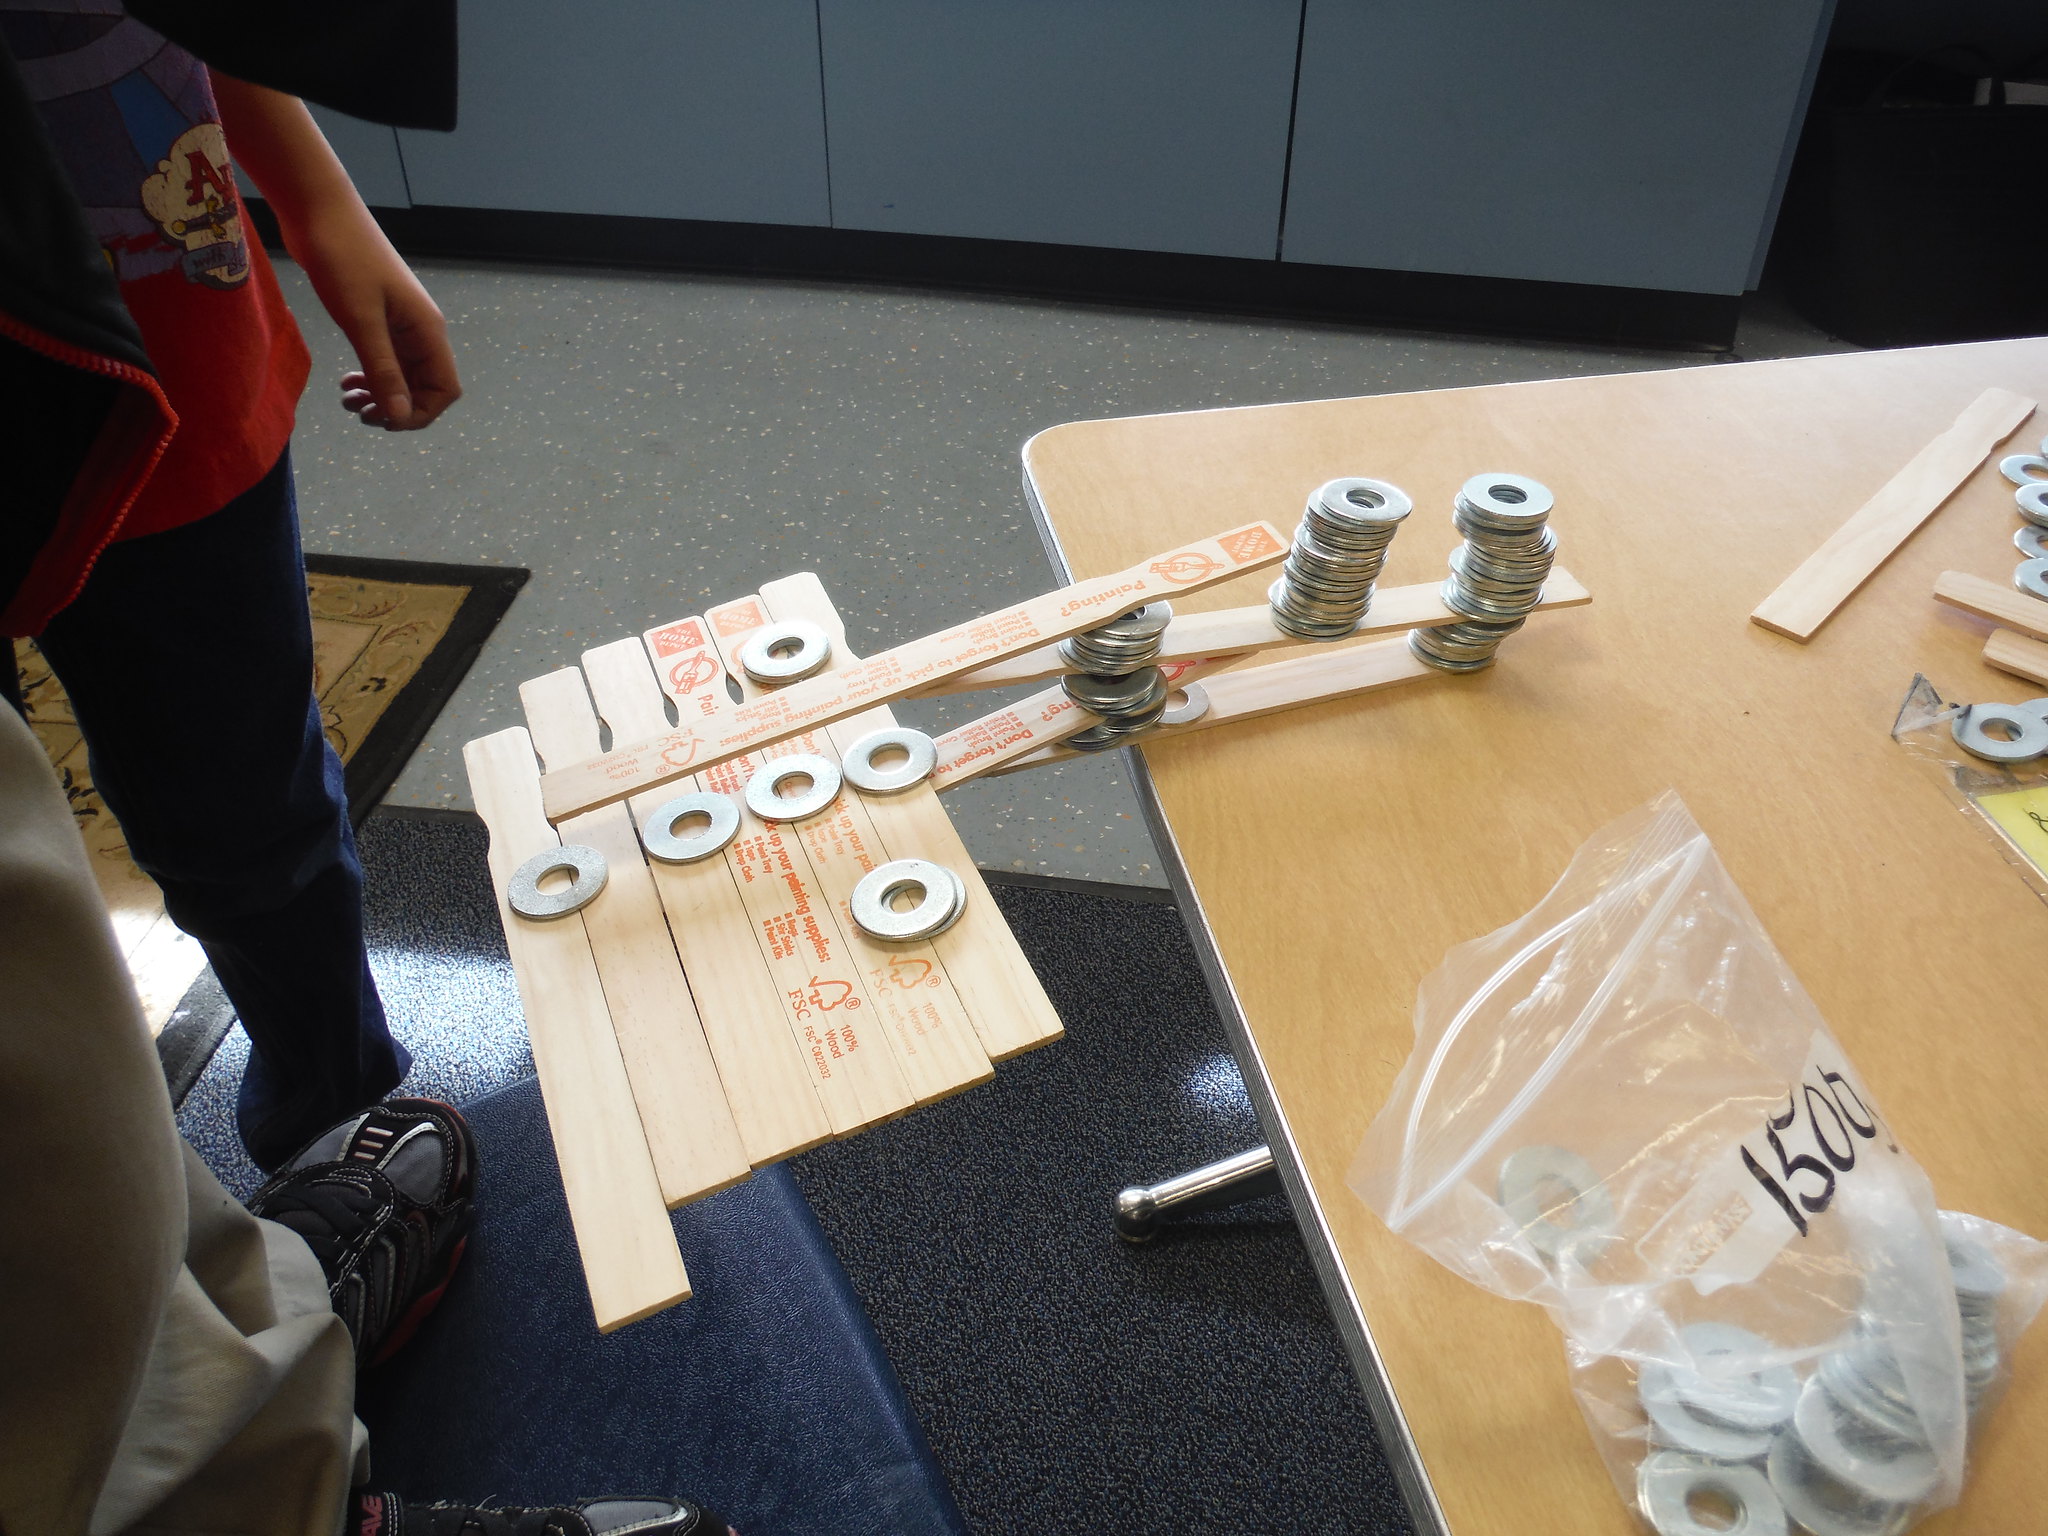
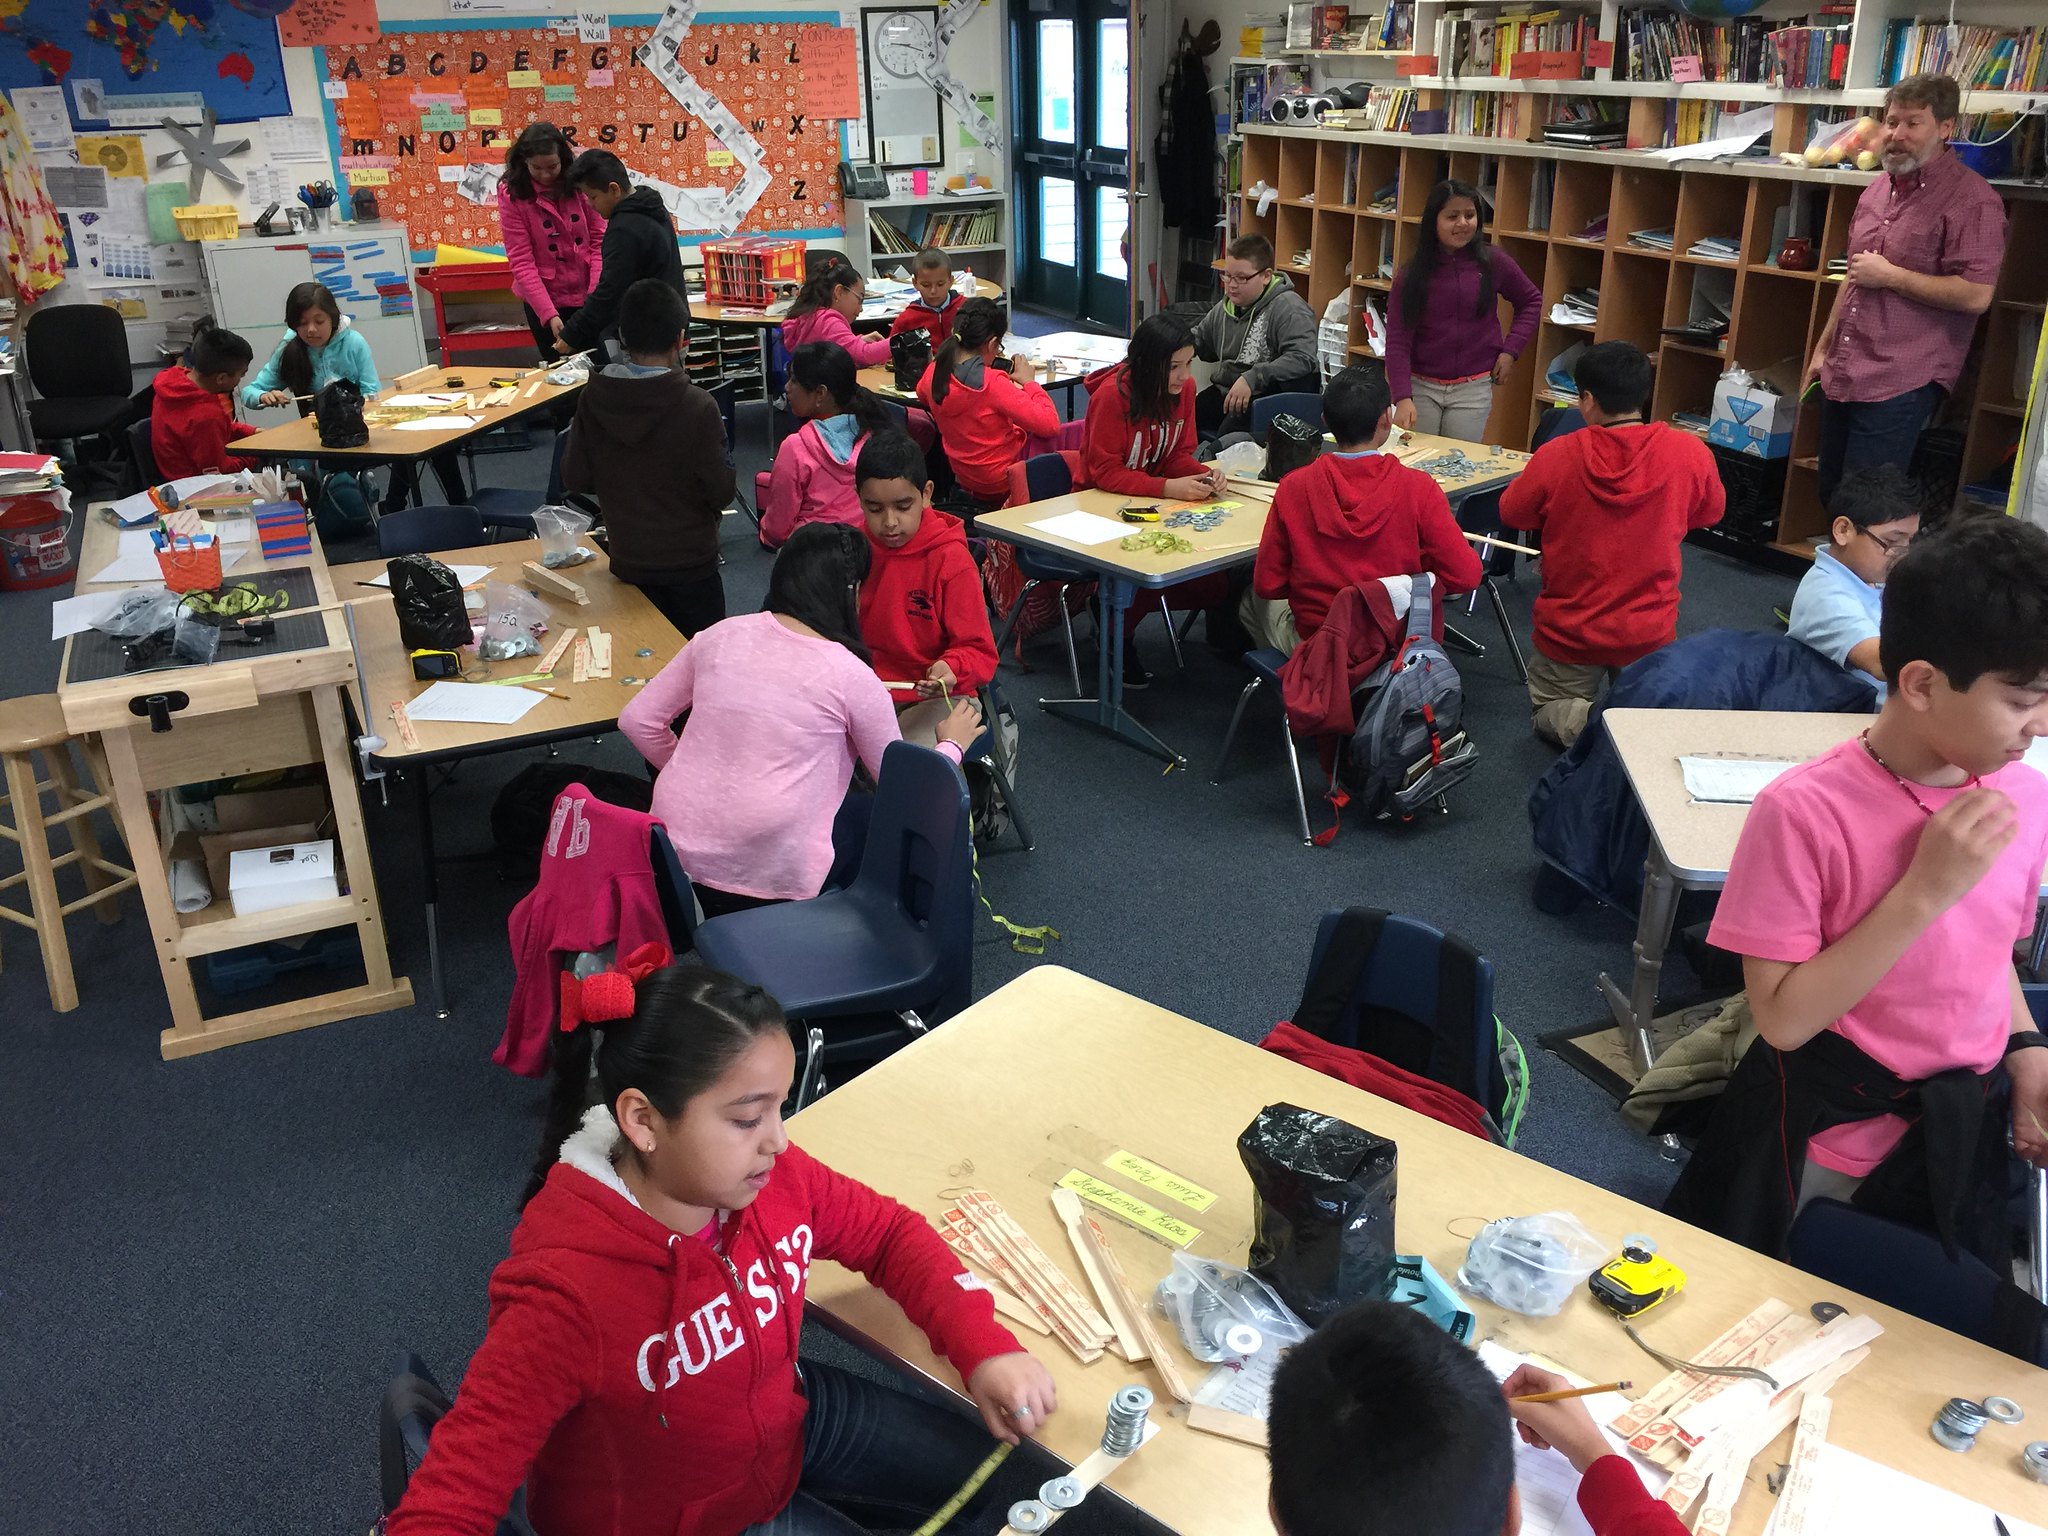
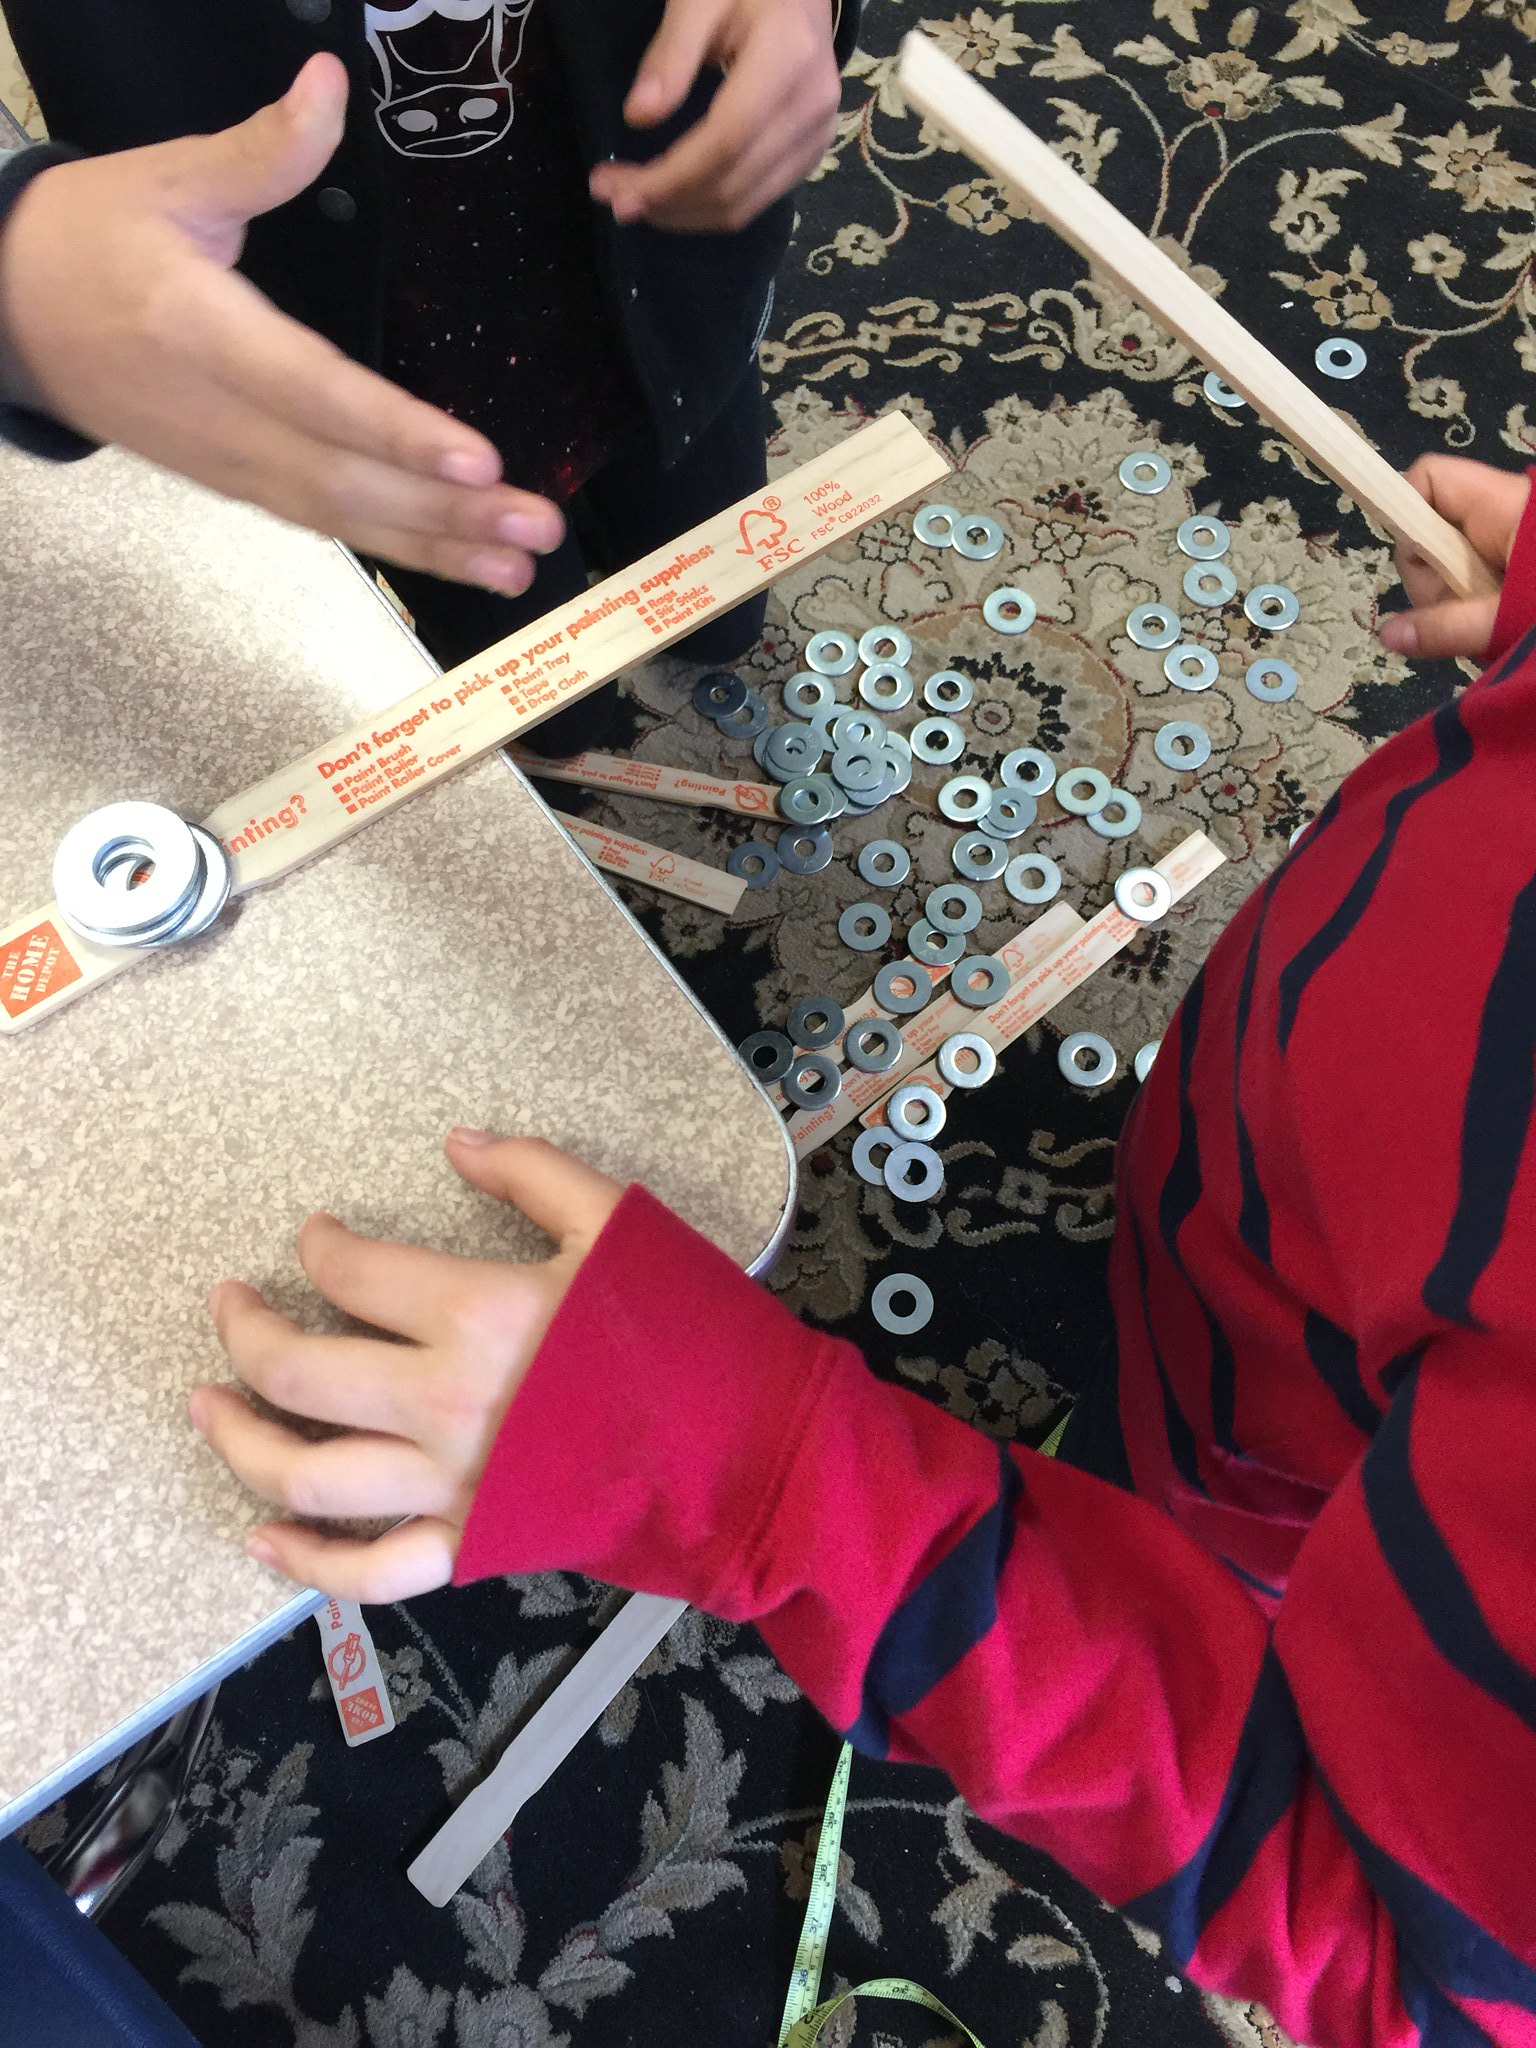
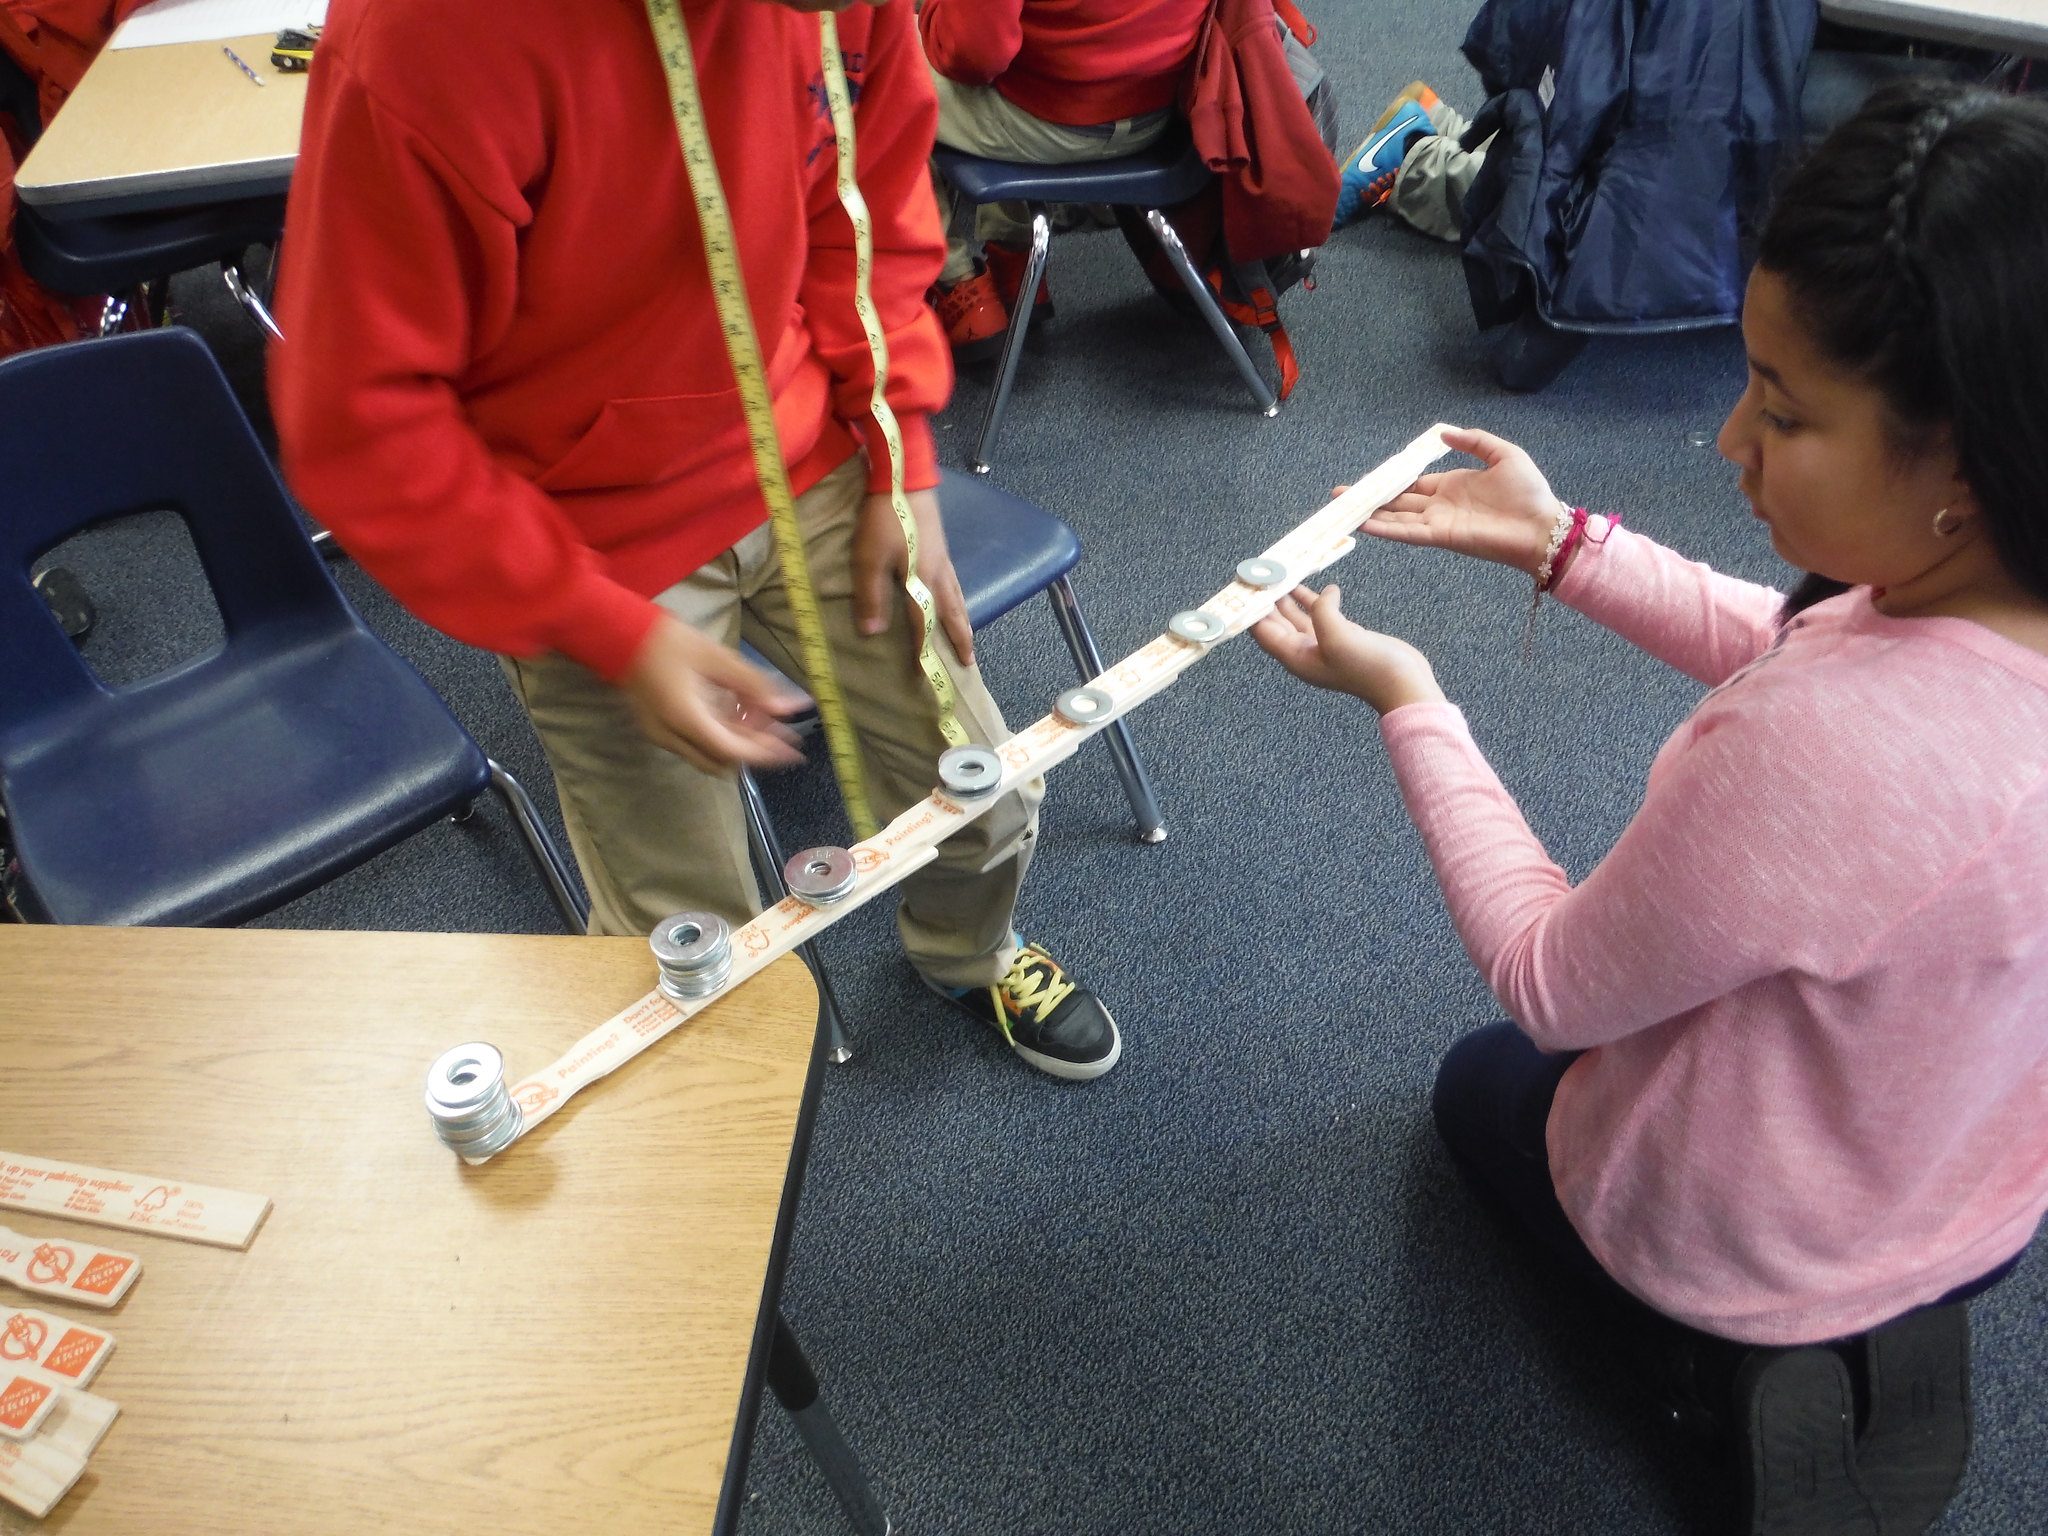
As always students are given as little explanation about how to build a cantilever as possible. I use one paint stick and one washer and show them how you can get more length off the end of the table with the washer on the end. That’s it … now it’s all up to them. Students worked in pairs. I lent a camera to each pair to archive their progress. Link to Flickr set of their photos.
Untitled

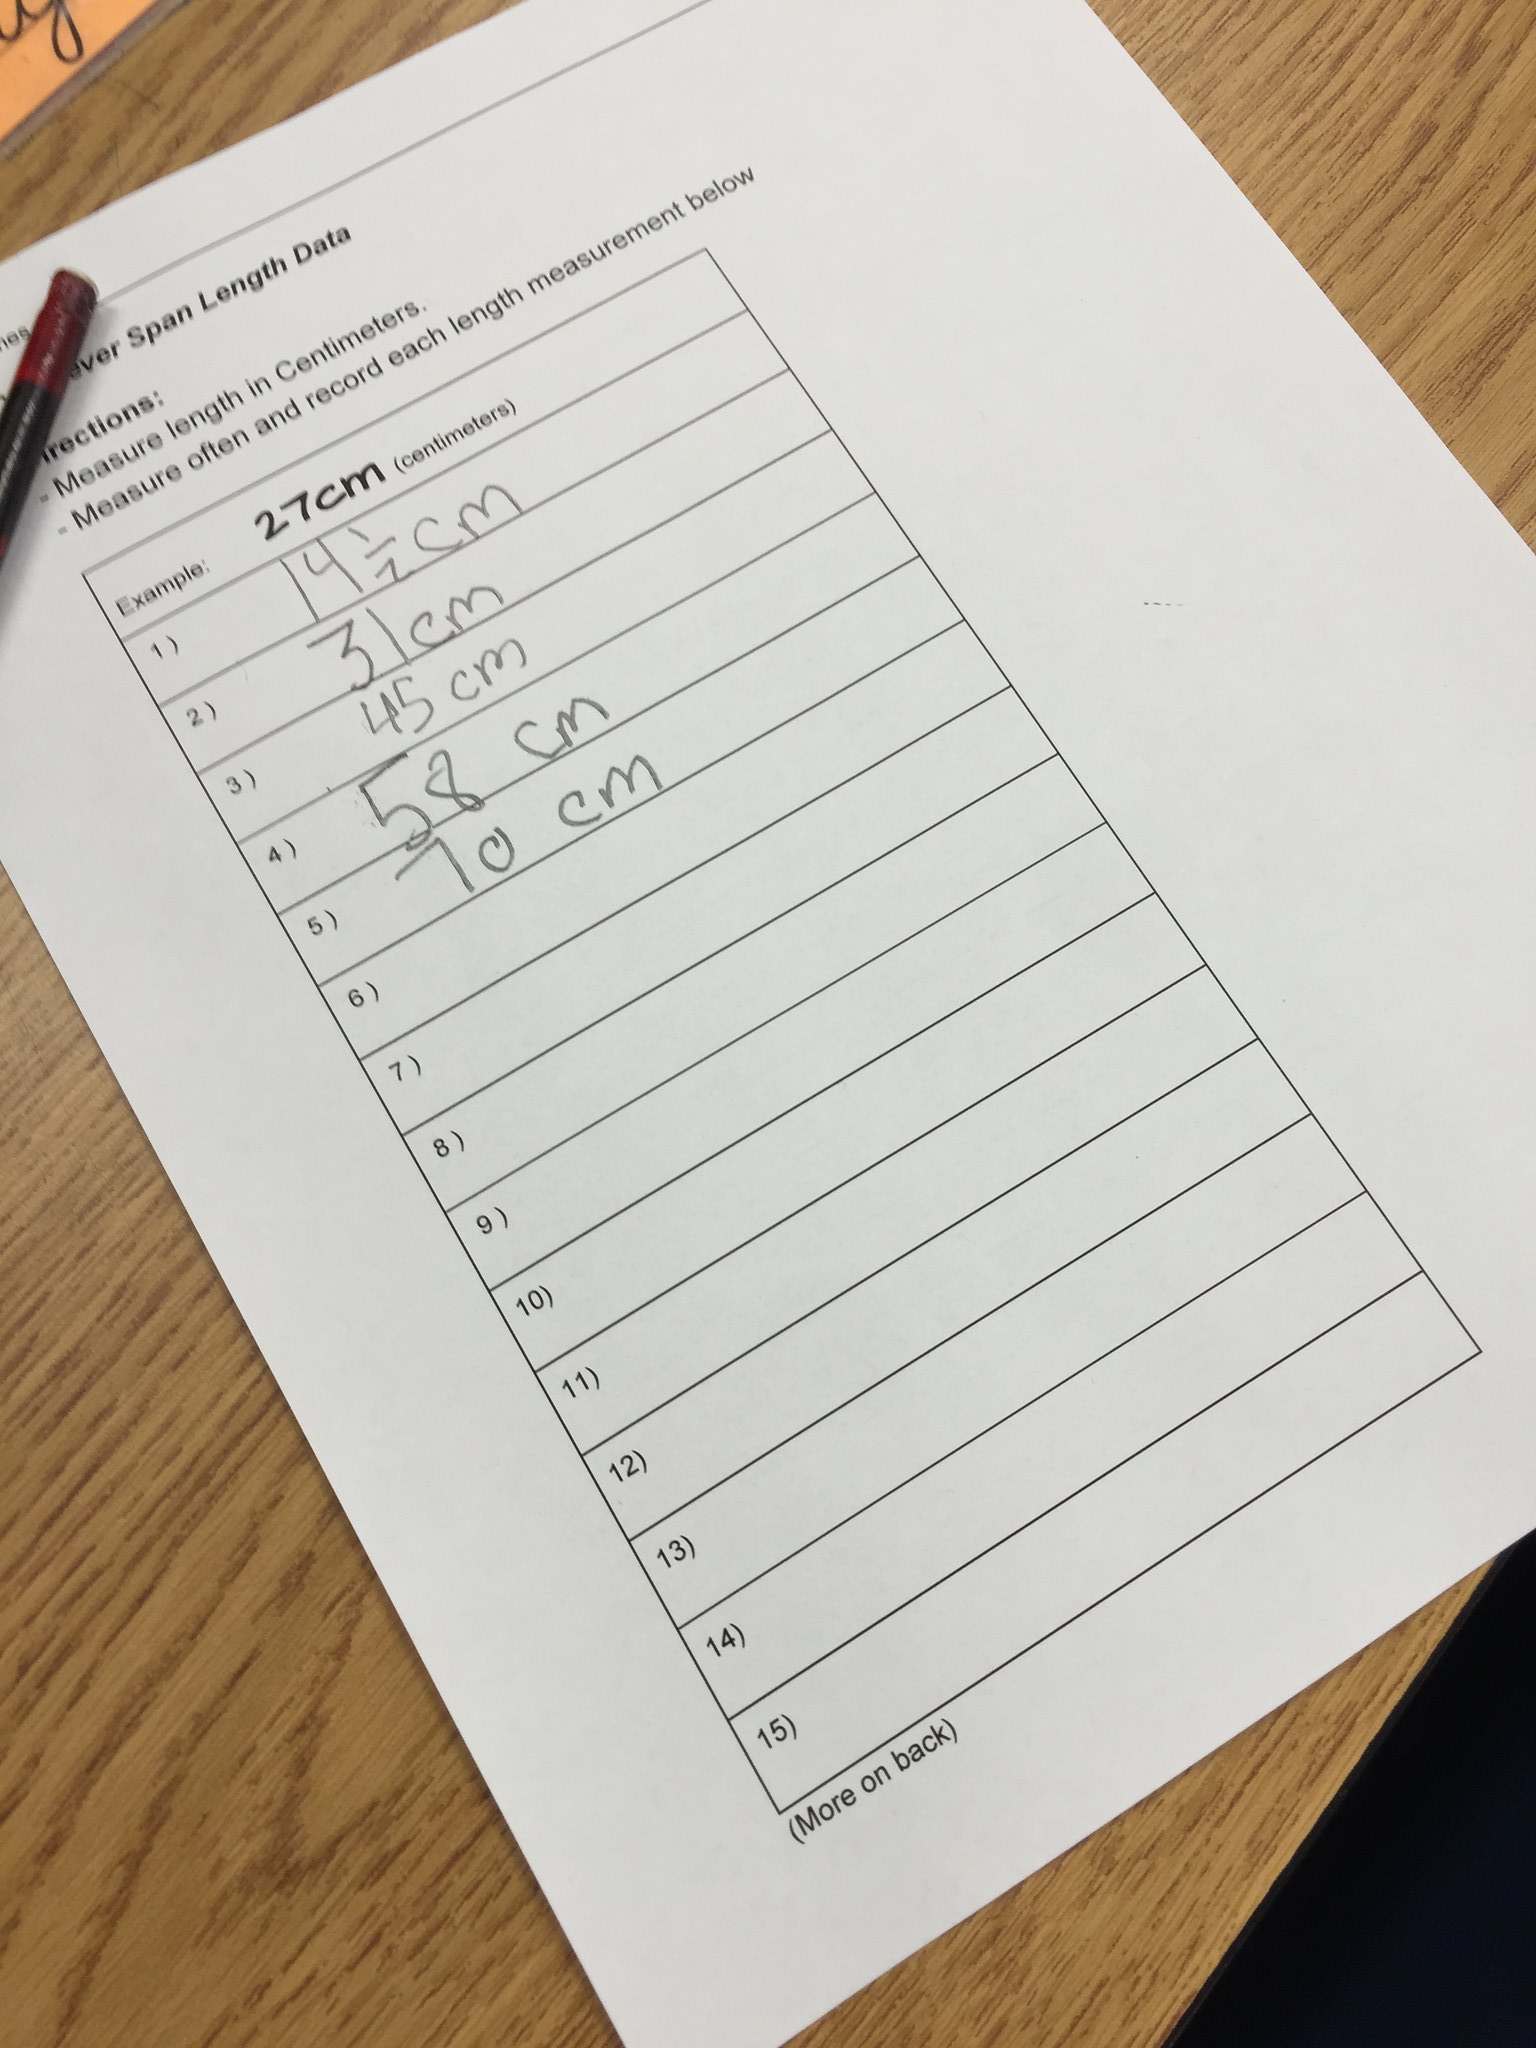
In addition they collected measurement data each time they added length to their span with a measuring tape … measurements in centimeters.
Untitled

Untitled

They worked initially for about 20 minutes. There was lots of “messy learning” as students learned about the materials (washers and paint stir sticks). Crashes to the floor were followed by a mix of disappointment and excitement.
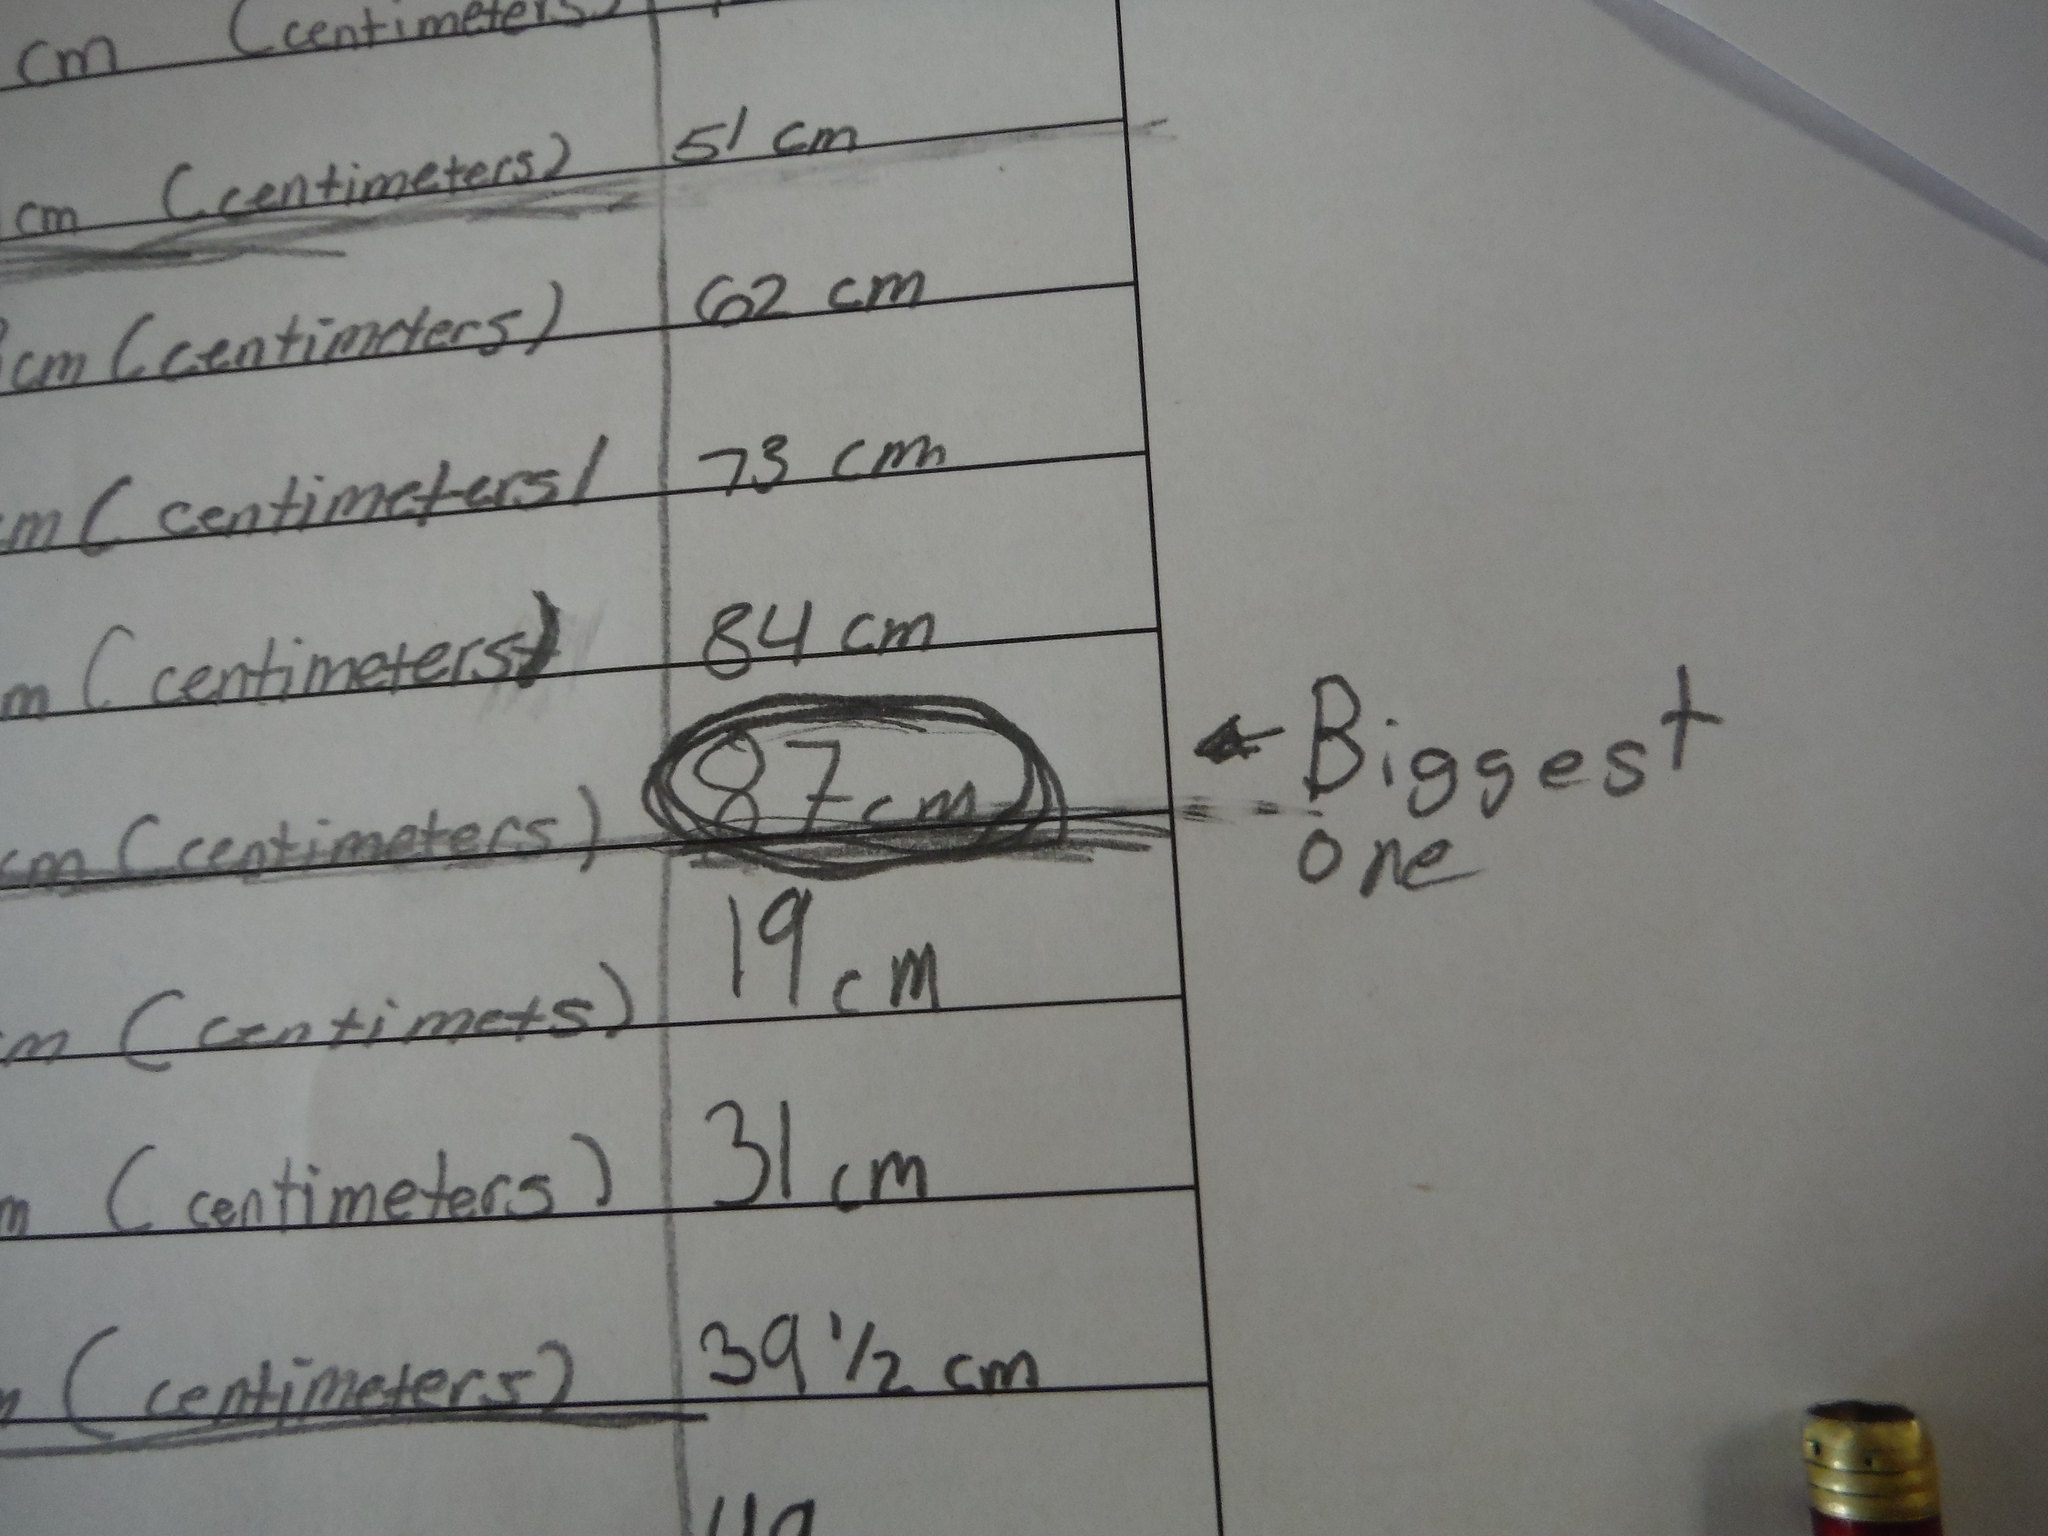
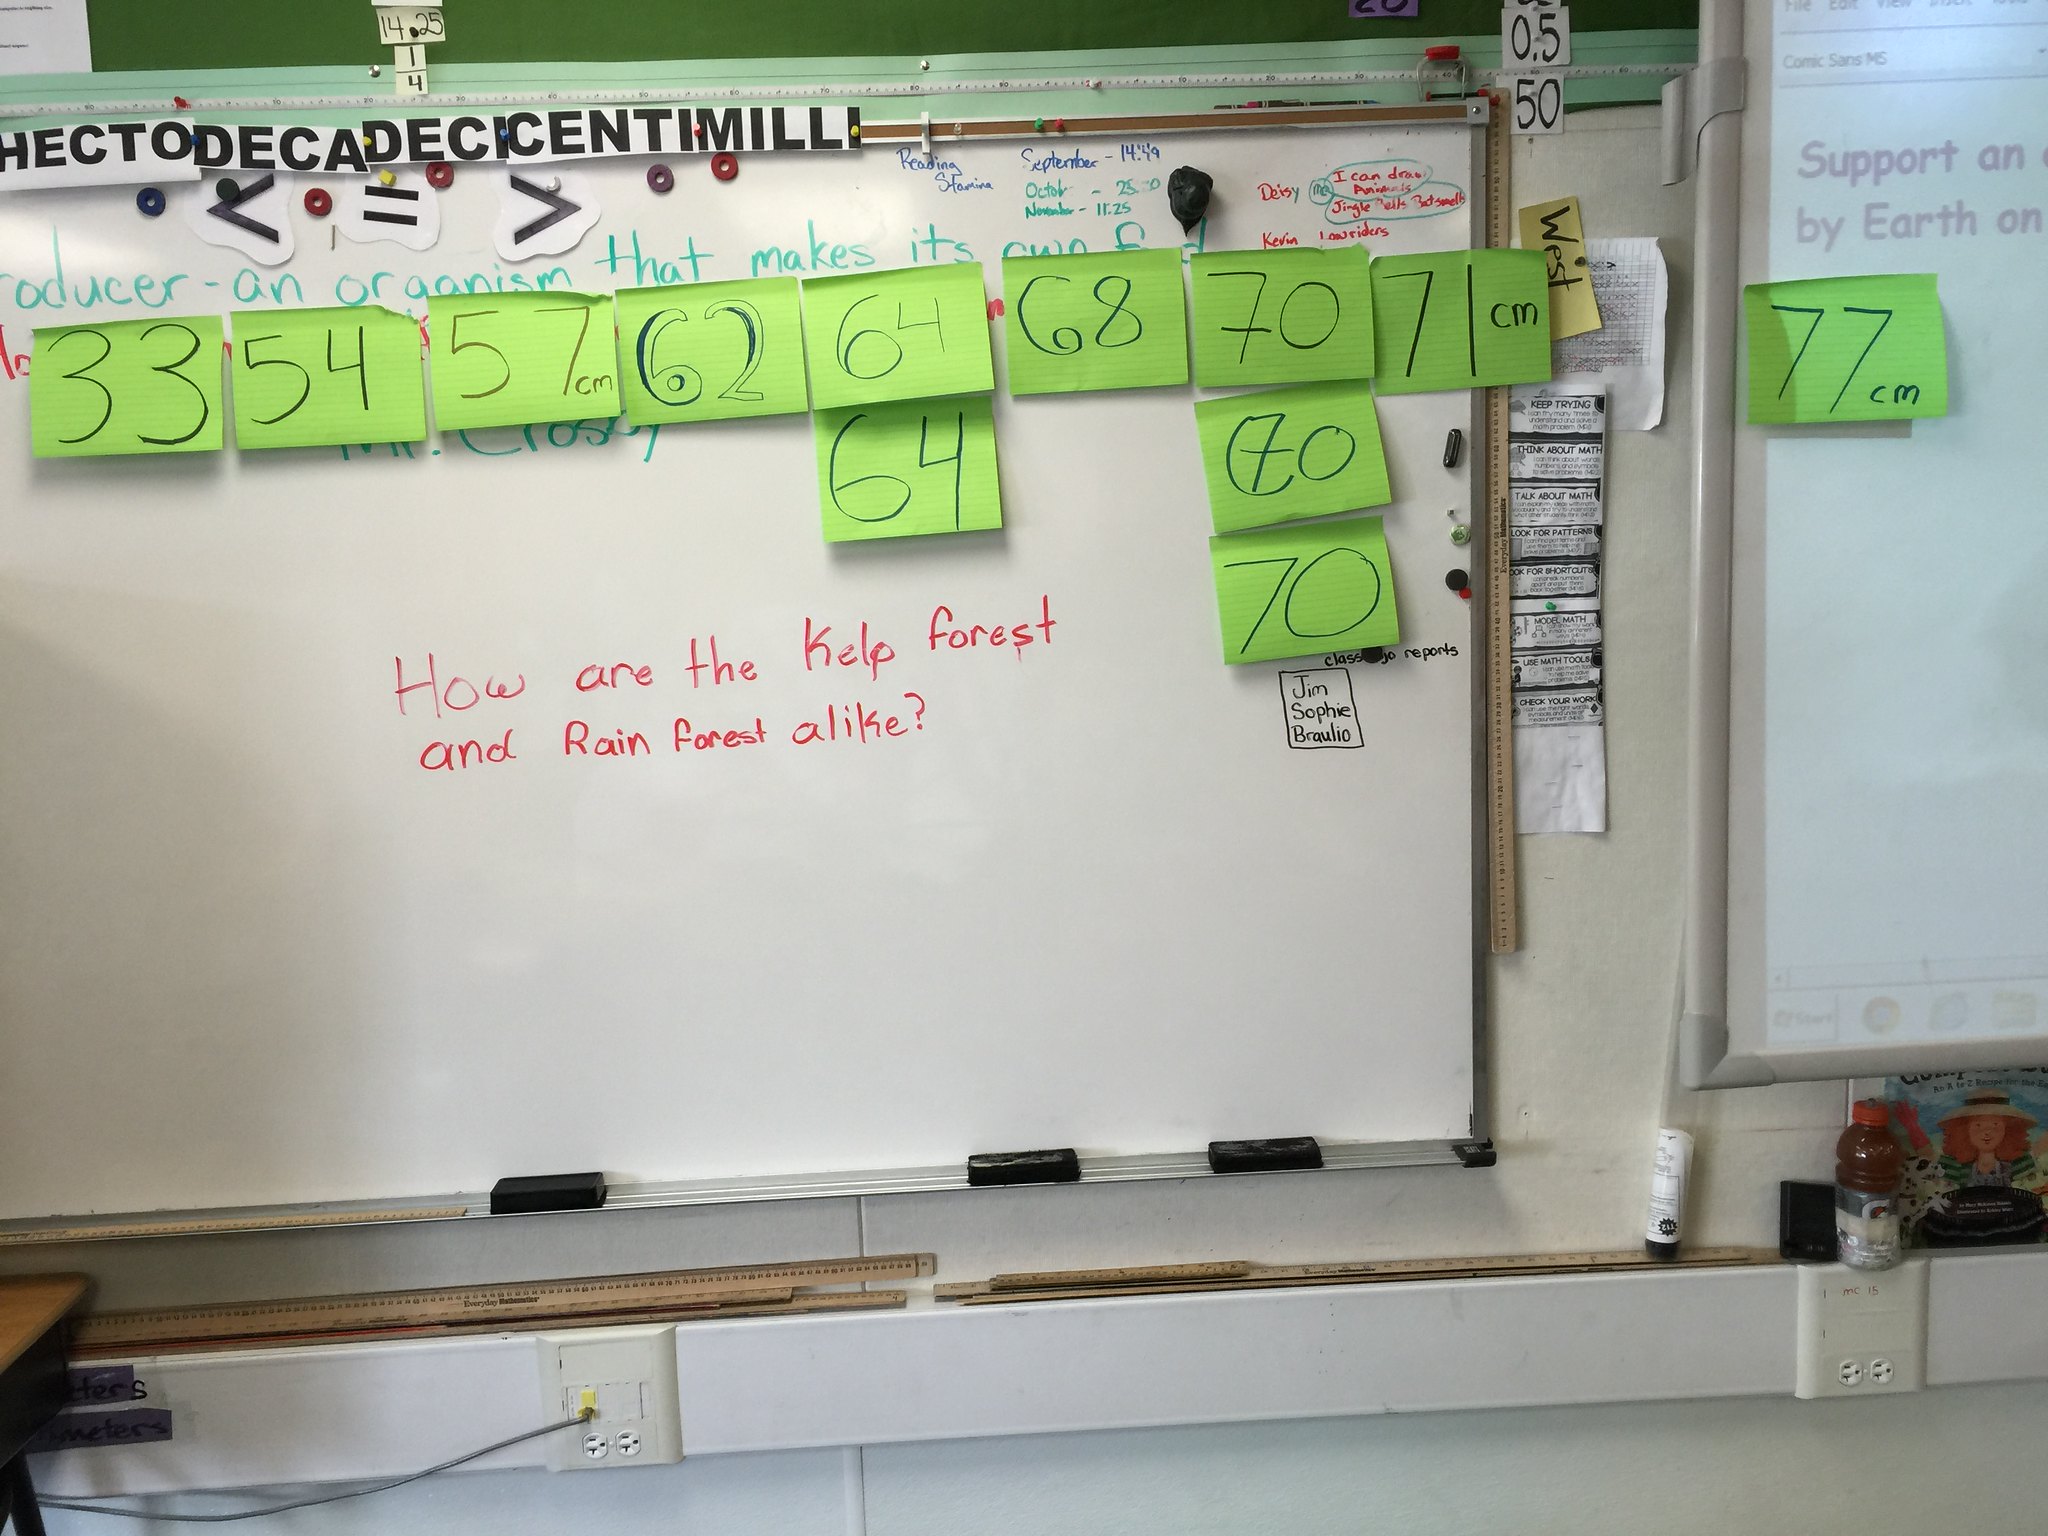
Untitled At the end of the first 20 minutes each pair was given a large “sticky note” to post the data from the longest span they had engineered. DSCF0182


We displayed these on the board and then after some discussion (I’m not sharing it all here for brevity, but the debrief is a powerful aspect) the students decided it would be a good idea to order the data from least to greatest. So we did:
Untitled

Next we did a “gallery walk” around the room so students could check out the designs others had come up with, and we had them point out design features that seemed to lead to longer spans.

Now that students had some experience with building spans, I had them take what they had learned and asked them to try to build even longer spans. They enthusiastically got back to work … a few adjusted spans that were still standing from the first experience, but most started over from scratch.

It was apparent right away that they had learned not just techniques, but confidence too.
DSCF0472

After an additional 20 minutes or so we collected their data on a different color sticky note, posted them and compared results:DSCF0520
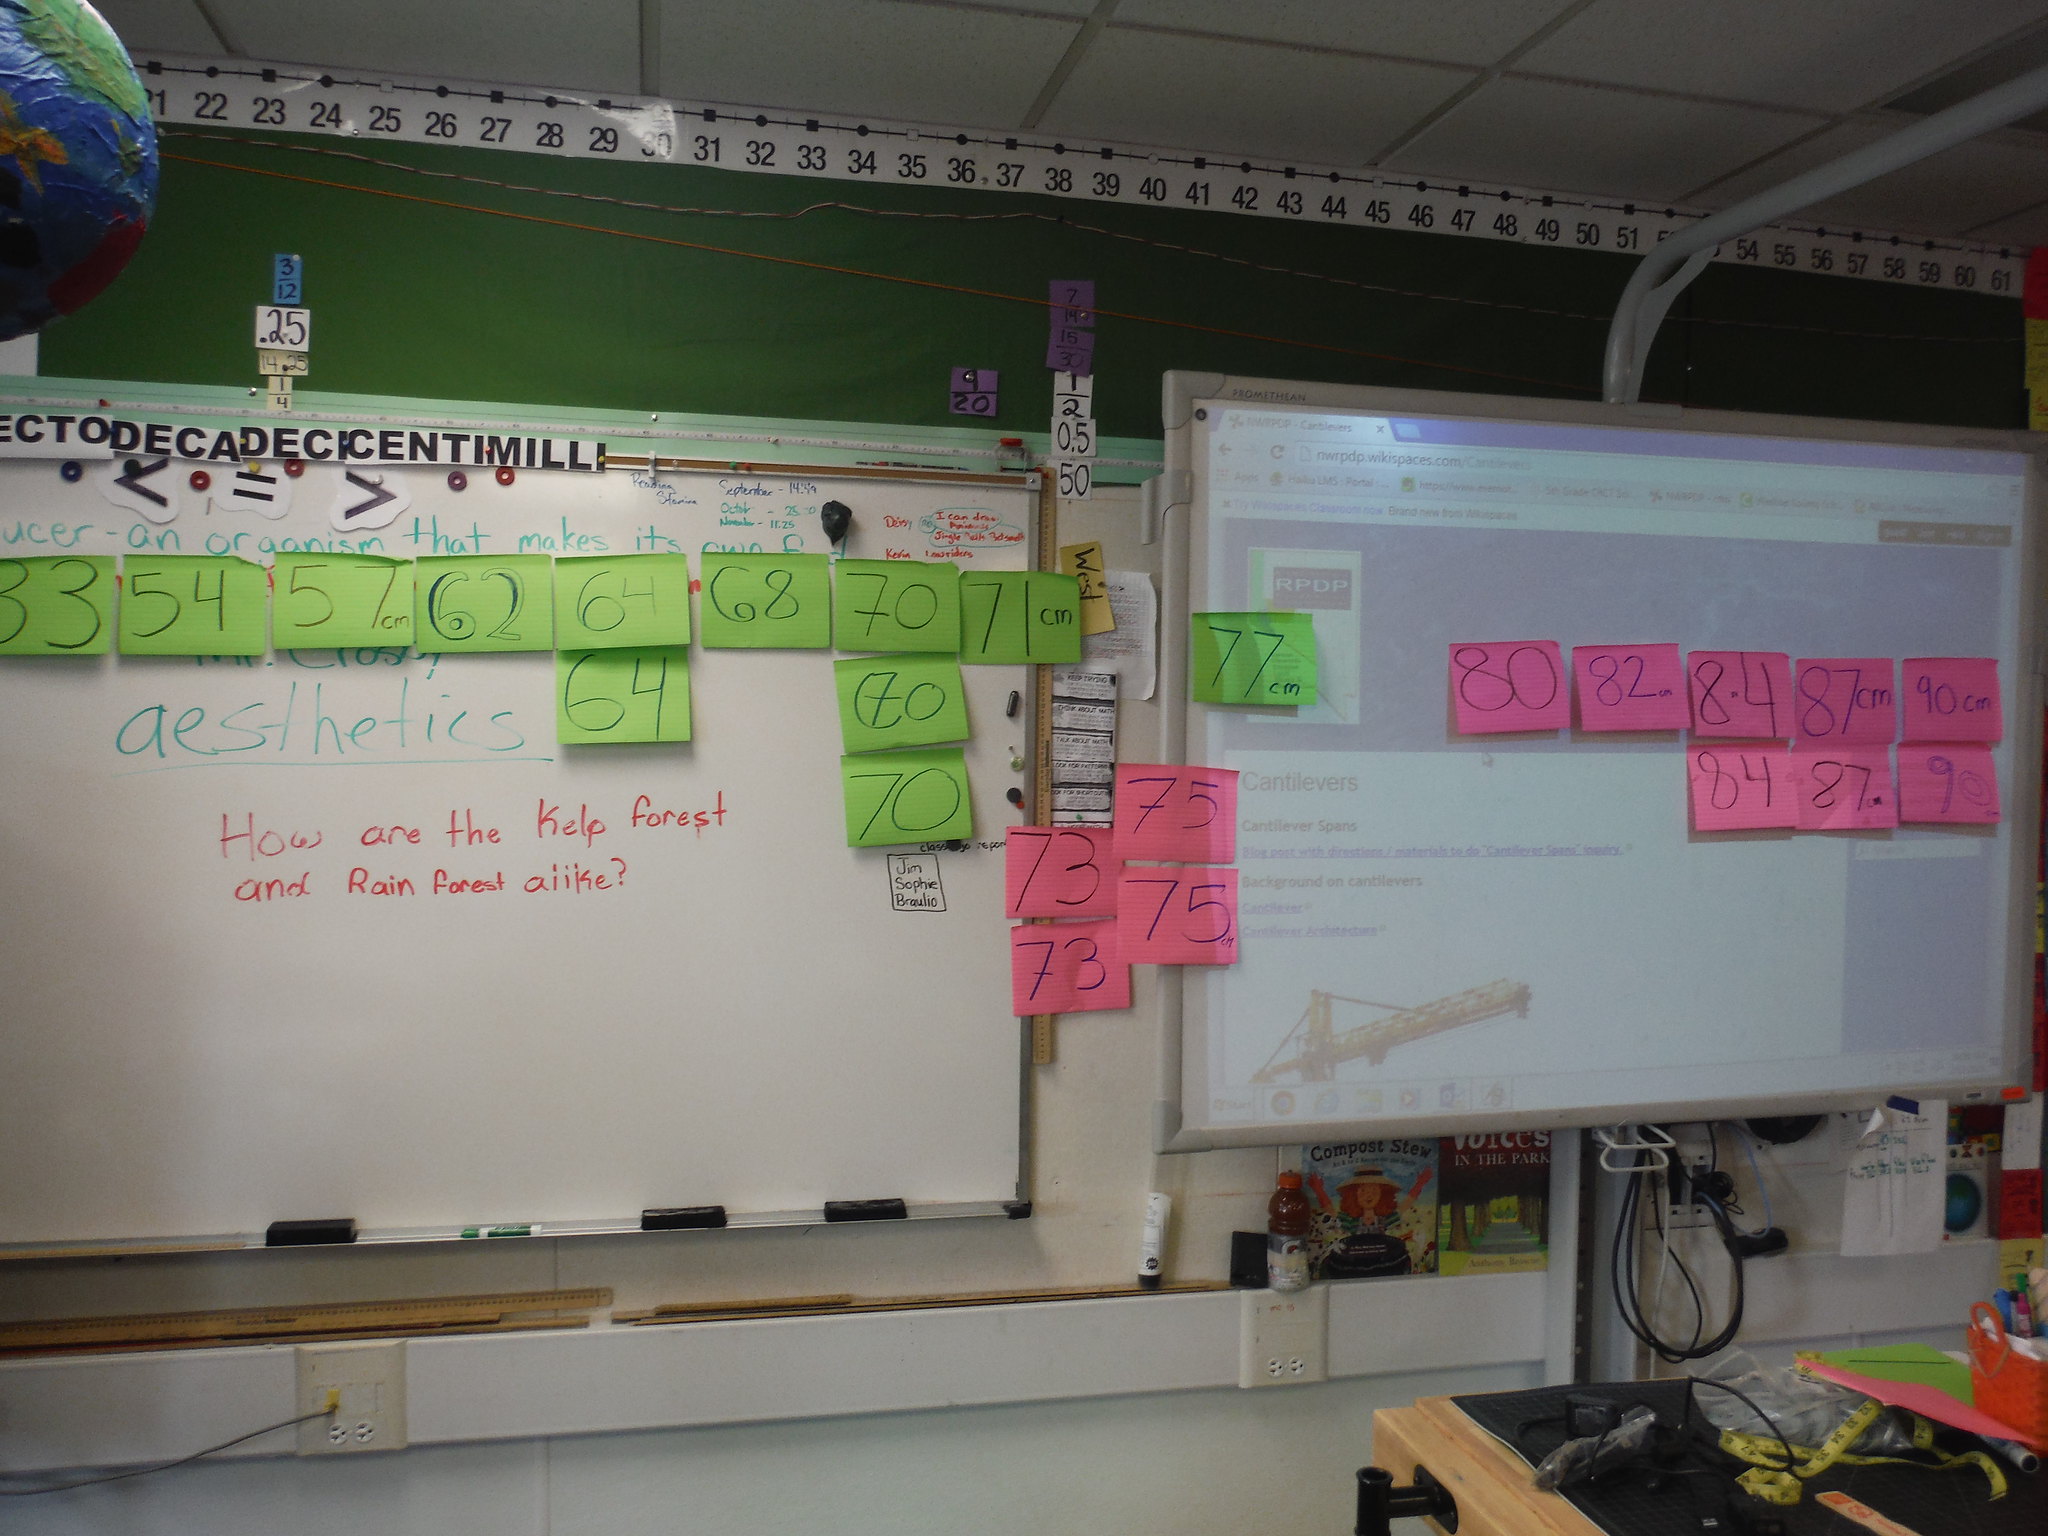
When asked to compare the data, students noted how the shortest span from the second experience was almost as long as the longest from the first. The data is rich with analysis possibilities (that I won’t go into now, but may add later, especially if you bug me, 🙂 ) and I can share from doing this numerous times that 90cm is short of the longest spans students have accomplished (even K/1st graders will build longer spans given repeated experiences).

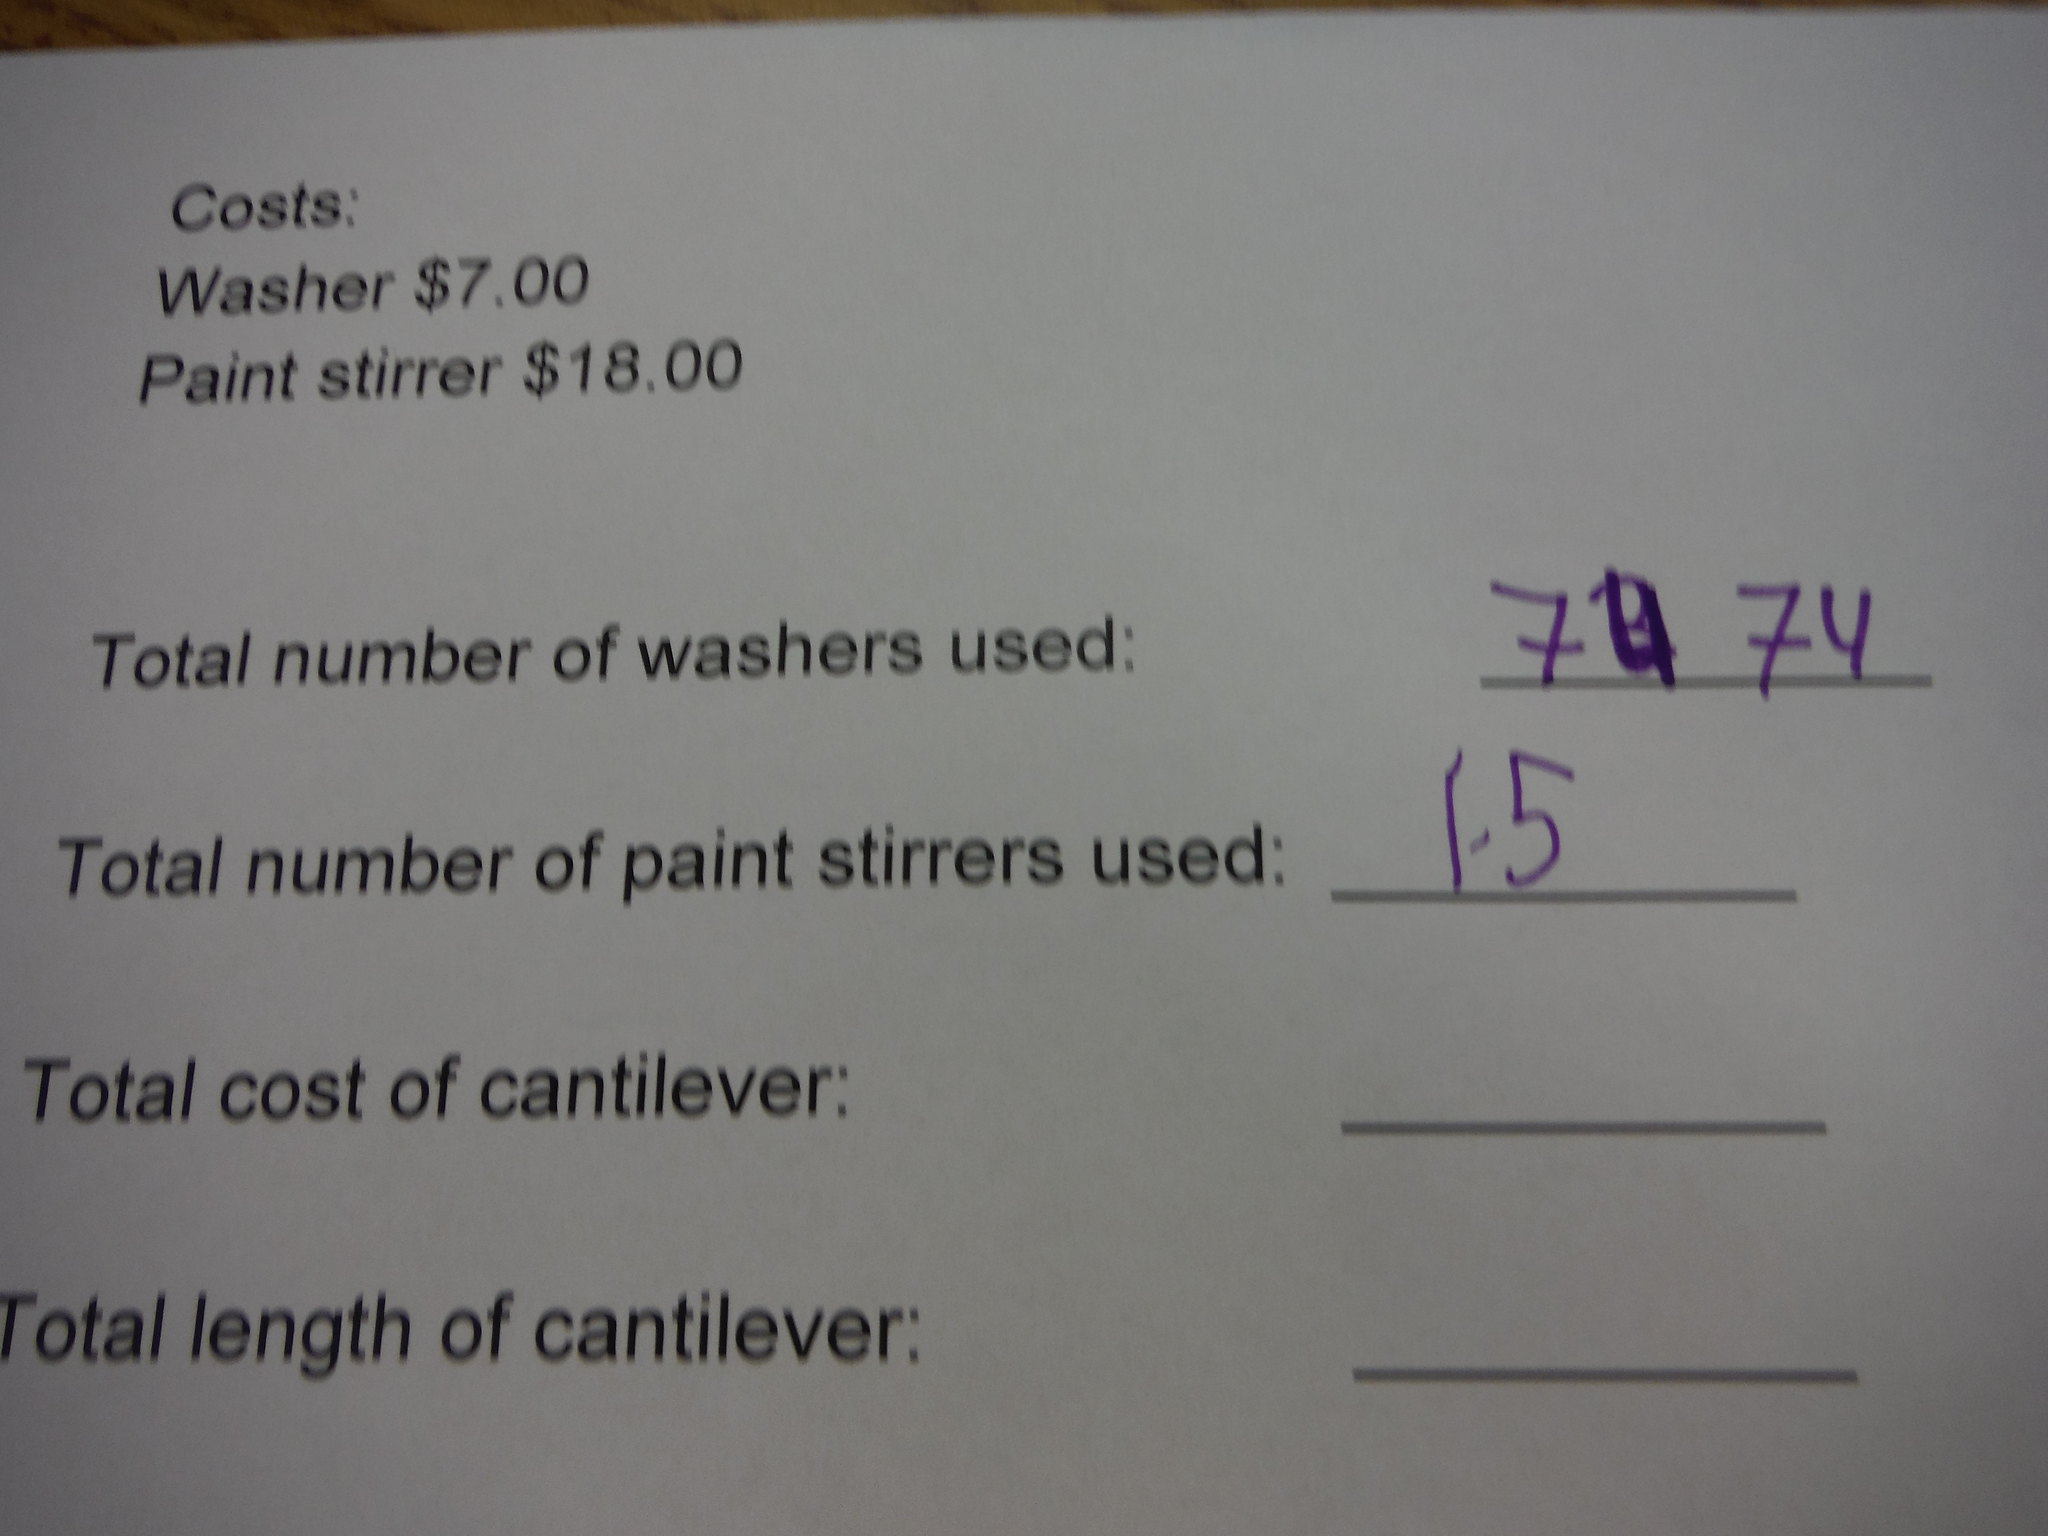
We used this data sheet to begin figuring out how much their cantilever span would cost if you set a price for materials (easily made grade level specific by changing the numbers used), but I wanted them to figure out what to do with the data themselves and we didn’t have time … and Dan was excited about the prospect of crunching that data later when they had time to really go deep with it. NOTE: This photo doesn’t show the last line that asks for cost per centimeter.DSCF0058Lots and lots more to do … more investigations trying to make their spans longer …. other ways to analyze data … how to construct the most “cost effective” span and more. But not today.
The STEAM Challenge: And then I explained the word “aesthetics” and how often designs and products and architecture incorporate aesthetics to make them beautiful and even more functional. I used my iPhone and a box that pens came in as an example … “… the box and phone are about the same size, and the box shape takes no real extra, possibly expensive, design time and effort, but the rounded corners and thin profile and other aspects of the iPhone make it more visually appealing (“cooler”), easier to hold, easier to put in your pocket (etc.) ….”

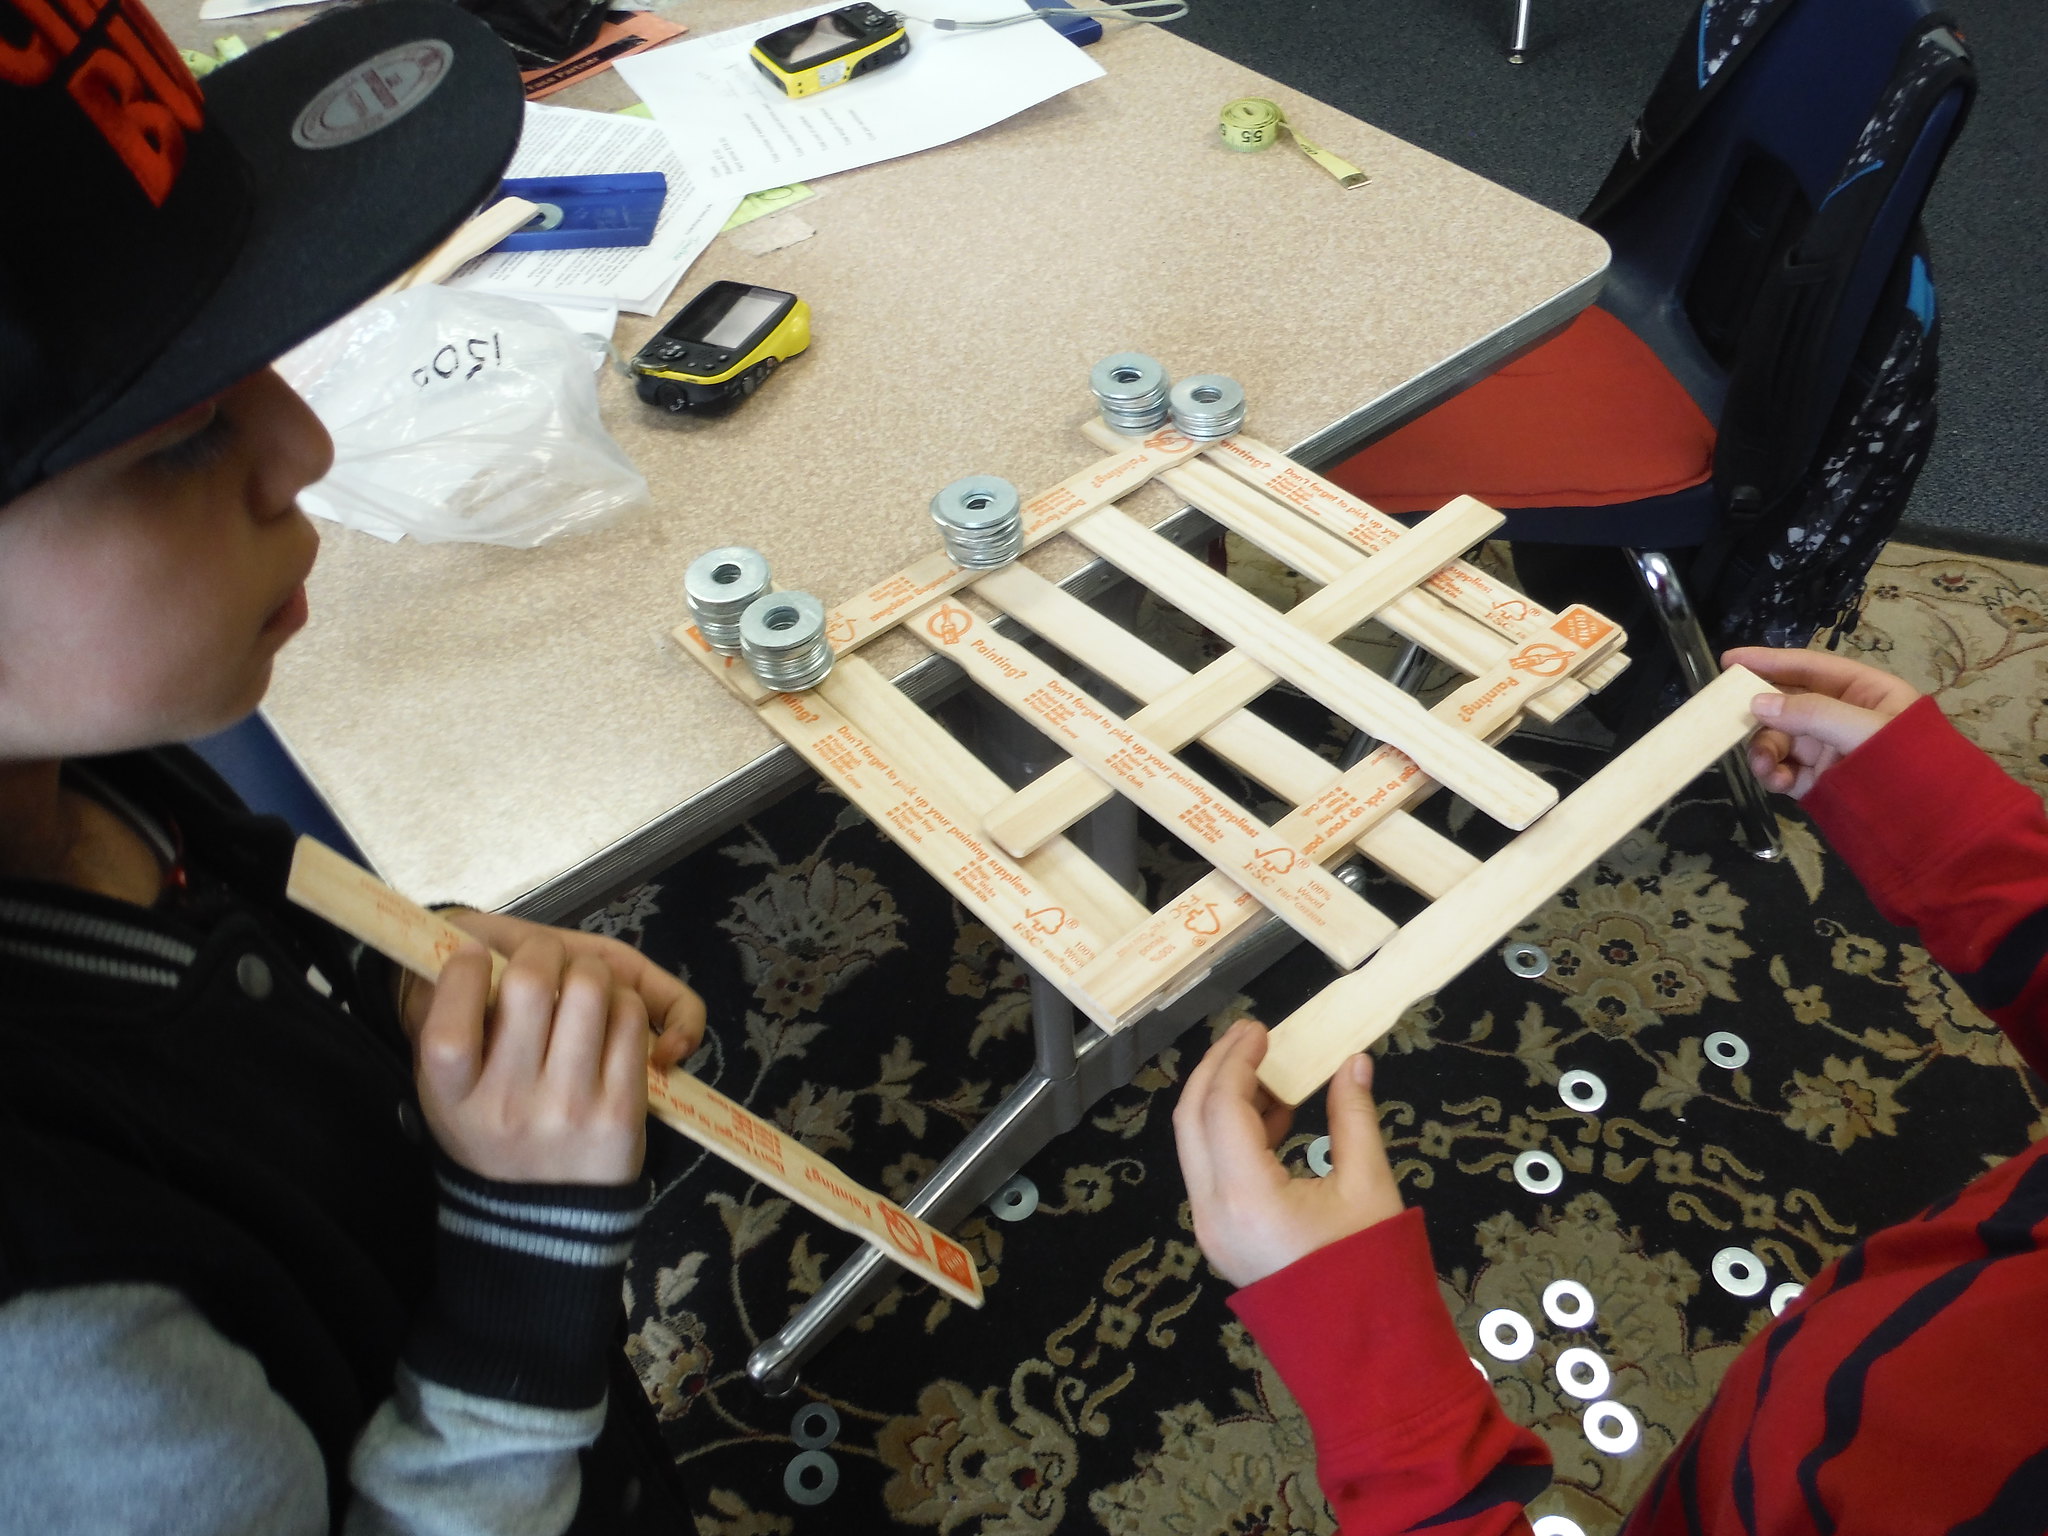
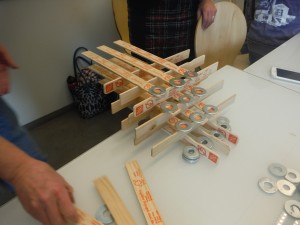
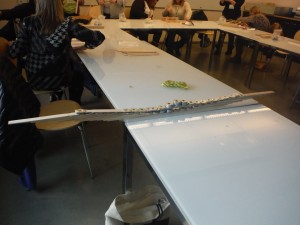
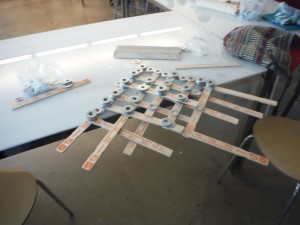
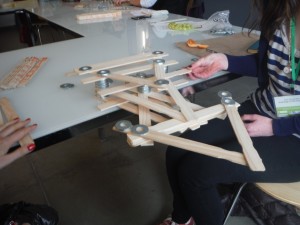
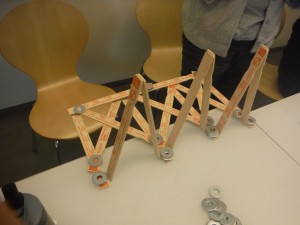
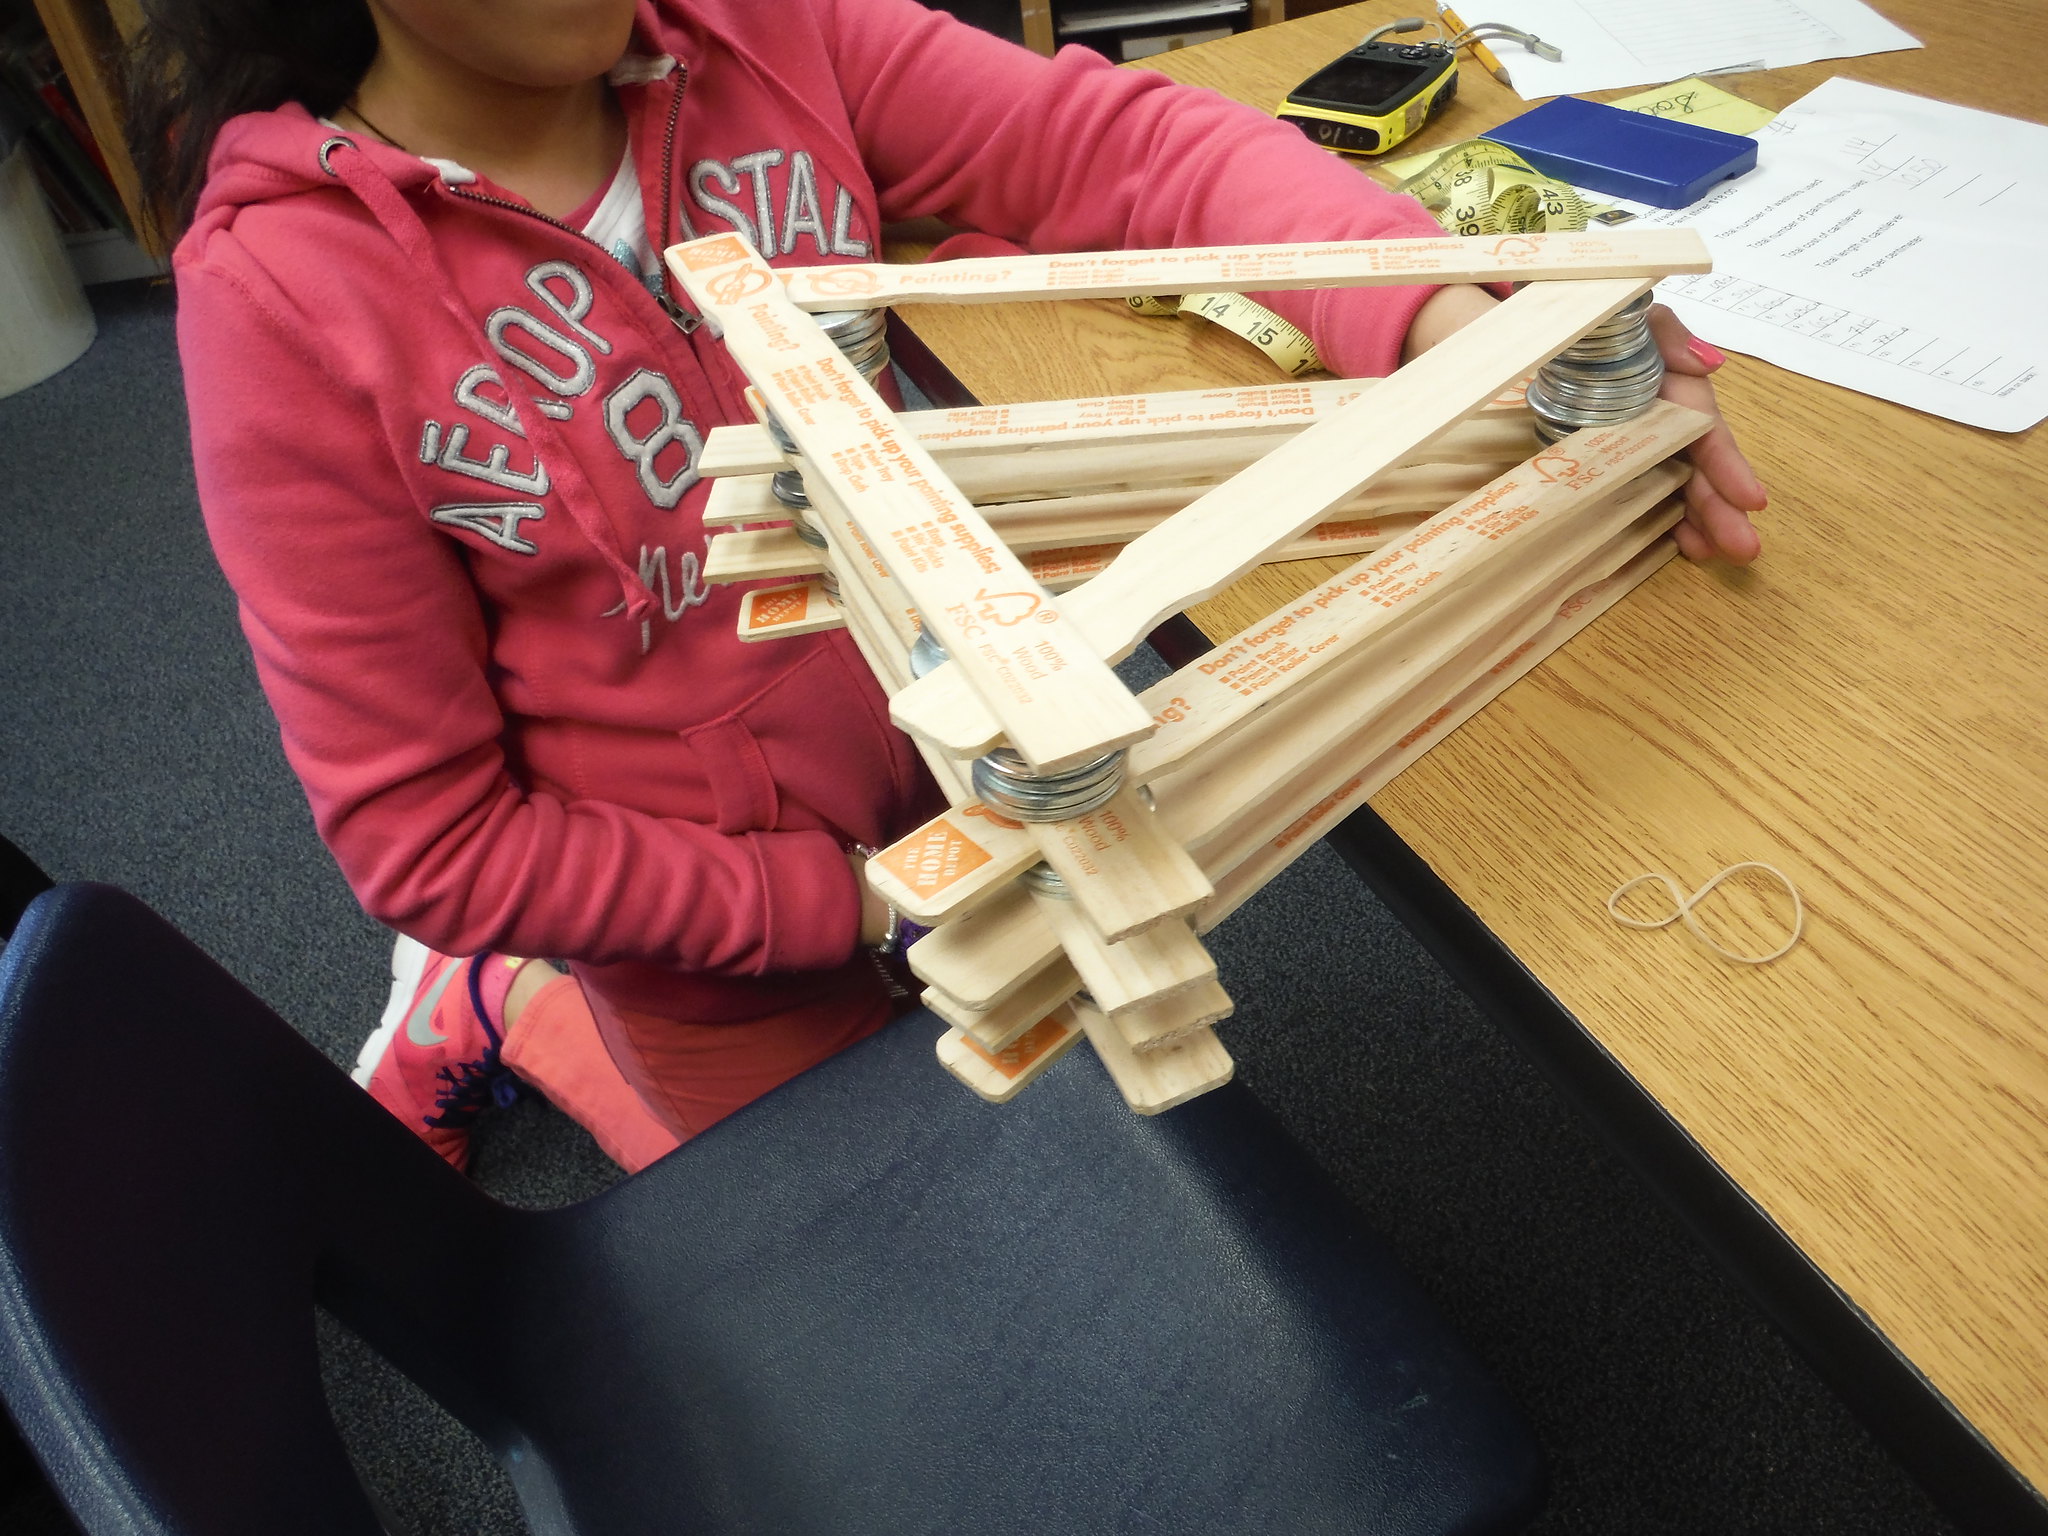
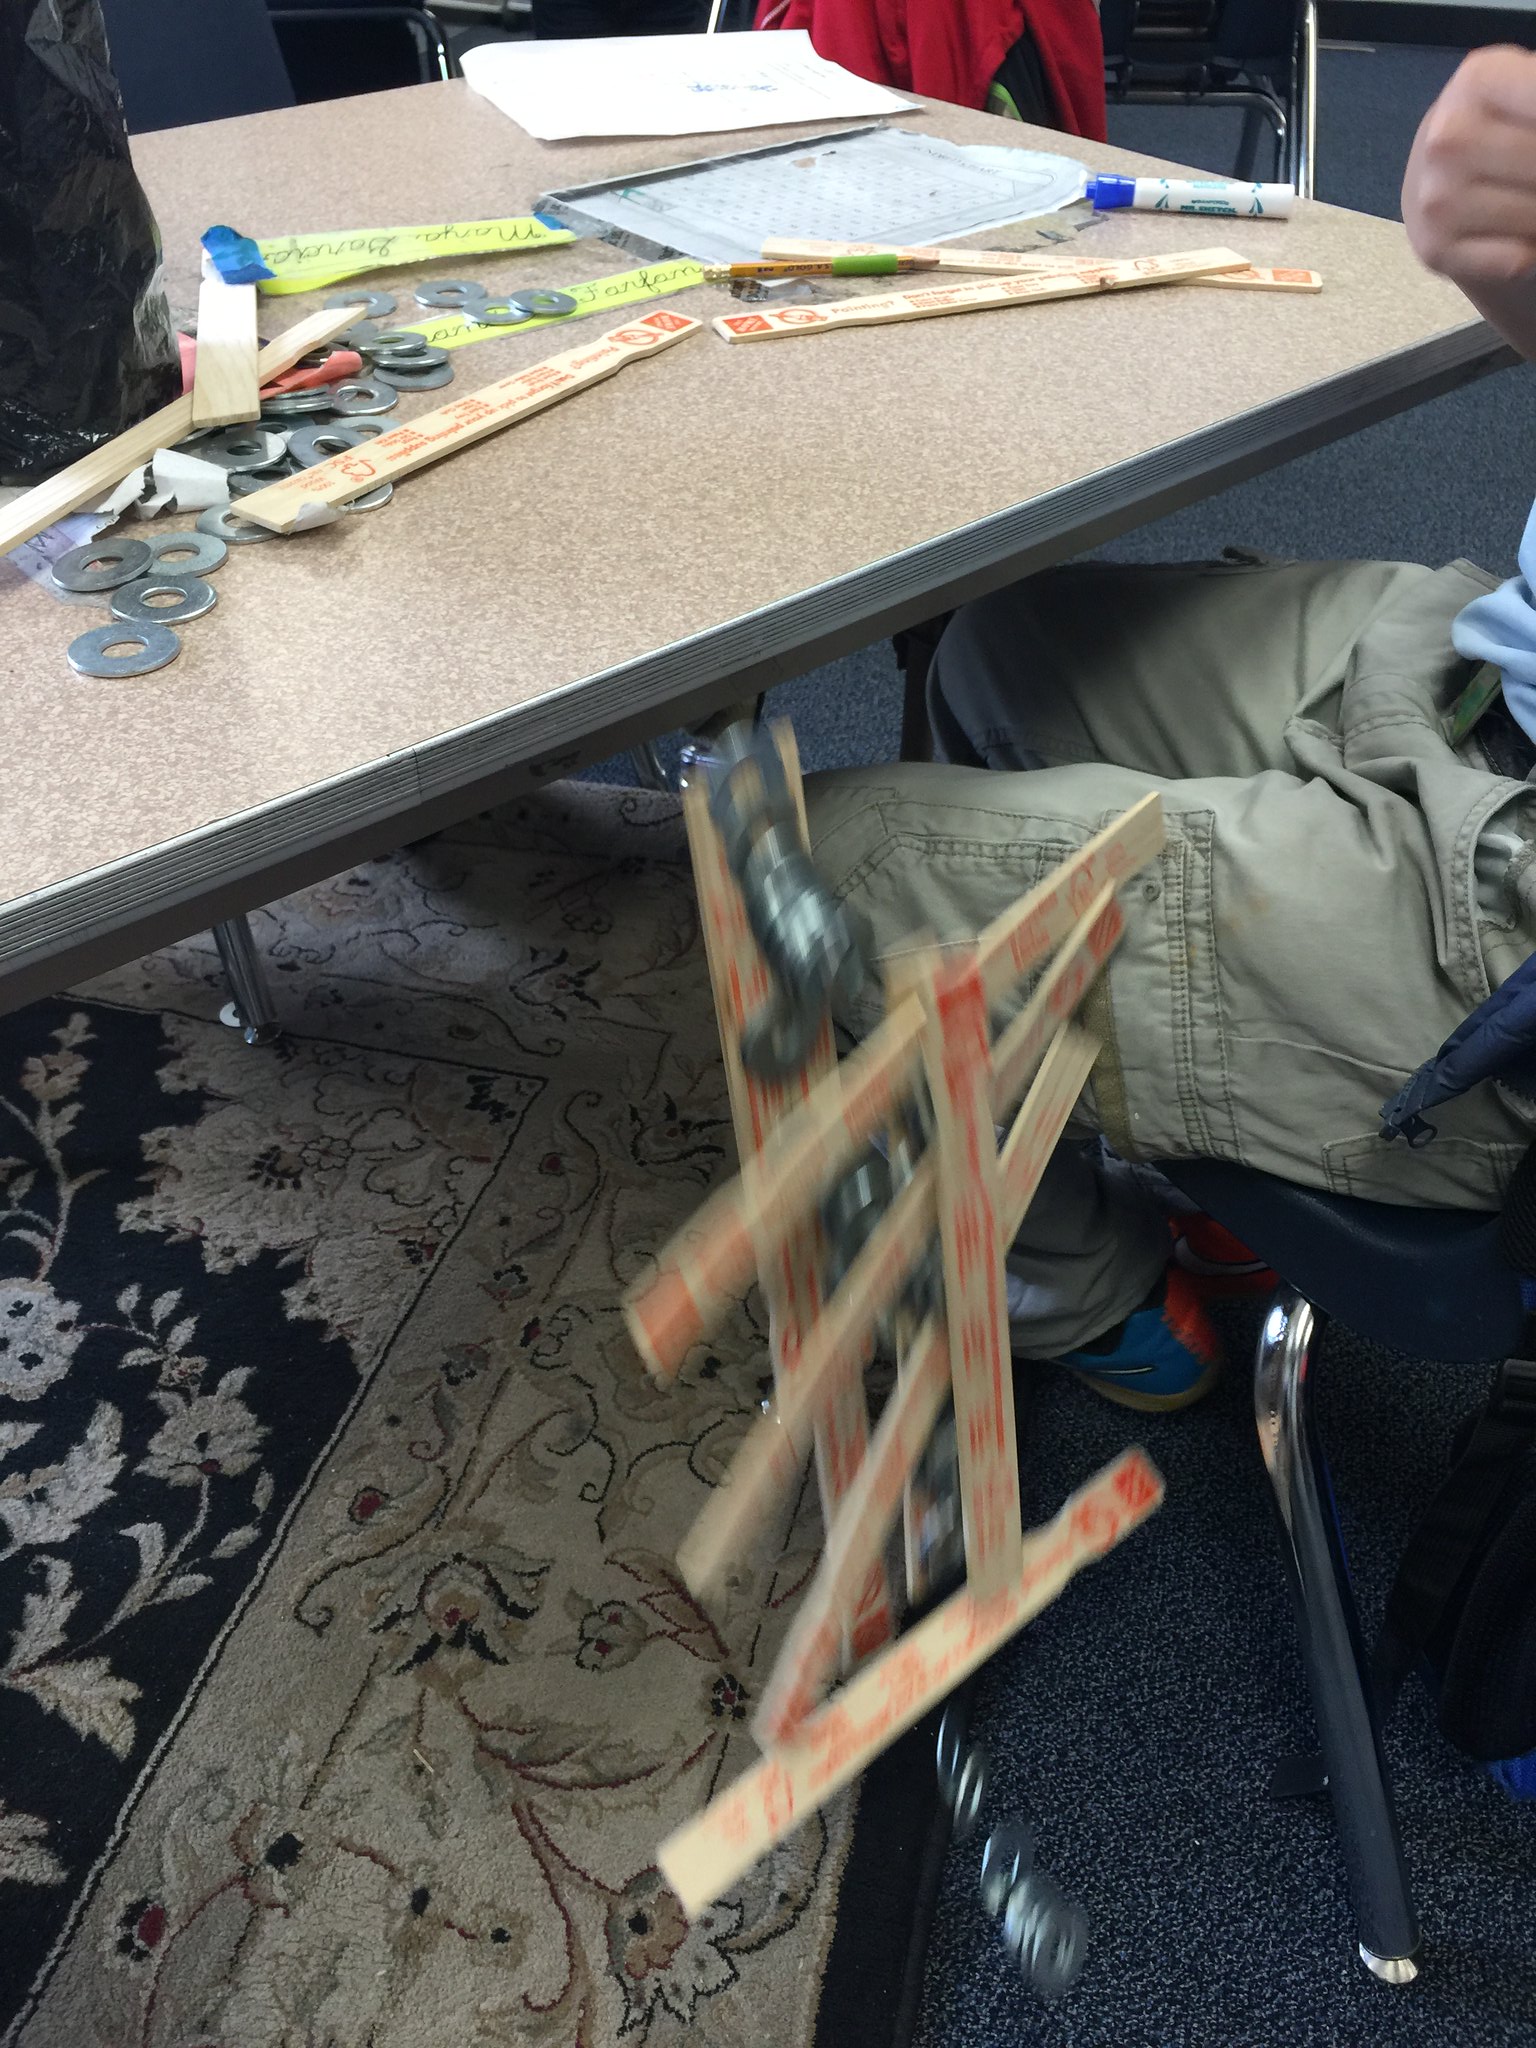
“Now your challenge is to build a structure that is still a cantilever, but how long it reaches off the table is not as important as how “aesthetically pleasing” … how beautiful it is. I’ll even supply you with extra materials if you run out before your structure is finished.” (Note, as students “finished” their structures, one extra challenge I gave them was to see how far off the table they could really get it … and they had fun pushing the limits until it crashed to the floor. NOTE: students had been working now for over 90 minutes and it might have been best to stop here if not earlier – but I wasn’t going to be able to come back soon, and Dan really wanted them to have this experience. But when I was done explaining this investigation it re-energized the class … they were very enthusiastic about jumping back in. Here are some of the results:
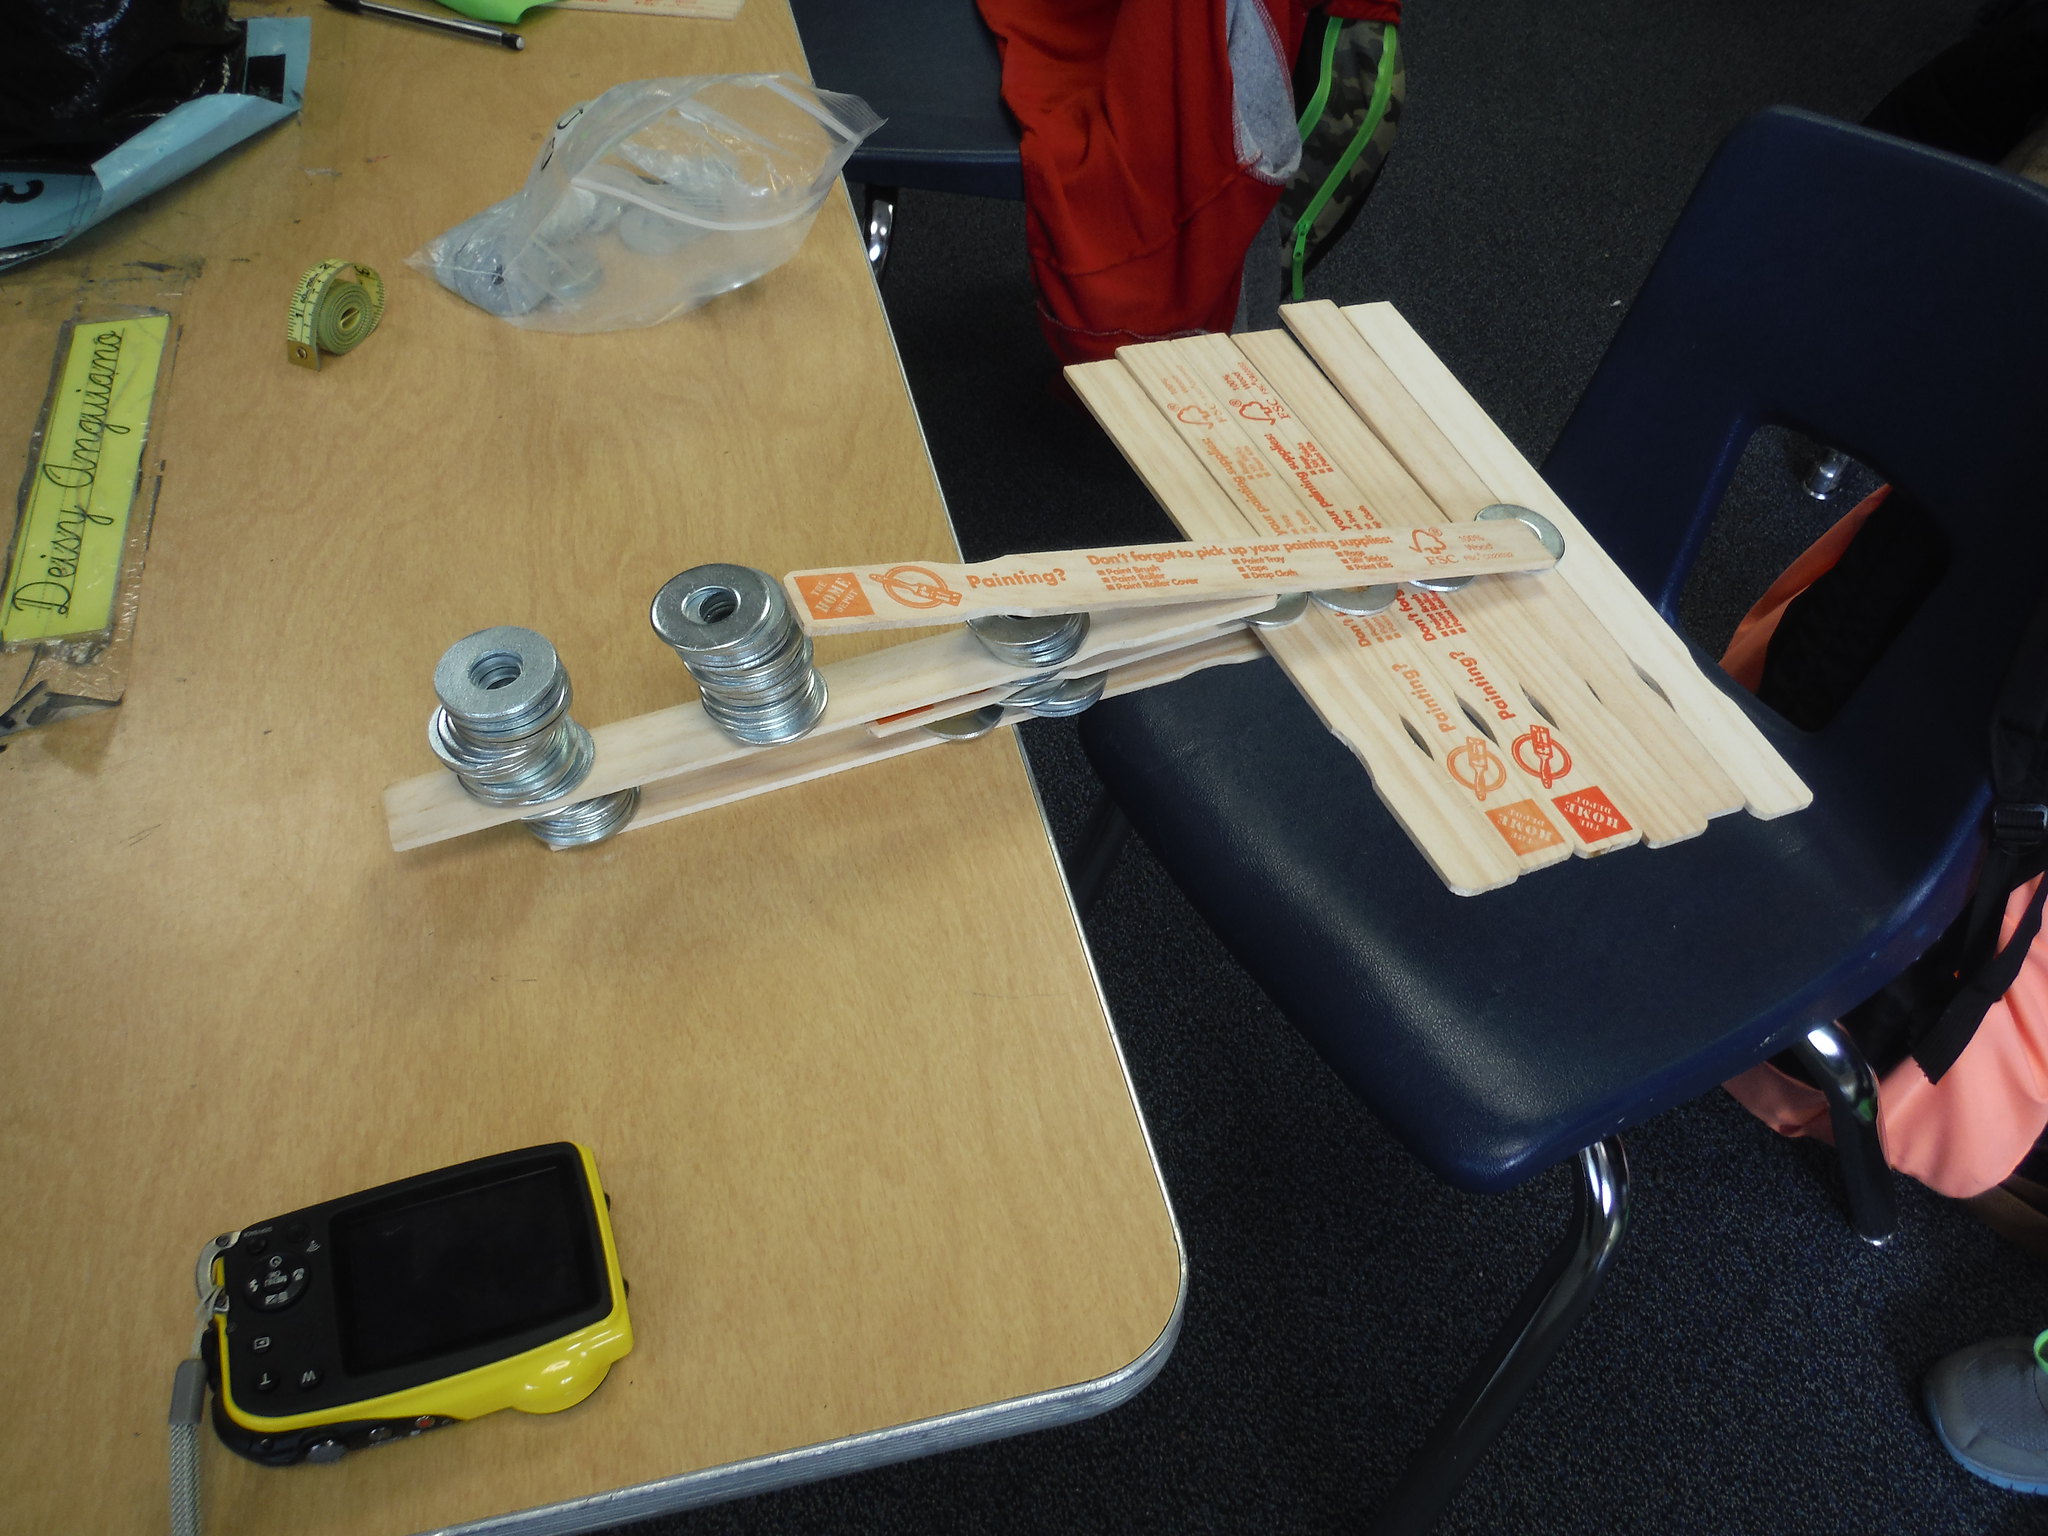
  DSCF0517

DSCF0503

  DSCF0495

DSCF0483

  DSCF0505

This group was super excited when they figured out theirs was transportable! 🙂 DSCF0514
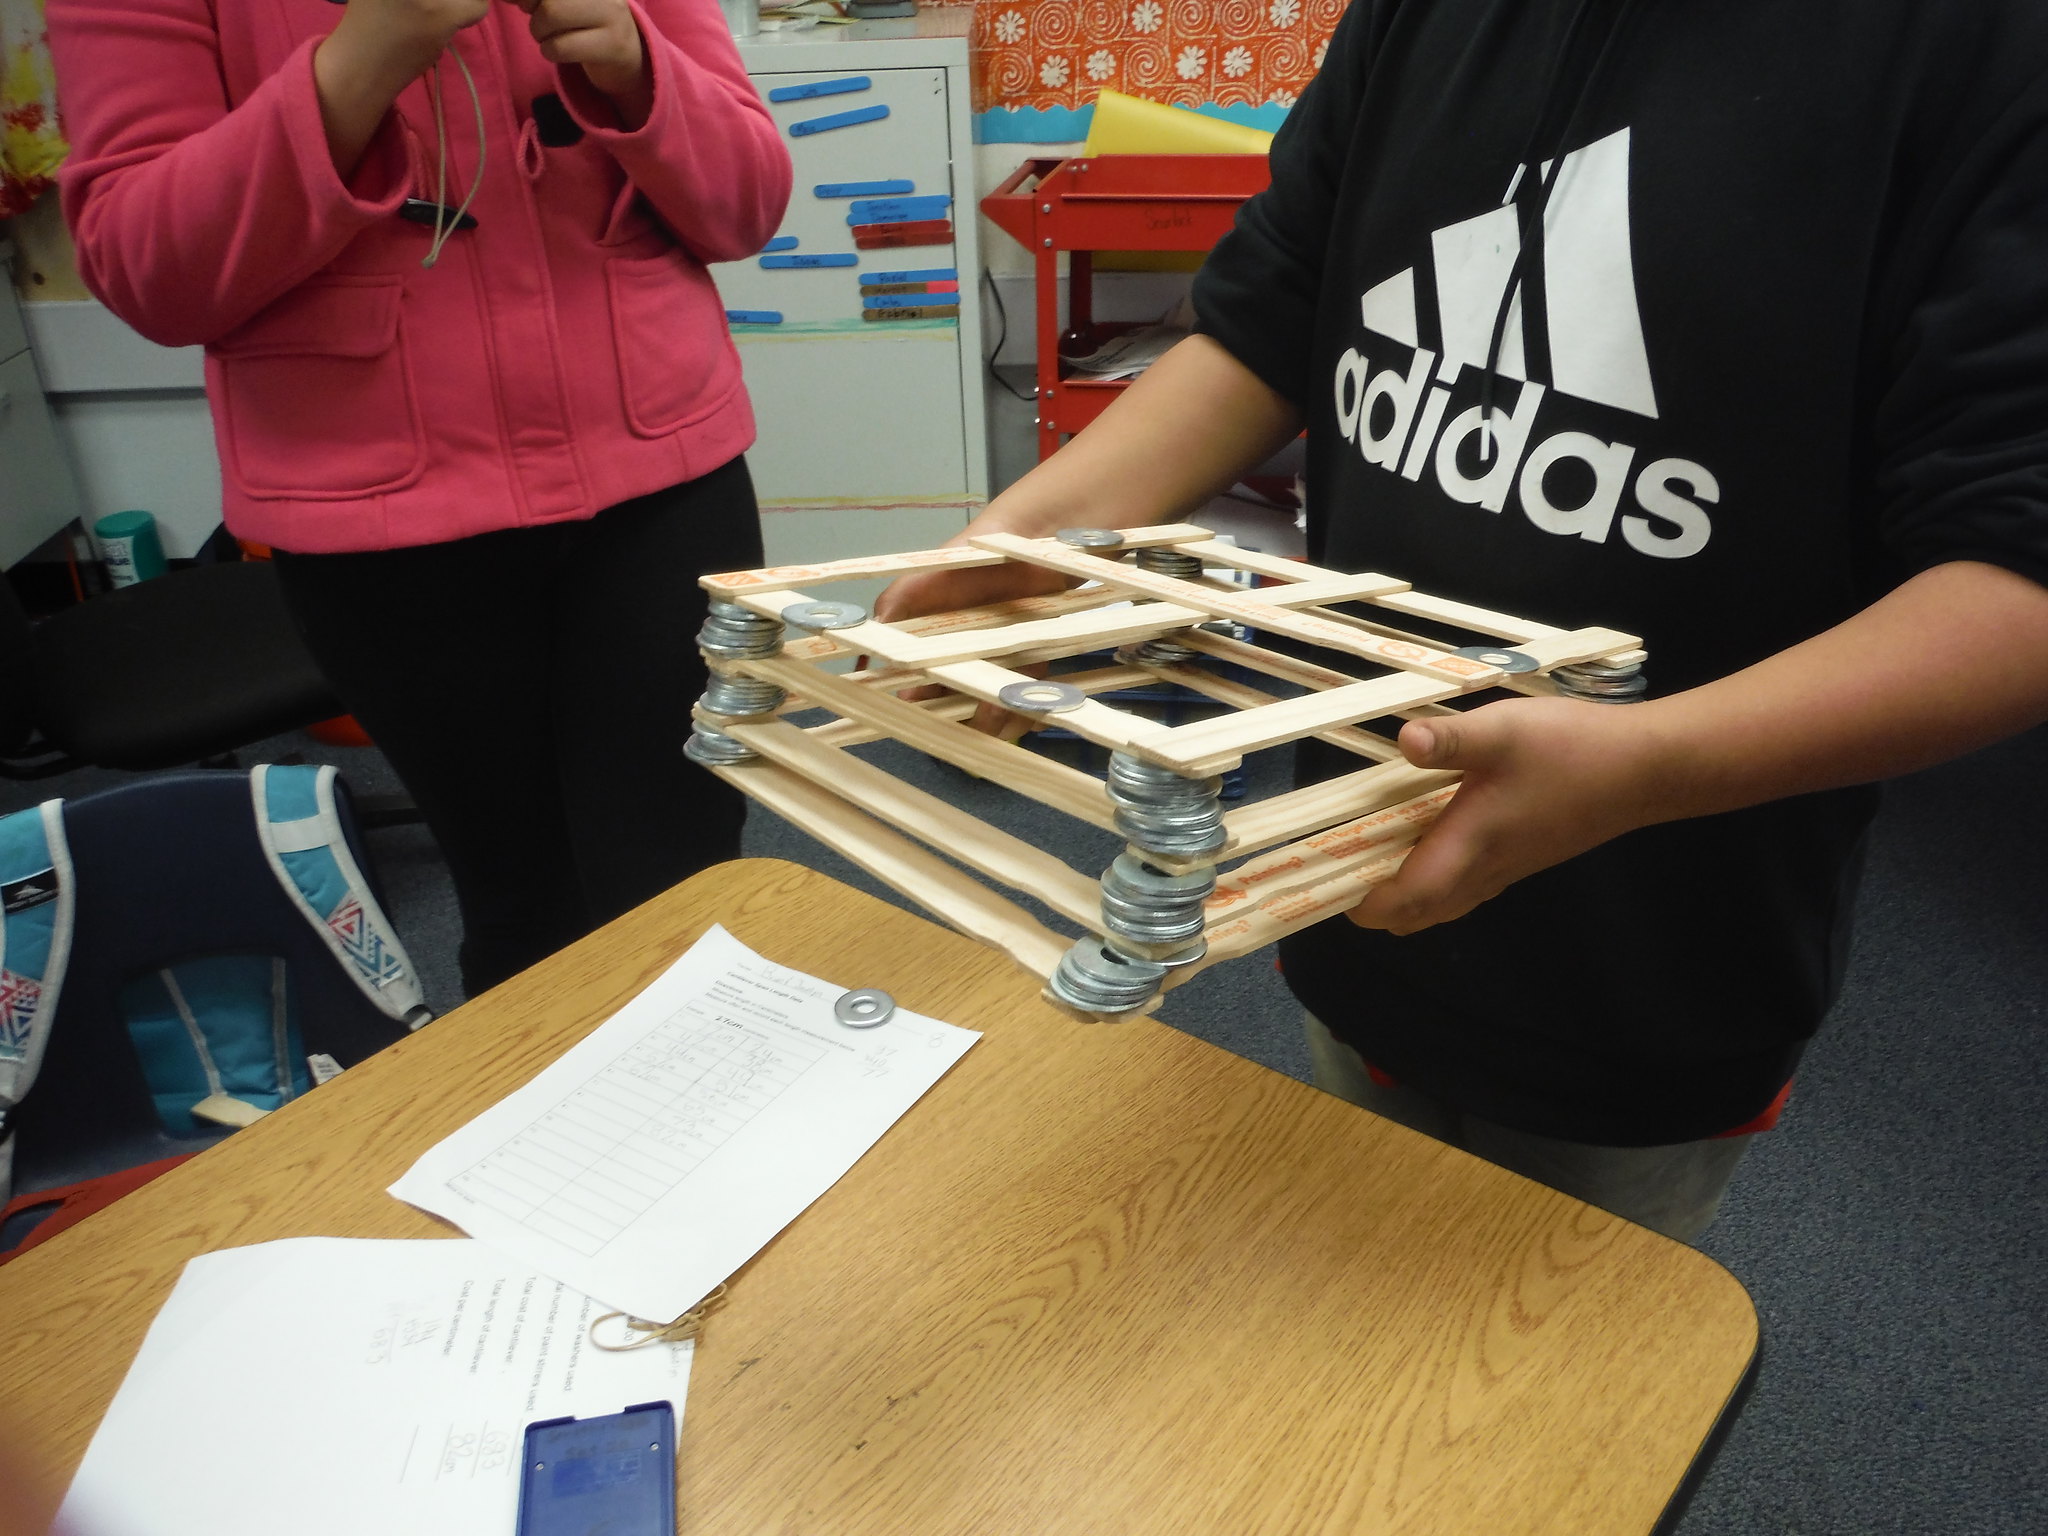
  DSCF0512
I just happen to be shooting a photo of this one when it collapsed!  Untitled
Imagine if students had more than 20 minutes and/or re-visted this experience on other days!

Check out more examples by following the link above to their Flickr set as well as this one and this one.

Before I left I explained that I would leave all the materials with them for a few weeks so they could continue their investigations. Cheers ensued. Dan said he would share more photos and feedback on what they did AND he suspected other teachers (some had even stuck their heads in to see what was going on) just might want to borrow them as well.

Learning is messy!

Exploring STEAM Education

Here's what happened - IT WAS AWESOME!

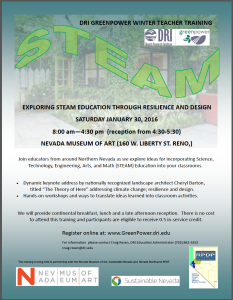
I announced in my previous post about my upcoming involvement in a STEAM (Science, Technology, Engineering, ART and Math) day at the Nevada Museum of Art. I was trying out a new idea to integrate art into what before had been strictly a STEM (Science, Technology, Engineering and Math) inquiry lesson utilizing cantilever spans (the lesson is explained here).

STEAM_teacher_training_flyer_winter_2016-3_pdfIMG_1044

The original lesson was built on the work of Ken Wesson who gave Lou Loftin (my frequent collaborator in PD delivery)  the original idea of using cantilever construction as an inquiry piece. He encouraged us to “go with it” and we have. We report back to Ken whenever we see him about how awesome the cantilever spans experience is. He usually just beams and encourages us to keep promoting it and innovating with it. Ken, by the way, is a great speaker, I’ve seen several of his keynotes and he brings the house down!

My idea to add the art component to the lesson was this: We started out following the original introductory lesson, pass out the materials and challenge the participants to build as long a span with those materials as possible (in groups of 2 to 3) … the difference was on this day that I only gave them 5 minutes to build. I mainly wanted to give them some experience with the materials and building a span AND to have them experience the STEM version even a tiny bit. We debriefed their experiences, I described the multiple ways to continue and leverage the lesson (which can go for days or weeks BTW) and then I changed the challenge … the focus:
“This time when you build your cantilever span your total focus is to be on the aesthetics of the span. It doesn’t matter how far out from the edge of the table it reaches, as long as it does, …make it beautiful, creative … GO!

I was pretty sure this was going to elicit some creative structures … I way under estimated … the designs, even in the limited time we had (15-20 minutes) were fantastic! Here are just a few examples:

DSCF1329


DSCF1411

DSCF1369


DSCF1365


DSCF1405


See what I mean?  There are just too many to post … but here is a link to all of them on Flickr.

I had four groups of educators cycle through the 50 minute lesson during the day. When I debriefed them each group spoke about how they loved the creativity aspect. We would always make time for a “gallery walk” during each session and many noted how they were so focused on what they were creating that they didn’t even notice what those all around them were doing until we did the walk. Many took photos and asked questions and conversations began about the process … unfortunately we always had to cut those conversations short. We did discuss the writing, math, research and other integrations and connections … including collaborating with classrooms anywhere in the world, that should happen along with the STEM or STEAM version of this or any lesson.

If you’ve already experienced cantilevers with your students I fervently suggest going back and having them experience this “art” connection variation. If you’ve never done it I suggest having your students build long spans for awhile (days or weeks) and then after they have experience with the materials try the aesthetics piece (but certainly do it any way you and they want … just a suggestion) I can’t wait to get into some classrooms and try this with students! Reminder: The cantilevers lesson is appropriate for ALL students Pre-K – 12. When I do get into classrooms I’ll report back! If you beat me to it, please share your experience!!

Learning is messy!

Tissue Paper Balloon Construction and Flight “How-To”

Materials and step-by-step with video and photos.

I’ve had lots of requests from people that remember this post from last year lately – so I’m reposting it to make it easier to find. This is a fantastic STEM activity. Plenty of “messiness” involved:

Tissue paper hot air balloons are one of those powerful STEM learning experiences that lend themselves so well to being cross-curricular.
There are the construction aspects that include measurement (length & angles for example) and skills like cutting with scissors precisely, gluing and following directions. Making mistakes, learning from those mistakes and moving on (messy learning). Collaboration, since in the classroom students usually construct the balloons in pairs or small groups. The engineering design process since as students launch their balloons they can note design changes that would lead to an improved design, make changes and relaunch to check results, and so much more. Oh, and yes, one of my favorites, there are artistic design aspects as well.  LEFT: Tissue paper balloon launch from 2013. Note the excitement of the kindergarteners as they chase it down! At this age teachers sometimes choose to construct a “class balloon” or two or three (but certainly more at times). Classes sometimes “buddy” as well – a 5th grade and a 1st grade for example.


Link to PDF of construction steps – also includes different sizes of tissue paper – we used 20 x 26 inch (51cm x 66cm) paper in videos below because it is what you usually find.

MATERIALS – So, what’s required for construction?

For EACH balloon:

– 18 sheets of 20 x 26 inch (51cm x 66cm) tissue paper (or note other size possibilities in PDF linked above) (100 sheet packs are around $12)

– scissors,  meter stick, protractor, marker, glue stick (during construction you will use the entire stick),

Here’s the video of what you would expect to get done during the first class period – about 45 to 60 minute period.

Part 1 – below

Day 2 directions below – again, expect a typical class period more or less:

Day 3 directions below:

Day 4 directions below:


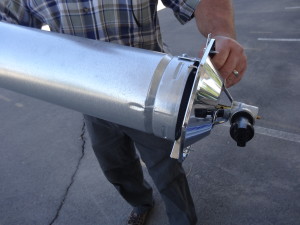
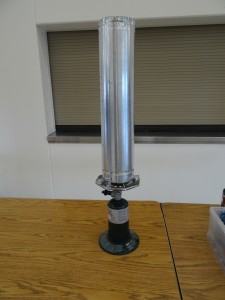
OK, so you have a finished balloon (or balloons perhaps) – how do you launch them? Here are the directions to make the launcher you see used in the video.

Materials:

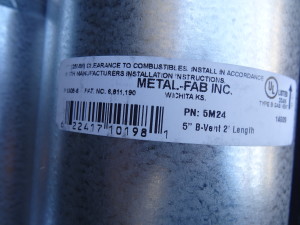
– (1) – 5 inch x 2 foot double wall stovepipe – from hardware store – about $12

DSC02874


– (1) – Coleman (or other brand) propane 1 burner stove – about $35

DSC02875


– (1) – Propane tank (see in photo above of stove)

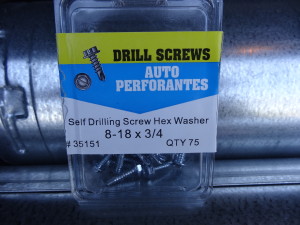
– (4) – 8-18 x 3/4 self drilling screws (box shown has 75 screws, but you only need 4)

DSC02876


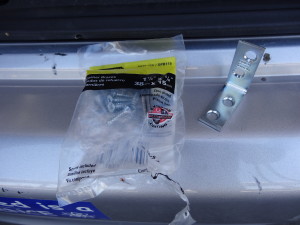
– (2) – 1 1/2 inch x 5/8 inch corner braces (pack in photo includes screws – BUT THEY ARE NOT THE ONES YOU USE)

DSC02877


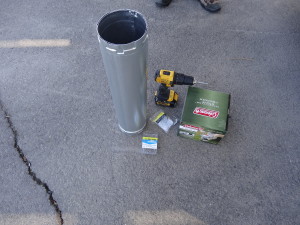
– (1) – drill with screwdriver bit for driving screws. (see it in photo with other materials)

DSC02879


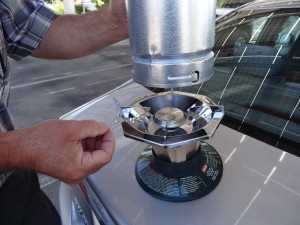
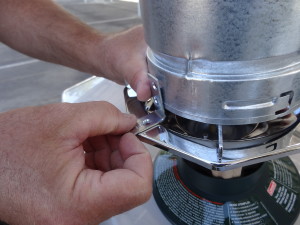
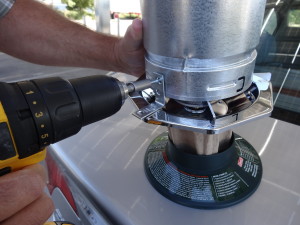
(1) – Screw the stove pipe to the stove using the corner braces – each corner brace has 4 holes for screws, but you only use 2 of them.

DSC02882


DSC02883


DSC02884


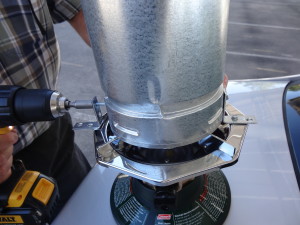
Repeat with a corner brace 180 degrees opposite the first brace.

DSC02885


DSC02886


Attach the propane tank and you have a finished launcher. We use a butane lighter to light ours. We also have a squirt bottle of water to put out any fires – rare, but tissue burns pretty quickly. At the balloon races with 14 of these going, we also had fire extinguishers (never used one) available.

DSC01270


Here is a link to a Flickr set from launch day at the races. Also some pics of weather balloons we launched –  NOTE – we check these launchers out to local schools so they can launch at school – teachers often want to go further with the design process now that the students are excited.

Learning is messy!