Tissue Paper Balloon Construction and Flight “How-To”

Materials and step-by-step with video and photos.

I’ve had lots of requests from people that remember this post from last year lately – so I’m reposting it to make it easier to find. This is a fantastic STEM activity. Plenty of “messiness” involved:

Tissue paper hot air balloons are one of those powerful STEM learning experiences that lend themselves so well to being cross-curricular.
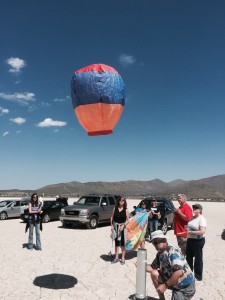
There are the construction aspects that include measurement (length & angles for example) and skills like cutting with scissors precisely, gluing and following directions. Making mistakes, learning from those mistakes and moving on (messy learning). Collaboration, since in the classroom students usually construct the balloons in pairs or small groups. The engineering design process since as students launch their balloons they can note design changes that would lead to an improved design, make changes and relaunch to check results, and so much more. Oh, and yes, one of my favorites, there are artistic design aspects as well.  LEFT: Tissue paper balloon launch from 2013. Note the excitement of the kindergarteners as they chase it down! At this age teachers sometimes choose to construct a “class balloon” or two or three (but certainly more at times). Classes sometimes “buddy” as well – a 5th grade and a 1st grade for example.


Link to PDF of construction steps – also includes different sizes of tissue paper – we used 20 x 26 inch (51cm x 66cm) paper in videos below because it is what you usually find.

MATERIALS – So, what’s required for construction?

For EACH balloon:

– 18 sheets of 20 x 26 inch (51cm x 66cm) tissue paper (or note other size possibilities in PDF linked above) (100 sheet packs are around $12)

– scissors,  meter stick, protractor, marker, glue stick (during construction you will use the entire stick),

Here’s the video of what you would expect to get done during the first class period – about 45 to 60 minute period.

Part 1 – below

Day 2 directions below – again, expect a typical class period more or less:

Day 3 directions below:

Day 4 directions below:


OK, so you have a finished balloon (or balloons perhaps) – how do you launch them? Here are the directions to make the launcher you see used in the video.

Materials:

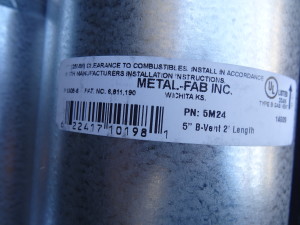
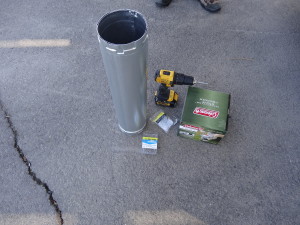
– (1) – 5 inch x 2 foot double wall stovepipe – from hardware store – about $12

DSC02874


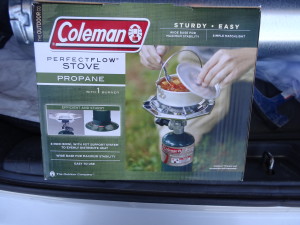
– (1) – Coleman (or other brand) propane 1 burner stove – about $35

DSC02875


– (1) – Propane tank (see in photo above of stove)

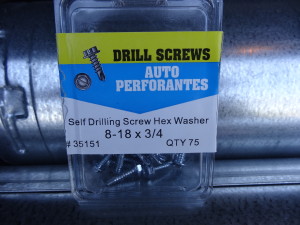
– (4) – 8-18 x 3/4 self drilling screws (box shown has 75 screws, but you only need 4)

DSC02876


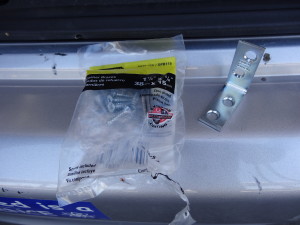
– (2) – 1 1/2 inch x 5/8 inch corner braces (pack in photo includes screws – BUT THEY ARE NOT THE ONES YOU USE)

DSC02877


– (1) – drill with screwdriver bit for driving screws. (see it in photo with other materials)

DSC02879


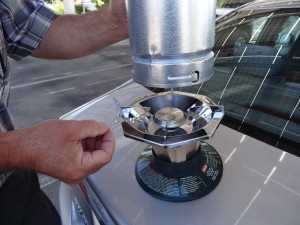
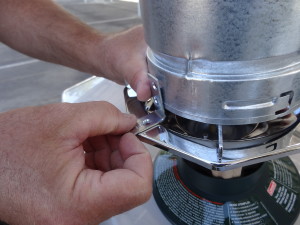
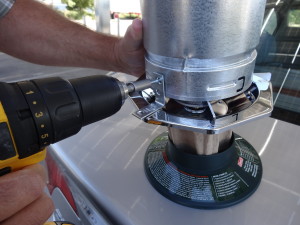
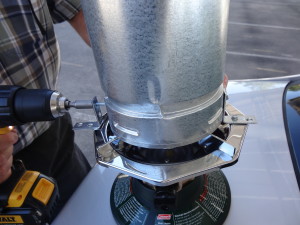
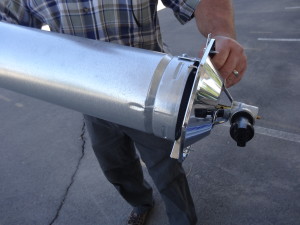
(1) – Screw the stove pipe to the stove using the corner braces – each corner brace has 4 holes for screws, but you only use 2 of them.

DSC02882


DSC02883


DSC02884


Repeat with a corner brace 180 degrees opposite the first brace.

DSC02885


DSC02886


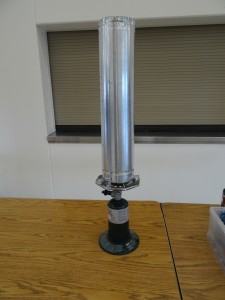
Attach the propane tank and you have a finished launcher. We use a butane lighter to light ours. We also have a squirt bottle of water to put out any fires – rare, but tissue burns pretty quickly. At the balloon races with 14 of these going, we also had fire extinguishers (never used one) available.

DSC01270


Here is a link to a Flickr set from launch day at the races. Also some pics of weather balloons we launched –  NOTE – we check these launchers out to local schools so they can launch at school – teachers often want to go further with the design process now that the students are excited.

Learning is messy!

DeLaMare Science and Engineering Library

Maker and Collaboration Space

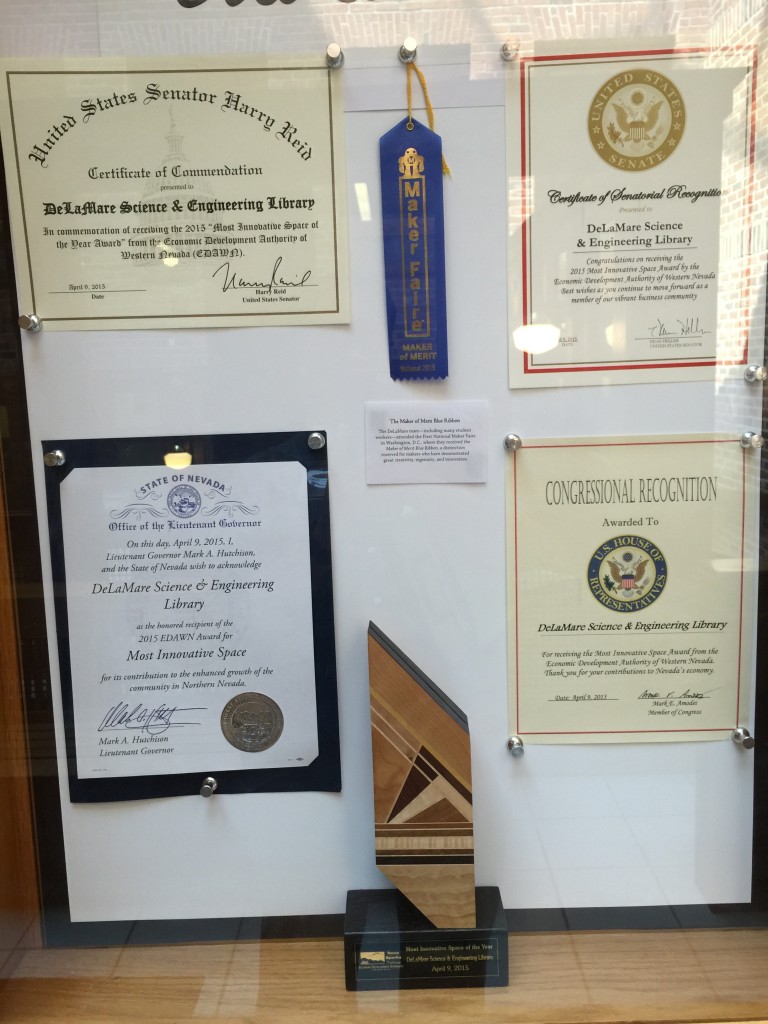
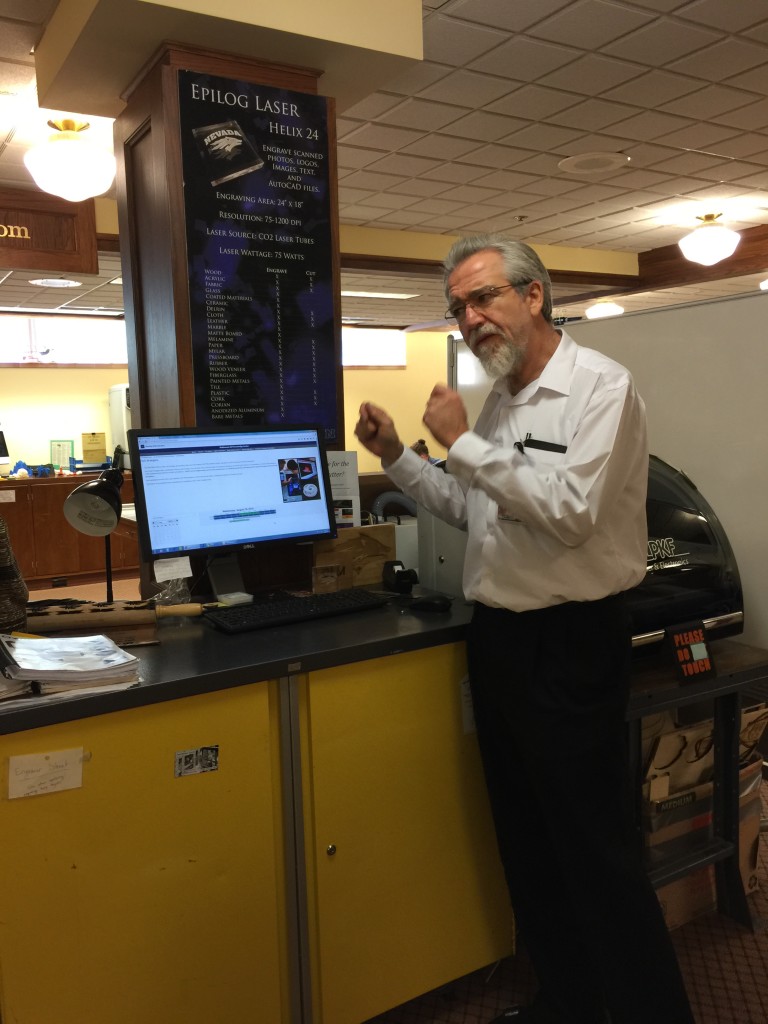
Last week I was part of a small group that was given a tour of the award winning DeLaMare Science & Engineering Library on the campus of the University of Nevada, Reno.

IMG_4008


Todd Colegrove,  head of the DeLaMare Library, took the time to show us around.

IMG_4012

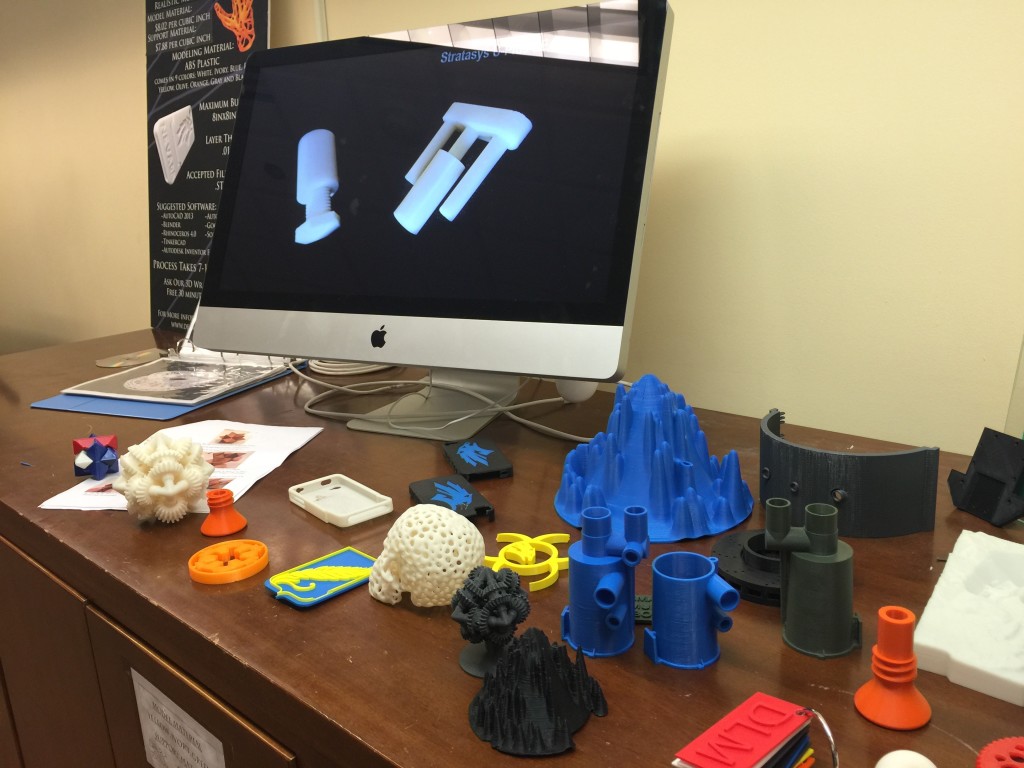
We saw laser cutters, 3-D printers, large format printers, Lego Robotics, Arduinos and many more resources which they will not only allow teachers and students to use, they have people ready to help you learn about and use them. Since they are a no-profit they will also print your 3-D designs for cost.

They also have collaboration rooms, many that have walls made of whiteboard material, tables, chairs, computers and more, that can be checked out and used. They also support classroom field trips to the facility that be everything from a tour of the facility and resources available, to using the facility to plan and “make” using the library’s resources.

IMG_4013


Here’s a YouTube video that shows the resources and maker spaces they have available:

IMG_4010


IMG_4009


IMG_4014


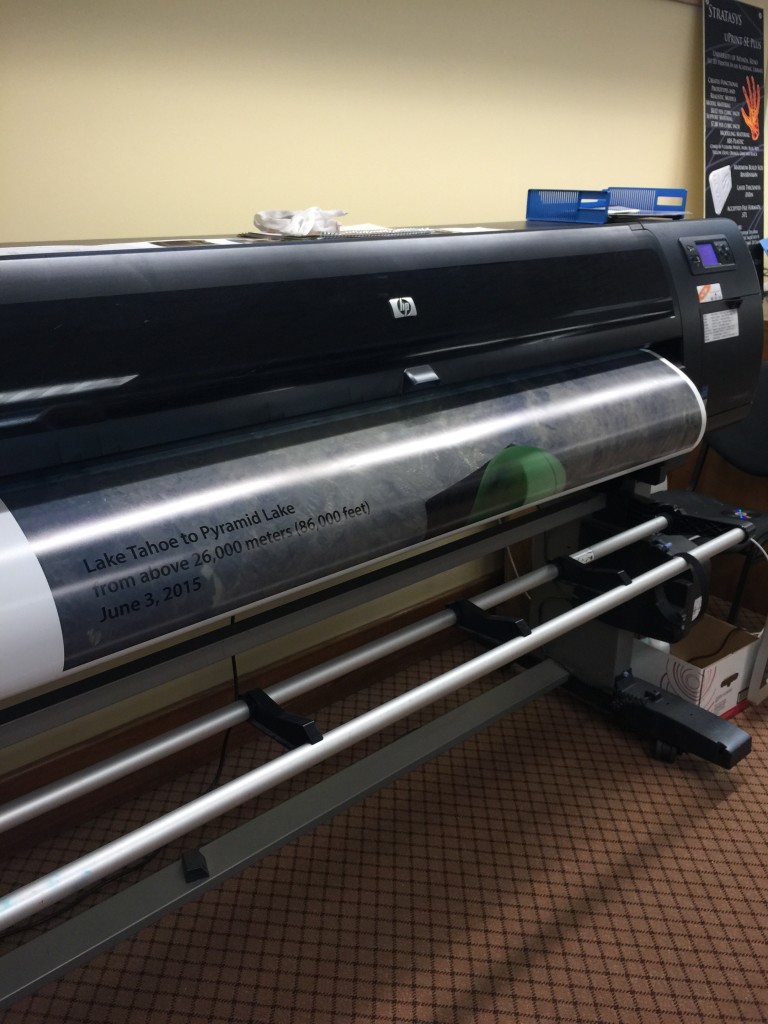
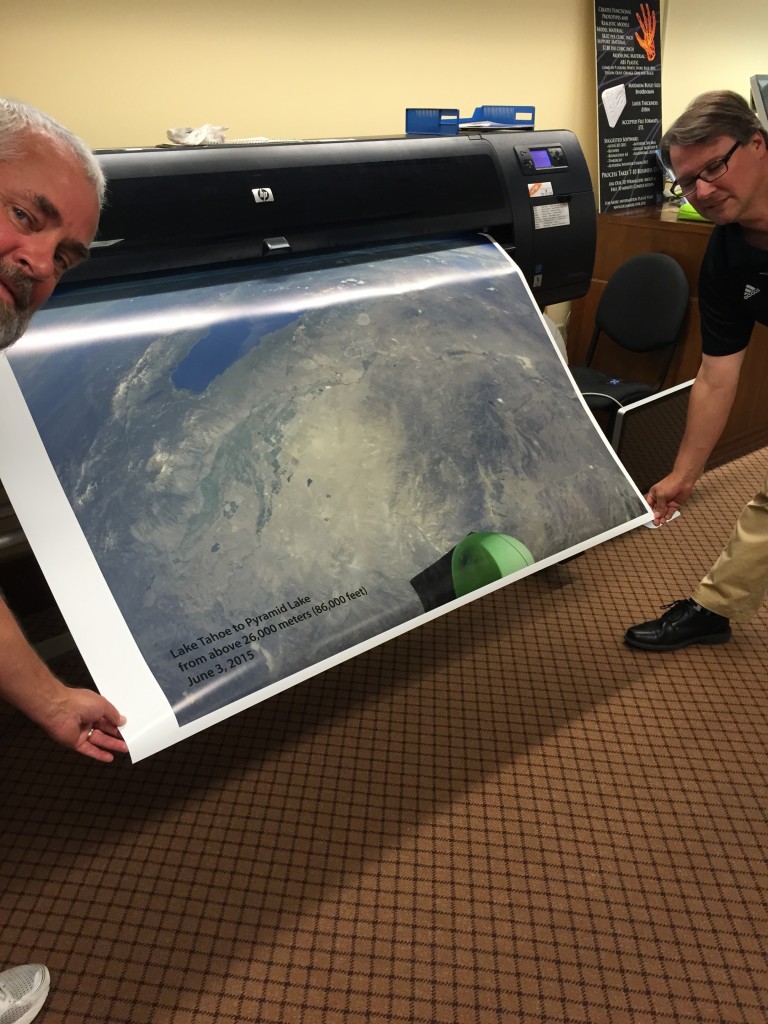
We took advantage of the opportunity to print out in large poster size one of our favorite photos from the “High Hopes Project.”


IMG_4015

We printed on a nice matt paper in 42 x 54 inch size and it cost less than $30.


I’m planning on making a trip to learn about and use the DeLaMare Library as part of classes and trainings we offer to encourage teachers and the community to take advantage of this incredible resource.

Learning is messy!
Classroom Blogging Options Post by Wes Fryer

Get blogging with your students this year!

When I’m asked what is the “biggest-bang-for-the-buck” technology learning tool for classroom use I still say blogging (so much so I co-wrote a book on blogging – see sidebar). Blogs can be writing and conversation, which by itself is awesome, but blogs are also places to post and share photos, video clips, podcasts, collaborate globally and so much more. They are also a powerful home/school connection which seems to be on everyone’s radar these days. I strongly advise anyone that wants to provide their students with a powerful learning tool, that you consider setting up a class blog this school year.

Having said that, I wanted to share a post I only wish I had the time to research and write. Fortunately my friend Wes Fryer took the time to do just that … and he did an awesome job of it. He shares about the blog platforms available and their strengths and weaknesses based on his own experience blogging, but also his students’ blogging experiences.

Wes titled his post, “Classroom Blogging Options (August 2015)” – check it out yourself and share it with others to help promote classroom blogging!

Learning is messy!


Welcome to the new look!

I explained a few weeks ago that “Learning Is Messy” was getting a new look and address, and here it is. There still might be a few updates and changes to come as I learn more about what has been wrought here. The old site was getting a bit clunky and unwieldy – blog theme updates would often lead to unwanted changes in appearance and function, and I was not happy with how my hosting company handled things at times.

So change is good, now I just have to deal with the changes, which shouldn’t be too hard. I have to give credit to Jim Beeghley who orchestrated the move to a new host and implementing the new blog theme. He got everything up and running before “turning the keys” over to me. He’ll probably get a few more help requests from me … I kind of feel like I’ve gone from driving a pick-up truck with an automatic transmission to a race car with a manual 6 speed … so I’ll probably strip the gears a few times … but I’ll get there. That’s part of “messy learning” after all!

Lots going on as one of the 6 school districts I serve has already gotten back from summer, and others will be back in a few weeks. Again, welcome to the new look!

Learning is messy!
 

Edutopia Post About the High Hopes Project!

A few weeks ago I was asked to submit a post for Edutopia (Supported by the George Lucas Educational Foundation) about our “High Hopes Project.” It was a challenge based on my schedule right now, but on the other hand it forced me to be more thoughtful in explaining what is a multi-layered project. I was restricted, thank goodness, to 800 words or I might still be writing. You can check out the post here. It does the best job so far (according to my biased opinion) of explaining the project.


Learning is messy!!!

Pathways To Space 1st Launch Day

Recently we obtained a Space Grant that has enabled us to offer a class we are calling “Pathways To Space.” It is a 32 hour/2 credit class for middle school science teachers.

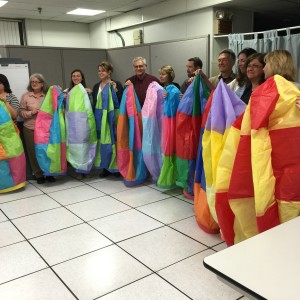
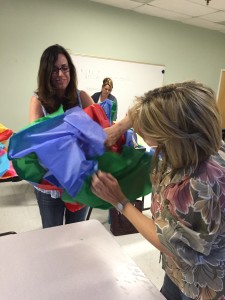
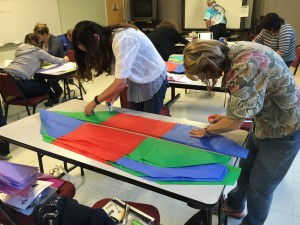
During our 1st class teachers constructed their own tissue paper hot air balloons. By taking the class they qualify for free supplies to have their students build their own tissue balloons that will be launched at the Reno Balloon Races next September. IMG_3375 IMG_3369 IMG_3368


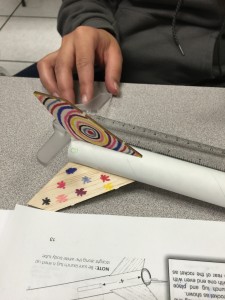
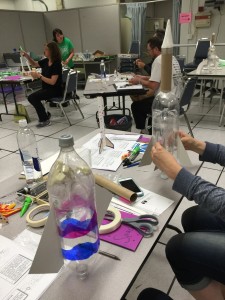
The second night of class this past Thursday they constructed solid rockets from kits, and water rockets constructed from 2 liter soda bottles, cardboard for fins, and clay for weight in the nose cone to keep them going straight. IMG_3414 IMG_3423


In later classes teachers will learn about high altitude ballooning and planes. Today we had our third class, which was an all day Saturday extravaganza. We met out at White Lake north of Reno, Nevada, to launch our balloons and rockets. Below I’m posting photos and  slow motion video of both a water rocket launch and a solid rocket launch. In addition here is a link to many photos and videos from our day.

IMG_3443


IMG_3445


Water Rocket launch


Solid rocket launch

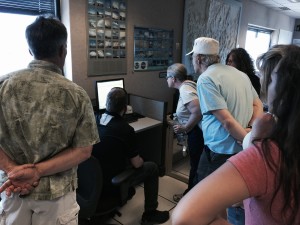
After our launches we headed to the campus at the University of Nevada, Reno, and visited the Planetarium and several museums. Next we headed over to the Reno offices of the National Weather Service where Chris Smallcombe gave us a tour of the facilities.

IMG_3476


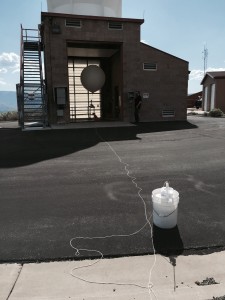
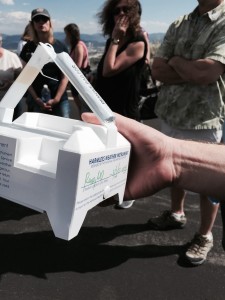
Next we observed the launch of a weather balloon. They launch 2 balloons every day – at 4:00 AM and 4:00 PM. The balloons climb to above 100,000 feet along with an instrument package that records temperature, humidity, air pressure and more. The instruments send their data back to the weather service in real time.

IMG_3472

IMG_3470


After watching the balloon rise out of sight we were done for the day. This Thursday we will learn about electromagnetic radiation and high altitude ballooning. We might even start to design and build the payloads we will launch to near space later in the month.


Learning is messy!


Online Presentation: STEM – What Does That Really Look Like In The Classroom

On Saturday, April 25, 2015, I’ll be delivering an online version of one of my most requested presentations: “STEM – What Does That Really Look Like In The Classroom.” I’ll share real STEM projects right from my classroom. The projects will showcase  integrated examples that demonstrate how hands-on STEM provides engaging and motivating opportunities for collaboration and problem solving that when coupled with students communicating and presenting their process and results leads to powerful language arts and math learning. This work isn’t shoehorned into your day, it becomes your day, at least for periods of time.

NSTA Virtual Conference STEM Today For a Better Tomorrow

My presentation is just one of many. The National Science Teachers Association (NSTA) is producing an entire day virtual conference on STEM they are calling, “STEM Today For A Better Tomorrow.” 

From their web page:

“The future is bright for careers in STEM. However, too many students do not have a strong foundation in science, technology, engineering, and mathematics to pursue careers in these fields. In the STEM Today For a Better Tomorrow virtual conference we make the case for the role that STEM education plays for students interested in following a STEM career.”

The conference begins at 10 am Eastern Time and offers a wide range of speakers and presentations. The agenda for the day with descriptions of the sessions is posted on the site as well. One I am looking forward to is offered by Captain Barrington Irving. I recently  co-taught a model hands-on STEM inquiry lesson to teachers demonstrating the power of integrating language arts, math and art. As part of that lesson teachers in the class read an article about the exploits of Captain Irving:

Barrington Irving“In 2007, Captain Barrington Irving became the youngest person to fly solo around the globe. On his 97-day journey, he flew 30,000 miles in a single-engine plane called Inspiration. “

AND –

“Barrington Irving Will set the stage for the conference making the case for STEM education as a path for students’ pursuit of STEM careers.” 

Note that attendance to the all day virtual conference costs $99 to non-NSTA members and $79 dollars for members. You can read a description of the conference and see the agenda for the day that begins at 10 am Eastern Time and continues until 6 pm Eastern Time.

Learning is messy!


Two New Updates on the “High Hopes Project”

I got to spend some time today at Cottonwood Elementary School. Students and teachers there are tackling a few of our engineering challenges. I took some photos and wrote a post about the bio-engineering inquiry they are performing over at the High Hopes Project Blog. It’s called “Decomposing Third Graders” or “I saw Third Graders Decomposing At A School Today” – check it out.

Also we shared a post about how just one of the collaborative aspects of this model STEM learning project works – it’s titled: “Just One Collaborative Aspect Of The High Hopes Project” – check it out as well!

Learning is messy!!

Learning Arduinos to Use Arduinos

Just posted about the work going on with the middle school students that are designing the “High Hopes” release mechanism, a  solar panel monitoring system and possibly other systems that will utilize Arduinos. But first they have to learn how … and they’re learning to utilize them with model rockets first! Go check it out. Great messy learning!

Learning is messy!