Pavel Solin is an associate professor in the Applied Mathematics Department at the University of Nevada, Reno, and the founder of NCLab, an open public cloud computing platform that provides free web browser access to open source software related to computer modeling and scientific computing. I teamed up with him earlier this year to teach a coding class for teachers …. well he taught it, I set the class up and took attendance basically.
Pavel contacted me this week with a story about elementary students engineering a whistle that might actually work – I’ve cut and pasted his blog post about it below. I am adding video clips of trying the printed out designs. One aspect that amazes me is that the printer prints out the ball inside the whistle … inside the whistle!
I’ve seen many examples of figures printed out on a 3D printer … and they are impressive. Students have to figure out and problem solve coding the design to get it just right. But this is different in that students aren’t just printing out a figure that looks like a whistle, they are using the engineering design process to make a whistle that actually works … hopefully.
Understand that in this instance students were scaffolded along the way by their teacher. I was thrilled when Pavel gave me the 3 whistles to use as examples. I’m really looking forward to trying projects like this once the 3D printer I am building from a kit is finished (2 days from now is the goal!).
Pavel’s post with my addition of video clips:
Story of a Whistle
Few days ago, kids from the Schurz Elementary School in Mineral County School District, supervised by Jeremy Elsmore, designed a whistle. I was amazed by the idea of creating something that works. So far, all 3D models I saw were just for display. Here it is. The ball inside the chamber is cool. Once printed, it will remain trapped there forever.
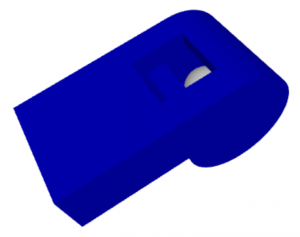
Naturally, the students were anxious to see whether the 3D print would produce sound. Me too.
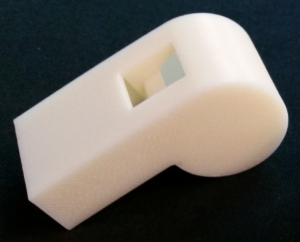
Click the video link below to see if this whistle design works!
But unfortunately, it did not. The symmetry cutplane reveals that all the air blown into the whistle leaves through the large opening before entering the chamber, and even before hitting the opposite edge.
Second Design
Kids sometimes tend to give up when something does not work. This example can be used to show them that when something does not work, that’s not the end at all. On the contrary – it’s the beginning. To force the air into the chamber, the design was changed:
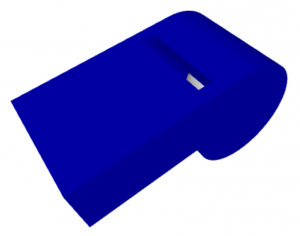
To better see how the whistle is arranged inside, here is the symmetry cutplane again:

Click the video link below to see if the second “re-engineered” design works.
Nice, right? Do you think that it worked? Nope. Argh!
Third Design
The whistle is not a simple thing at all. We googled for schematics of whistles but those we found were not very useful. We also watched several YouTube videos showing how to create a whistle. But all of them were using a different design, without the ball and chamber, based just on a short straight piece of wood. Nevertheless, in all of them, the edge that is hit by the streaming air was sharp. That’s what we did in the third design:
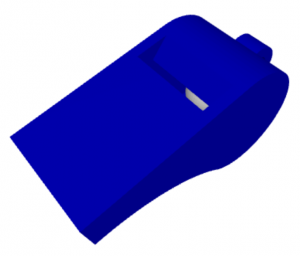
Again, here is the symmetry cutplane that reveals the internals:

And finally, this is the 3D print:
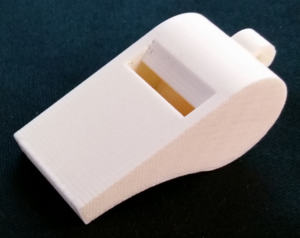
Will the third try be the charm? Click the video to find out:
So what else could be designed and printed that actually is a working product? I already thought up designing a whirlybird design that flies on its own. What else?
Learning is messy!

Do you have the stl for that whistle I have tried some on thingiverse and none of them work
Brian: I’m looking into it. Will post if I get it.