Close Reading? OK, How About Close Doing?

Reading


 “Reading” Sebastien Wiertz

Close reading is one of the “strategies du jour”.

From the Common Core State Standards in ELA:

1. Read closely to determine what the text says explicitly and to make logical inferences from it; cite specific textual evidence when writing or speaking to support conclusions drawn from the text.

In addition from the Harvard Writing Center:

The second step is interpreting your observations. What we’re basically talking about here is inductive reasoning: moving from the observation of particular facts and details to a conclusion, or interpretation, based on those observations. And, as with inductive reasoning, close reading requires careful gathering of data (your observations) and careful thinking about what these data add up to.

In pretty much all trainings and presentations I deliver about STEM learning, I stress how STEM is language intense. I go so far as to state that it is one of the most powerful language arts interventions available. But that is only true if you take advantage of the language learning (and loads of other learning possibilities) that STEM provides.

STEM learning is somewhat its own enemy because often the activity or experience involved is so interesting, intriguing or engaging (or all 3) that the students get excited and talk about it excitedly (and often parents voice how excited their child was when they came home) and teachers assume everything (or enough) important was learned. What is probably more often the case is that the lesson/learning experience was just about the STEM learning and integrating the language arts either isn’t part of the plan, the time to integrate isn’t perceived as important, or the usual issue of not feeling there is time rears its head.

This is a powerful learning opportunity missed. Really opportunities missed. Let’s focus on just one. Instead of “close reading,” we’ll refer to it for lack of a better name as “close doing” (but we could call it “close making” or “close observing” or other possibilities).

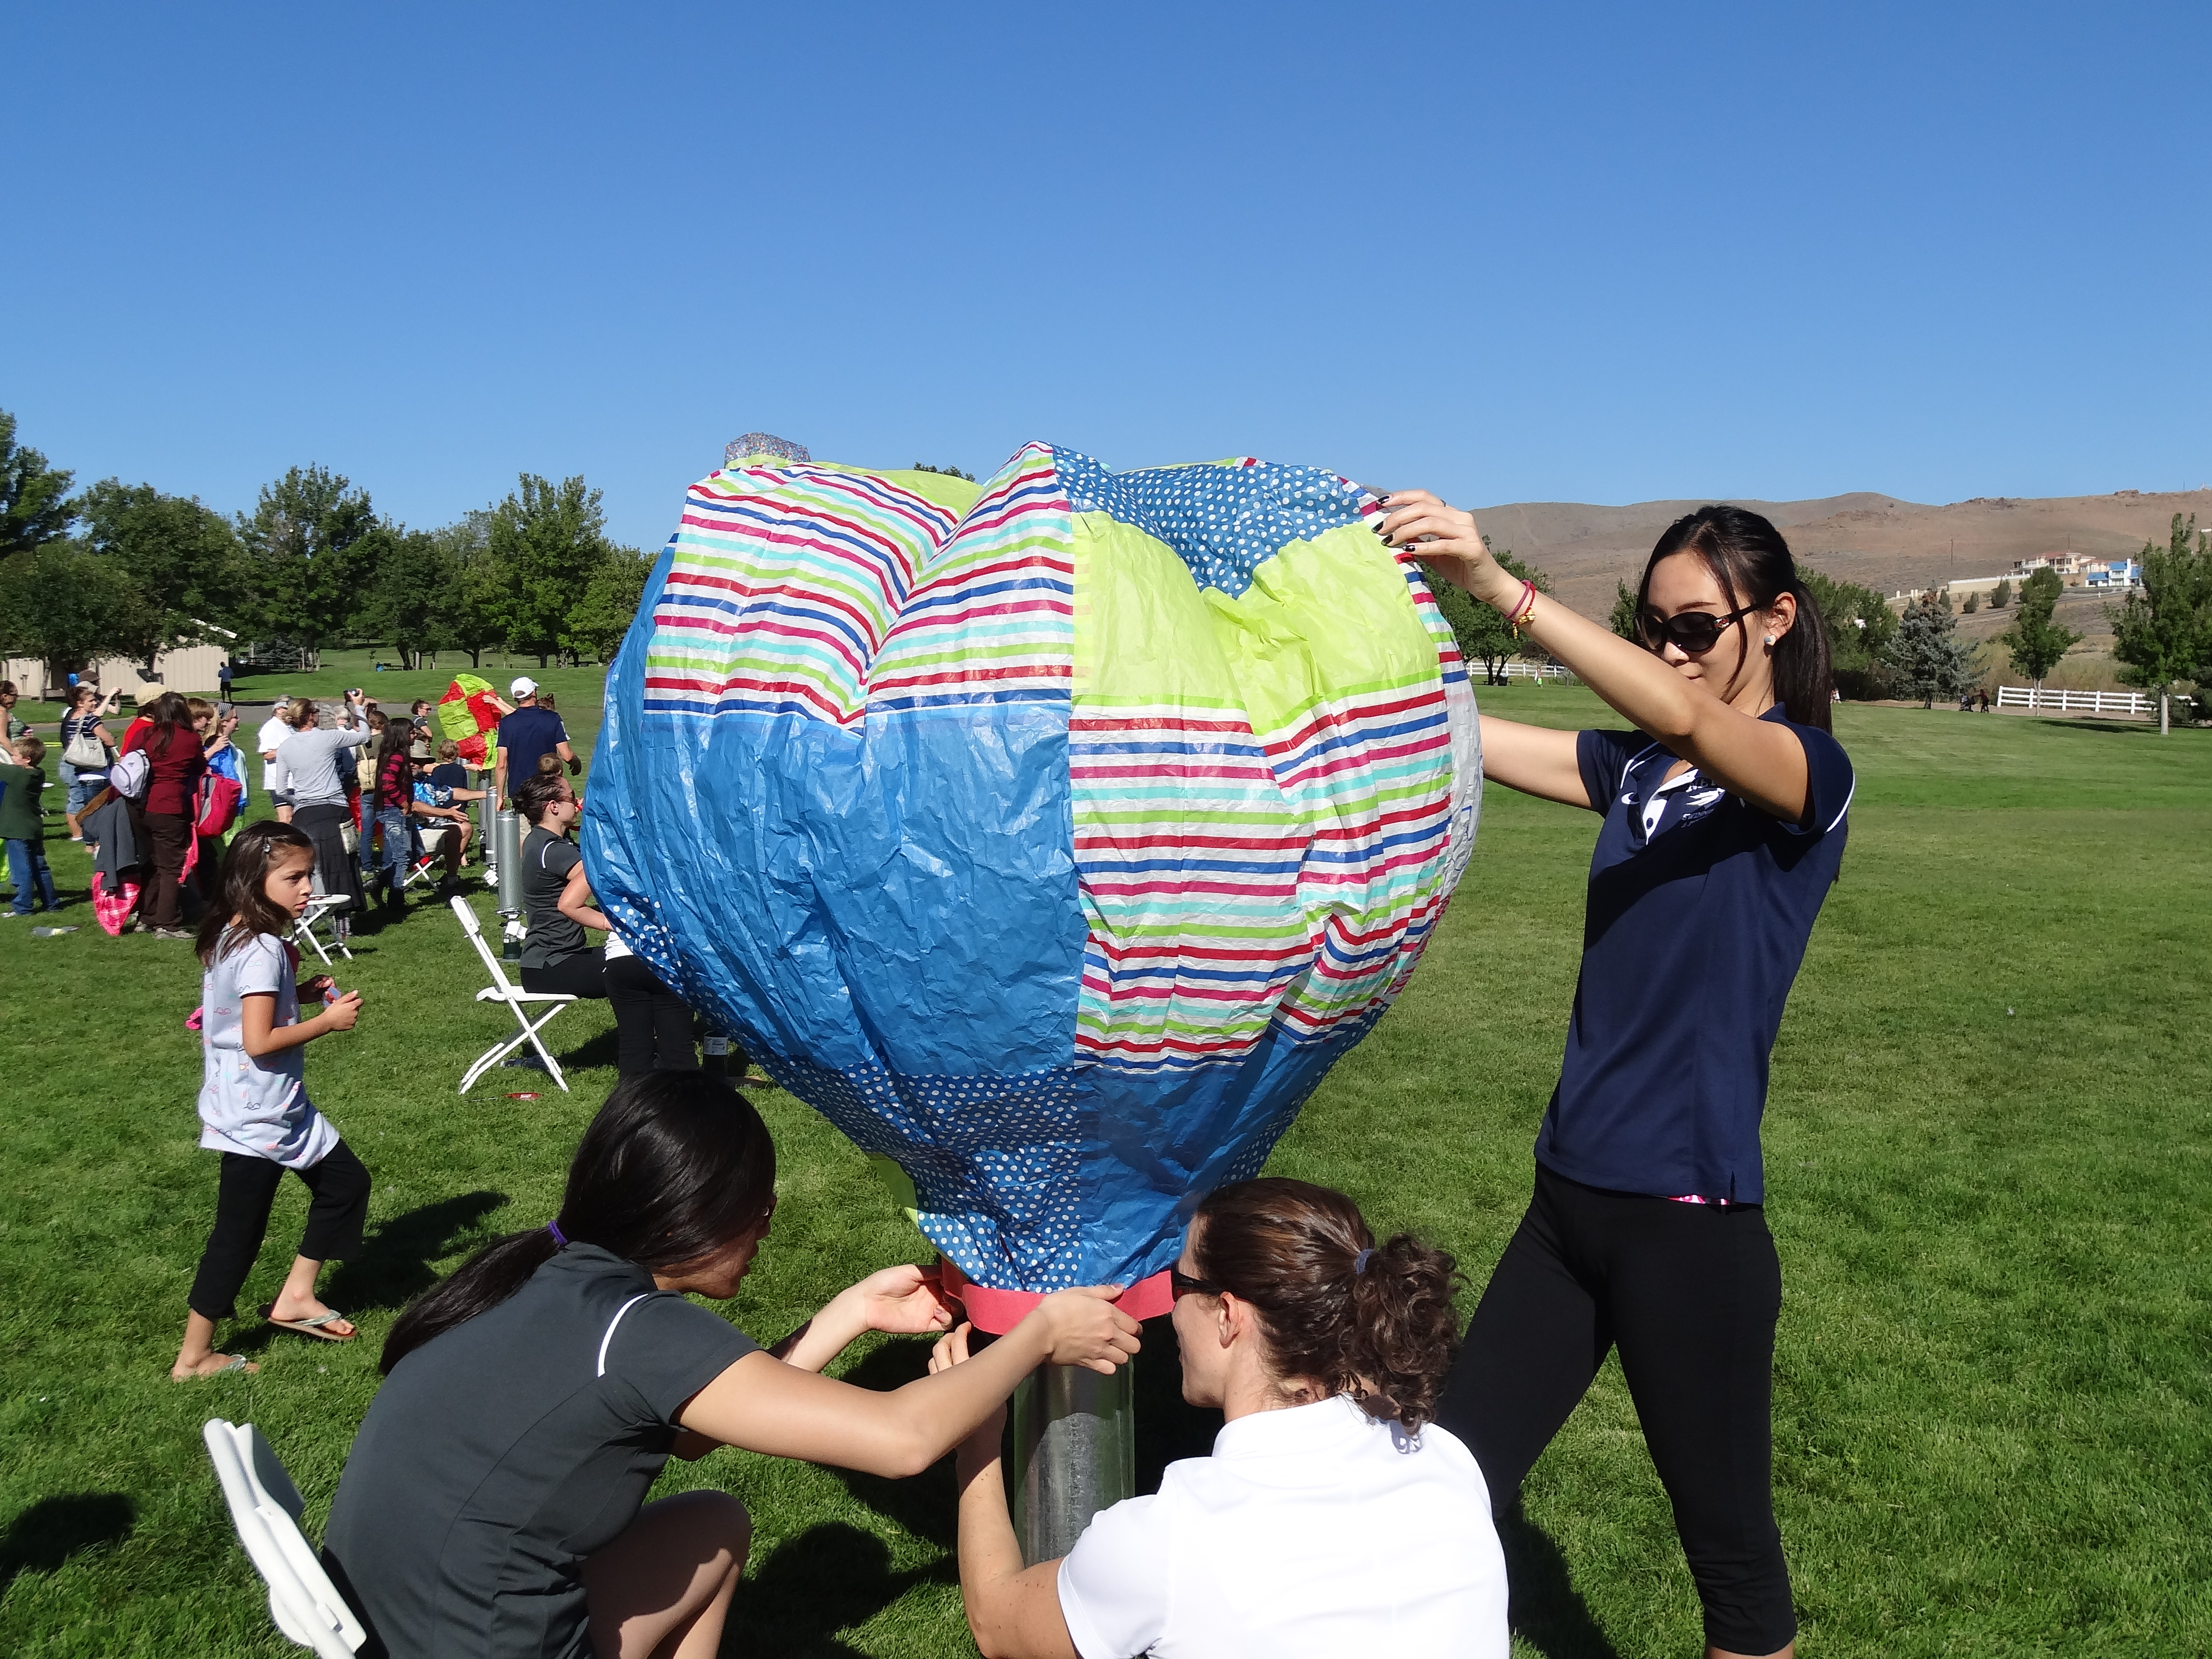
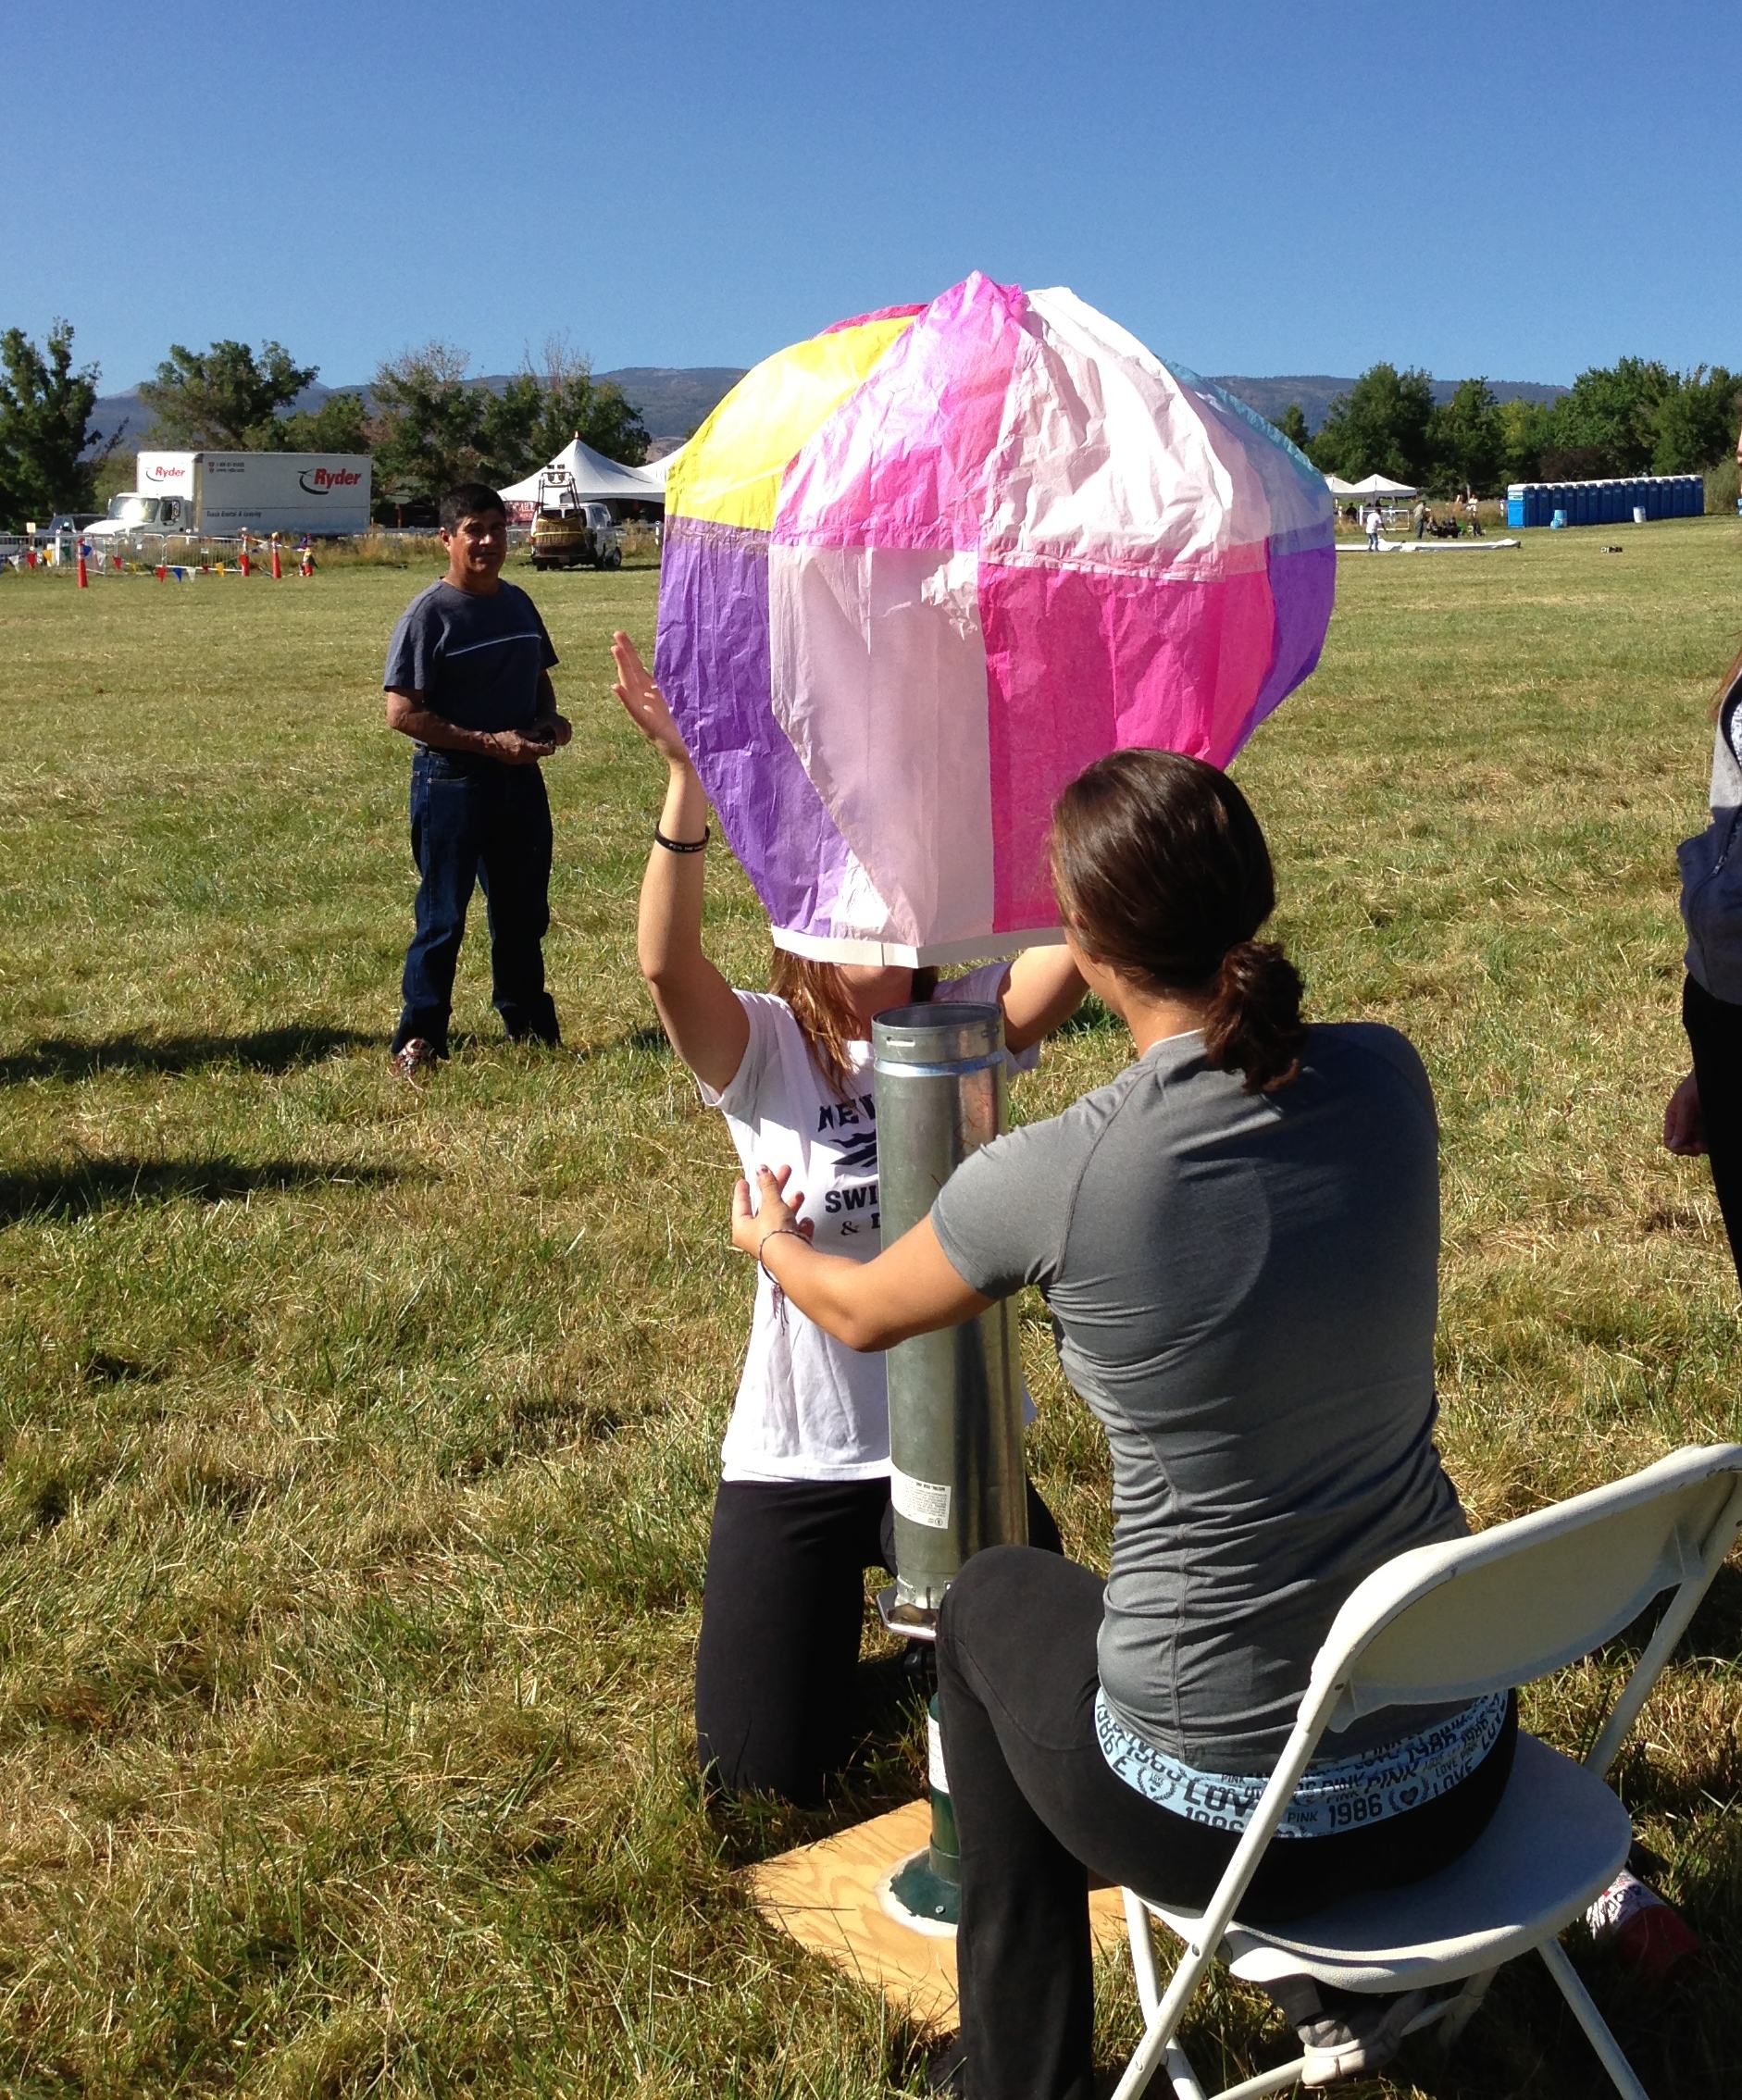
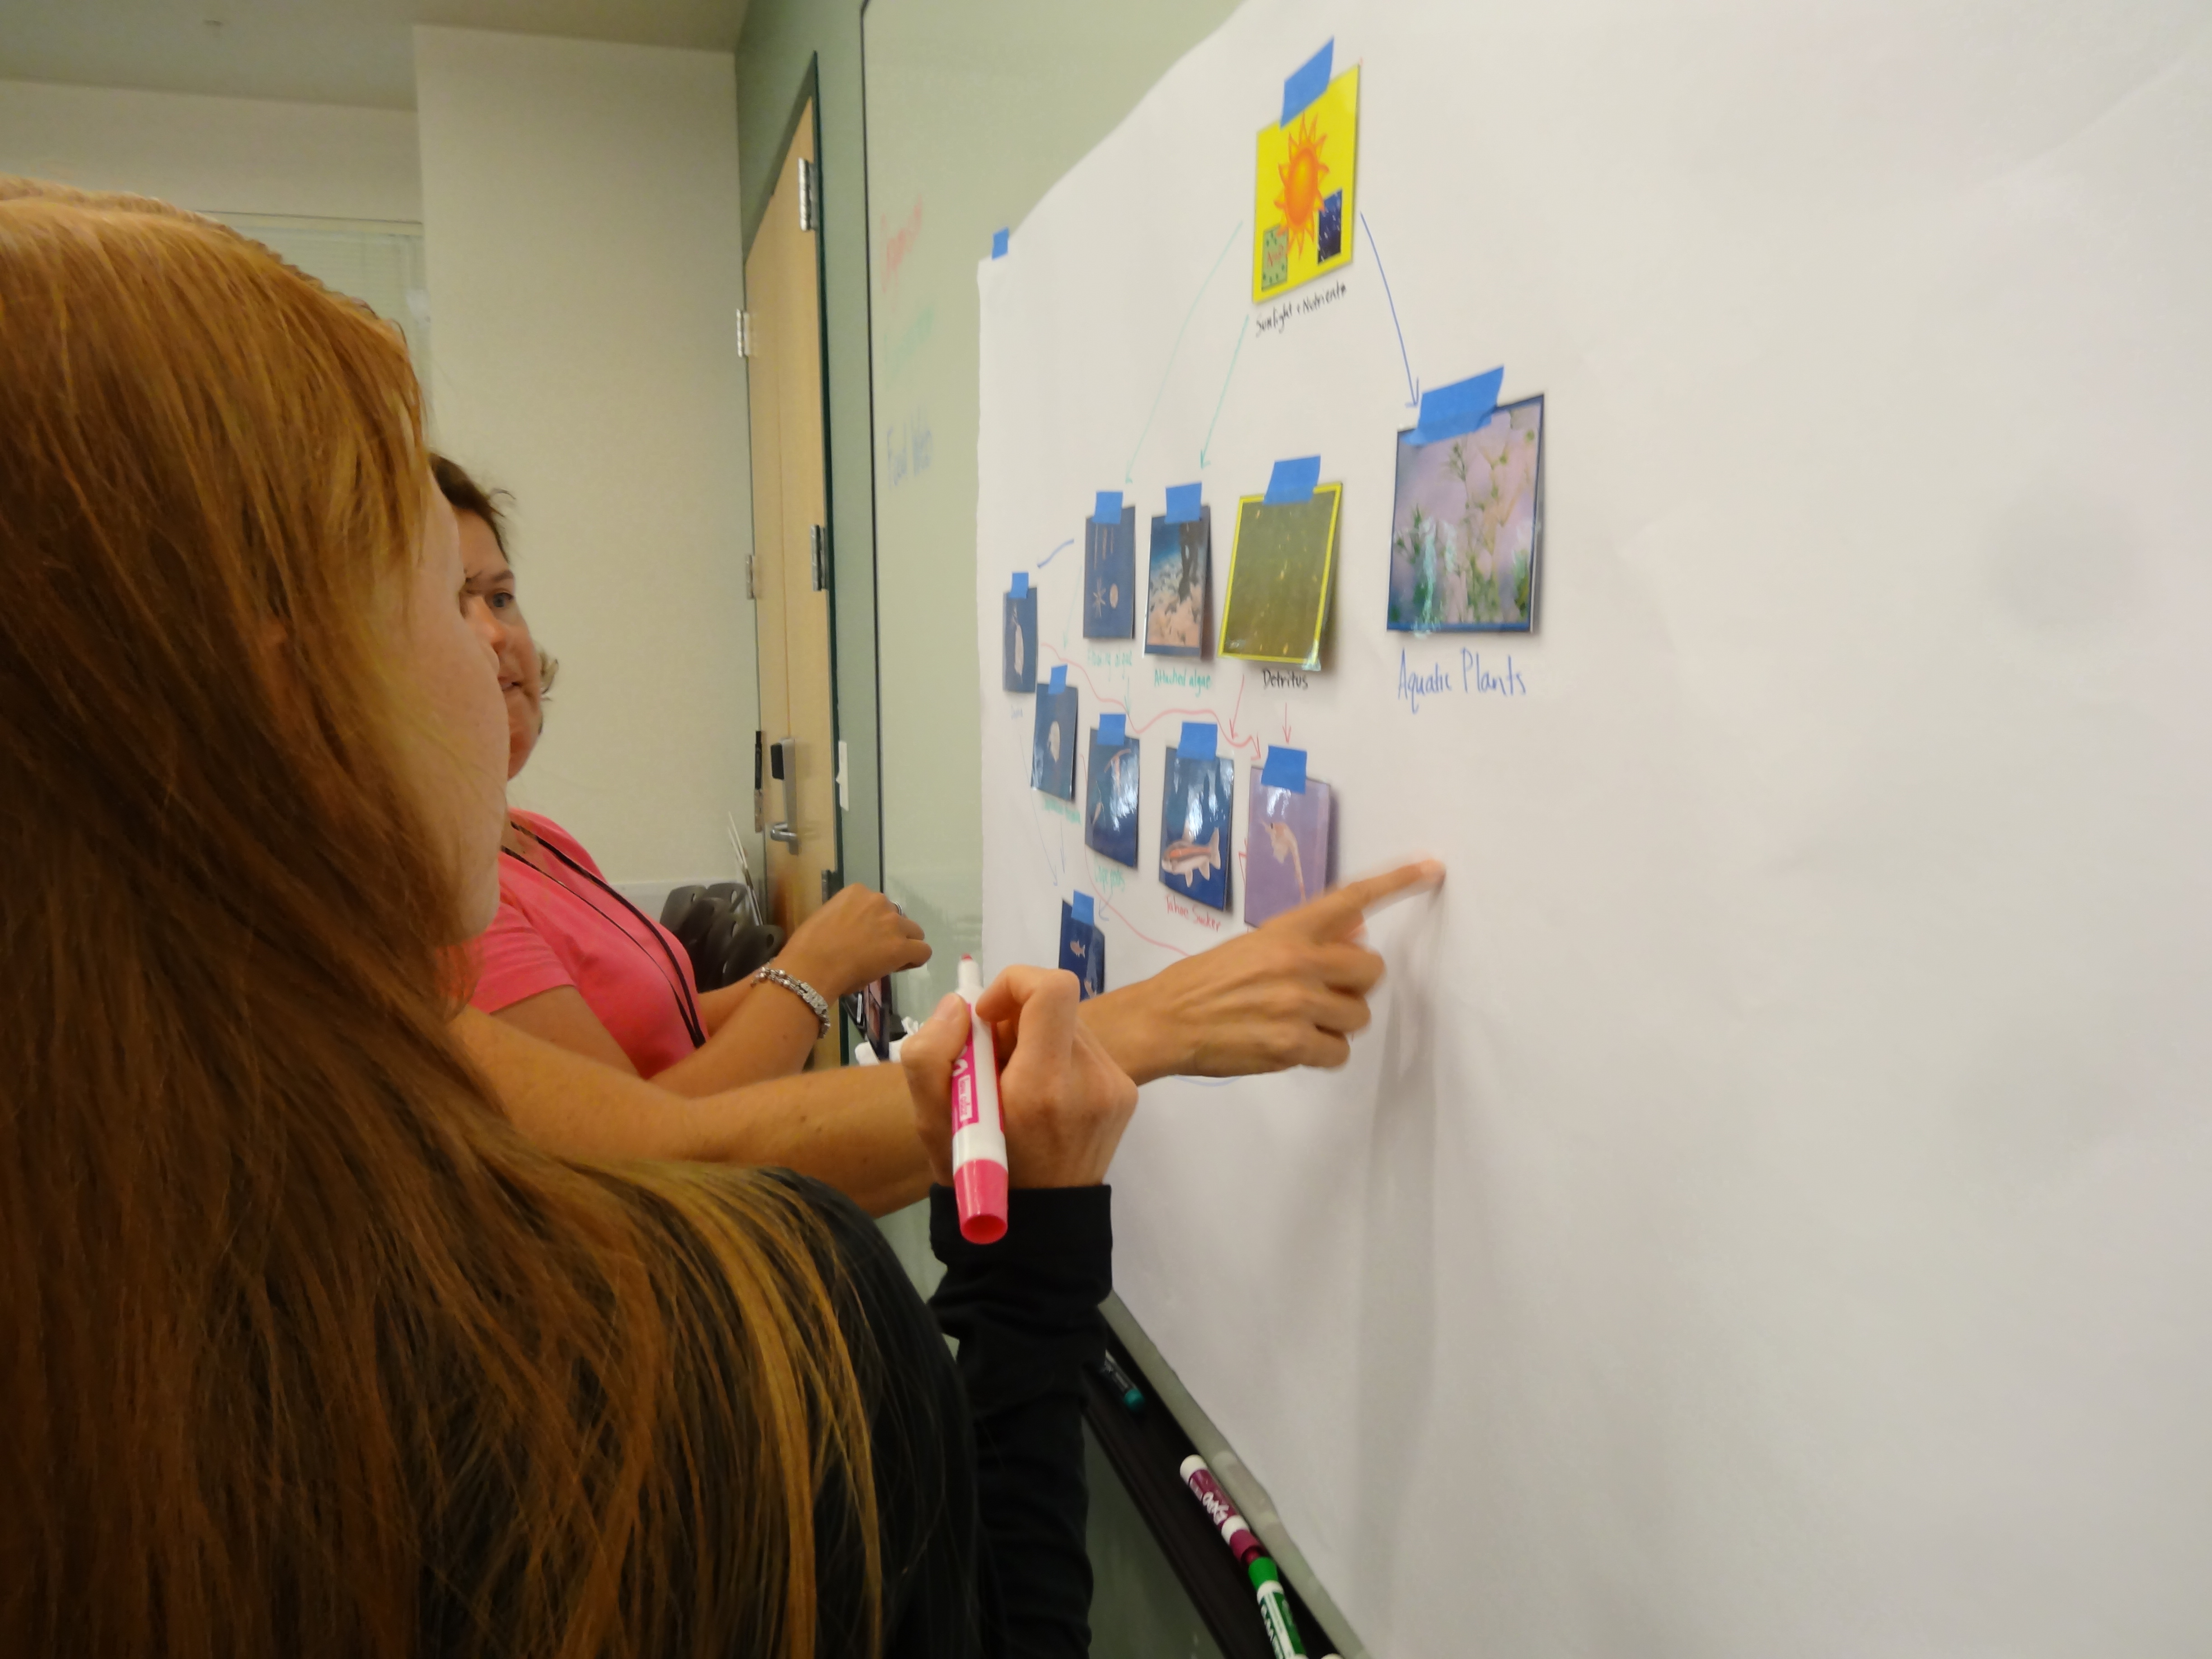
I point out repeatedly how too often field trips or major hands-on activities (doing or making activities) are planned to be experienced  as either stand alone experiences or end of unit experiences with little to no emphasis on how they tie to the overall learning plan. Will the learning be integrated into all subjects or are those connections just assumed to be made? What if instead these experiences were provided early on in the unit? Example: Students are learning about animals- adaptations, habitats, and so forth. After a bit of learning about what adaptations and habitats are, we take a trip to a zoo or wildlife park to observe and learn about animals. Students are required to take notes and ask questions about the animals habitats and adaptations and take digital photos and video clips of animals, but also information displays and more.

Trips like these are usually exciting for students and even lead them to wonder and wanting to learn more. But often (as stated above) this also marks the end of the unit; “That was fun kids, next week we start learning about the planets!” Here’s where I propose “close doing” comes in. Using students memories, notes and photos (which I always archive somewhere like Flickr (free) so students, families and collaborators have access to them) we make close observations about each animal – what were some of the characteristics of each animal that helped them adapt (claws, fur, shells, eye size, … ) – colors, but more – not just white, but creamy white and white like a cloud or milk – even emphasize really what color white was it, cloud white? Pearl white? Cream white? Which is the best descriptive color, or texture, or simile to something man-made for example.

All the senses should come to bear: What did animals, their parts, their habitats, etc. look like, feel like (or look like they feel like if you couldn’t really touch them)) smell like, sound like … go deep! This takes time AND should probably happen during your language block, not just a science period (but could be both) because this is language study as much as it is science. Students should be taught and challenged to be close observers and inferrers. Just as close as they have to be when they are close reading.

The same is true for the hands-on activities- the doing and making experiences the students have. What did you observe during that experiment or construction/engineering piece? What were all the happenings, colors, actions, reactions and so on that you saw and explain what each one had to do or didn’t have to do with the overall result?  Thinking “close” about how you observe and do and problem solve and more, about any of these aspects of a project or unit. (NOTE: You wouldn’t do the super intense “close doing/observing” with every part of the project – that’s as stifling as overdoing close reading – I’m saying consider picking some part of the learning or doing and do it every once in a while – a couple/three times a year maybe – then you have built and practiced those essential skills and have those “close doing” schema experiences to relate to in other subjects as well).

Just like it takes many readings and lots of probing questions to facilitate “close reading” skills and thinking, the same is true of observing and noting all of what was observed and/or done in “close doing.” Getting students to note all the meaning is the goal here too.

The vocabulary that comes from these experiences is amazing … and because it is based on schema all the students build together, and have in common, it becomes a valuable reading instruction resource later; “Remember when we saw that bear at the zoo and he seemed both scary and cuddly at the same time? How does this character remind you of that? Or how is this character different than that?” OR “Remember how we noted that the bear’s fur was brown like the bark on a redwood tree?” Why do you think this author chooses the colors she uses to describe the buildings and streets in this chapter?”

Then, because students have thought and taken notes about not only facts, but color, texture, actions, behaviors, and much more, they are scaffolded to write incredible descriptive poetry, stories, captions for the photos they took, narrations for videos that share and assess their learning and so much more.

“The second step is interpreting your observations. What we’re basically talking about here is inductive reasoning: moving from the observation of particular facts and details to a conclusion, or interpretation, based on those observations. And, as with inductive reasoning, close reading requires careful gathering of data (your observations) and careful thinking about what these data add up to.”

Remember this quote about close reading above? Re-read it and note how it fits with STEM learning. Ingesting  that motivating, hands-on learning and taking the time to “interpret” it – then sharing through text or video, or podcast, or any number of other publishing portals … and preferably shared online to promote and obtain the benefits of connected and collaborative learning as well – emphasizing that “close” idea, just not only with text.

Let’s change out some of the words from the definition of close reading from above:

Think about and do closely to determine what the research, experience, investigation and inquiry says explicitly and to make logical inferences from it; cite specific _ evidence when writing or speaking to support conclusions drawn from the research, observation, collaboration, inquiry and experience.”

So what I am saying is, is that STEM or inquiry learning is just as important and valuable a language arts learning opportunity as reading text, if the vocabulary and writing and research are emphasized and connected to close thinking and inferencing skills. And it provides another avenue or method to connect students struggling to interpret text to thinking about and explaining meaning and learning. Not saying it takes the place of reading text, just that it is as important to do because students are just as weak at interpreting, citing and inferring from other inputs, and articulating from them is just as important.

And if you build students “close doing” skills, the next time you are doing “close reading” – you have built schema for being successful at that as well: “Remember how long it took us to come up with “redwood bark” as a great description of the bear’s fur? How frustrated we were for awhile? But then when we came up with that and saw how near perfect it was as a description … how excited and motivated we were? That’s what we have to do now as we think about this text passage.”

Also note – if you are trying to jam STEM learning into a crowded schedule (STEM is a culture, not a time of day or day of the week), here is your valid reason and method to truly integrate it.

Learning is messy!

Sometimes You Feel Like You Have Not Even A Remote Idea Of What’s Going On!

Several folks from my department were asked to present on various topics during a school district’s Professional Development day today. Literacy, math, assessment, science, STEM,  … the gamut of what we all do. The day took place at one of the school district’s high schools.

I arrived early and got set-up … used my department’s projector and speaker system – which I was glad I brought since none was really available in the classroom. So no sweat, done this a million times it seems.

Soon the room filled up and I jumped into my presentation a bit early since the room was full and I had lots to get through (I hate feeling that way at the beginning of a presentation or lesson … but that’s what they wanted me to cover … so???). Things were going very smoothly. I seemed to be getting a smattering of chuckles when I was expecting them and not when I wasn’t. My poignant points were having the desired effect … serious, thoughtful faces followed my lead. I was experiencing what many refer to as “Presenter’s Bliss.”

Then it started. I was describing a student project and a video clip was showing when my presentation just skipped to the next slide … and then the next. I sensed that I was squeezing the remote a bit too hard …. maybe …. so I went back and started the clip again and it got done and stopped …. and then it started over on it’s own while I was introducing the next slide. I figured maybe I had switched on the timer feature on my presentation that   automatically switches to the next slide after 15 seconds or so … but I never use that, not sure how to set that up in Keynote. So I plunged ahead after apologizing to my now less-than-enraptured participants.

When it happened again, and again, I switched off the remote and decided to just use the arrow keys on my keyboard. That seemed to work, and after about 5 minutes we were a group in synch once more. Ahhh.

Yes, you got it. The next thing I knew my presentation went back 3 slides while I fought back with the arrow keys, at times wishing that they could really shoot arrows, to only some avail. I even considered restarting my computer while everyone waited and watched to hopefully rid it of whatever demons had taken up residence. But plowing ahead seemed a better choice, so plow I did. Things settled down a bit for the rest of our time and I only wrestled a bit with the randomness …. and I did my best to appear unaffected.

After the room cleared and I’d packed things up I ran into most of the presenters from the classrooms around me and we all commented on our presentations. How many attendees they’d had … reactions and feedback received … the usual stuff. When someone mentioned (have you already figured this out?) how their presentation had gone wonkers on them …  there was a good 5 seconds of silence … then that knowing look flashed on everyones’ faces … our remotes had been changing slides on each others presentations … it had happened to all of us!

Ugh. Lesson learned.

Presentations can be messy!

Student Tissue Paper Balloon and High Altitude Launches At The Great Reno Balloon Races

DSC02939In an earlier post I quoted a press release that stated that 900+ students and teachers would participate in the Great Reno Balloon Race, Tissue Paper Balloon Launch Day. A last minute surge of participants put the number closer to 1100. And note that teachers can only bring their classes if they have attended one of our trainings on how to construct a tissue paper balloon. These trainings have been going on for years, so there was a greater number of teachers that could participate than we thought would register.

With the help of the University of Nevada, Reno, Swim and Dive Team we ran 10 of our 14 launchers non-stop to not only launch every balloon, but also numerous re-launches after students re-engineered their balloons after their first launch, making changes to get the most out of their balloon. Usually this involved cutting the weight and patching holes. We had tables set up with tape and scissors and glue sticks to encourage just such re-engineering.

The Great Reno Balloon Races contacts all teachers that have been trained, makes them aware of the date of this year’s launch, pays for their materials to construct their class balloons, transportation to the Great Reno Balloon Race site, provides volunteers and then feeds all participants a barbecue lunch. Some participants have an 80 mile round trip … all paid for … a fantastic resource to get teachers and students involved in STEM learning. The Great Reno Balloon Race staff are totally supportive of the entire endeavor. And now we are talking about expanding the program to include even more students and teachers! DSC02952


The wind decided to change directions late in the morning. This led to some “Charlie Brown Kite-In-The-Tree” kind of experiences … about 3 out of hundreds. We’ve already planned to make that less likely next year.

DSC02949

Besides the Tissue Paper launches, we also launched 3 high altitude balloons, one about every 45 minutes or so. These were part of making students and teachers aware of this years expanded “High Hopes Project.” During the spring of 2015 we are planning to launch probably several balloons up to 100,000 feet (30,000+ meters). We collected “High Hopes” – from students, stuffed them in the balloons and sent them up to 60,000 feet – so their “High Hopes” went up high. We will share much more about this school year long project soon.

There’s no reason we should have all the fun and learning though. So I just posted about how to construct a tissue paper balloon, and also the launchers we used. Try this incredible STEM learning experience yourself!

Here are links to more photos and videos of launches:

Here

and Here.

Learning is messy!

Tissue Paper Hot Air Balloon Construction and Launching

Tissue paper hot air balloons are one of those powerful STEM learning experiences that lend themselves so well to being cross-curricular.

IMG_0721There are the construction aspects that include measurement (length & angles for example) and skills like cutting with scissors precisely, gluing and following directions. Making mistakes, learning from those mistakes and moving on (messy learning). Collaboration, since in the classroom students usually construct the balloons in pairs or small groups. The engineering design process since as students launch their balloons they can note design changes that would lead to an improved design, make changes and relaunch to check results, and so much more. Oh, and yes, one of my favorites, there are artistic design aspects as well.  LEFT: Tissue paper balloon launch from 2013. Note the excitement of the kindergarteners as they chase it down! At this age teachers sometimes choose to construct a “class balloon” or two or three (but certainly more at times). Classes sometimes “buddy” as well – a 5th grade and a 1st grade for example.


Link to PDF of construction steps – also includes different sizes of tissue paper – we used 20 x 26 inch (51cm x 66cm) paper in videos below because it is what you usually find.

MATERIALS – So, what’s required for construction?

For EACH balloon:

– 18 sheets of 20 x 26 inch (51cm x 66cm) tissue paper (or note other size possibilities in PDF linked above) (100 sheet packs are around $12)

– scissors,  meter stick, protractor, marker, glue stick (during construction you will use the entire stick),

Here’s the video of what you would expect to get done during the first class period – about 45 to 60 minute period.

Part 1 – below

Day 2 directions below – again, expect a typical class period more or less:

Day 3 directions below:

Day 4 directions below:


OK, so you have a finished balloon (or balloons perhaps) – how do you launch them? Here are the directions to make the launcher you see used in the video.

Materials:

– (1) – 5 inch x 2 foot double wall stovepipe – from hardware store – about $12

DSC02874


– (1) – Coleman (or other brand) propane 1 burner stove – about $35

DSC02875


– (1) – Propane tank (see in photo above of stove)

– (4) – 8-18 x 3/4 self drilling screws (box shown has 75 screws, but you only need 4)

DSC02876


– (2) – 1 1/2 inch x 5/8 inch corner braces (pack in photo includes screws – BUT THEY ARE NOT THE ONES YOU USE)

DSC02877


– (1) – drill with screwdriver bit for driving screws. (see it in photo with other materials)

DSC02879


(1) – Screw the stove pipe to the stove using the corner braces – each corner brace has 4 holes for screws, but you only use 2 of them.

DSC02882


DSC02883


DSC02884


Repeat with a corner brace 180 degrees opposite the first brace.

DSC02885


DSC02886


Attach the propane tank and you have a finished launcher. We use a butane lighter to light ours. We also have a squirt bottle of water to put out any fires – rare, but tissue burns pretty quickly. At the balloon races with 14 of these going, we also had fire extinguishers (never used one) available.

DSC01270


Here is a link to a Flickr set from launch day at the races. Also some pics of weather balloons we launched –  NOTE – we check these launchers out to local schools so they can launch at school – teachers often want to go further with the design process now that the students are excited.

Learning is messy!

Nevada Tahoe Teacher STEM Institute

3 weeks ago we participated in the Nevada Tahoe Teacher STEM Institute. Over 50 K – 9 teachers from all over Nevada came to the Tahoe Environmental Research Center (TERC) at Sierra Nevada College in Incline Village, Lake Tahoe, for a week of STEM learning. The funding was based on a Math/ Science Partnership Grant we wrote and received through the Nevada Department of Education. The event was put on by the Nevada’s Northwest Regional Professional Development Program, Washoe County School District, TERC, along with help and support from others mentioned in this post. BELOW: We started off with a group photo.

DSC02659


Sunday evening we started them off learning the science of tie-dye (covalent bonds and all) and made the case for STEM learning. We also set up a STEM notebook for each teacher as well as a digital notebook (blog).

DSCN0574


The next day started at 6:30 am for breakfast and a day of Project WET, GEMS (Great Explorations in Math and Science), background in the Next Generation Science Standards (NGSS), a trip on the TERC research vessel on Lake Tahoe, stream studies and training on and set-up of blogs, wikis and a Flickr photo account – all of which we added to all week.

DSCN0584 DSC02667


GEMS – Great Explorations in Math and Science


Out on the TERC research vessel


ABOVE: Field Lab Director Brant Allen explains the use of a Secchi disk in reporting out the clarity of the water in Lake Tahoe. The clarity has degraded from over 100 feet to about 70 feet since the 1960’s. BELOW: Secchi disk being lowered into the lake.


A couple of past visitors to the TERC research vessel you might recognize: DSC02702


BELOW: Stream monitoring and benthics.

IMG_5518


During following days all teachers learned geology, aquatic habitats, space science, ocean science, food webs, the ethics of teaching outdoors – and the middle and high school teachers also worked in the Soluble Reactive Phosphorous Lab solving a mystery about pollution sources ala CSI. The grant provided experts from GEMS, TERC the USGS and others to teach classes and lead labs.DSC02753 DSC02758


In the Soluble Reactive Phosphorous Lab

DSC02786


BELOW:Food webs


Ladybugs!

DSC02792


Participants loved the “Digital Sandbox”

DSC02766 Geoff Schladow – Director of the Tahoe Environmental Research Center explains the “State of the Lake.”


We also got to visit the lake at sunset:

DSCN0838


Besides the more than 40 hours of training, participating teachers each received lessons, supplies and other resources to take back to their classrooms and students so they can use what they learned right away. In addition teachers will have monthly follow-up sessions to share their progress, ask questions, share resources they have developed and make connections through the classroom blogs, wikis and Flickr accounts they set-up. It was an intense and rewarding week of learning and sharing in one of the most beautiful locations on Earth!

FLICKR Set from the institute

NTTSI Wiki

Learning is messy!

Why should education leaders embrace digital technologies in their schools?

Why should education leaders embrace digital technologies in their schools? leadershipday2014_01-300x240

1) If you are in a state that adopted the “Common Core State Standards” (CCSS) you really don’t have a choice. There are many (yes many) English Language Arts standards alone that require students as young as kindergarten to use technology to read, produce and publish digital content and to collaborate in doing so. Just a few examples from the CCSS:

K – 12 – Use technology, including the Internet, to produce and publish writing and to interact and collaborate with others.

K-12 – With guidance and support from adults, explore a variety of digital tools to produce and publish writing, including in collaboration with peers.

6th grade – (NOTE: by 6th grade the “… guidance and support from adults …” is gone. 6th graders are to master this standard on their own) Use technology, including the Internet, to produce and publish writing as well as to interact and collaborate with others; demonstrate sufficient command of keyboarding skills to type a minimum of three pages in a single sitting.

5th grade –  Analyze how visual and multimedia elements contribute to the meaning, tone, or beauty of a text (e.g., graphic novel, multimedia presentation of fiction, folktale, myth, poem).

I’m not sure how we get our students to the mastery of these standards, and many others without ubiquitous access to and utilization of the technologies required.

2) Collaboration – This was already stated in the standards above, but those were specifically language arts standards. Communication and collaboration are already key to being educated, but also in getting a job. Learning to collaborate with the student next to you in class or in your group is great, but technology makes it easy (yes, easy) to collaborate globally. Will it be “good enough” if students just learn to collaborate in class? Will that foster solid collaboration skills with today’s (and tomorrow’s) technologies? Not that getting a job is the only reason to learn solid collaboration skills, but getting a job without having those skills is not getting easier. Mastering all the ways collaboration is leveraged personally and using technology is vital.

3) Programming and design – 3D printing (did you know they are printing whole houses, food and blood vessels already?), also –  software development, engineering, graphics, architecture, transportation, art, medicine,  and much more all rely on programming and design skills … this is what is happening now in fields with good paying jobs.

4) Inventing (often referred to as “making” these days) – This is hands on and motivating and requires the skills developed through pedagogy that includes all of the above.

5) Problem solving – (See above)

So you think children are already mastering these skills and technologies on their own by using their smart phones and other technology 24/7? Ok, let’s see how that works out with your students.

I don’t pretend that I’ve included all the reasons that leaders should consider (please add your own in the comments). But these are not easy or cheap changes that have to happen. We’re not going to provide the technology and professional development and commitment to change on the cheap. Only real leadership will get us there.

Learning is messy!

Lake Tahoe Launch … Messy and Worth It – The Short Version

So after last week’s debacle … we learned to be patient and wait for better wind conditions. Here’s the short version of what happened. We inflated on the beach at DL Bliss State Park:


Paddle boarded the balloon out where the clear water of Lake Tahoe was about 45 feet deep:


With a snorkeler for help (he also shot some great video with a GoPro I’ll share another time):


Next we launched with 2 GoPro cameras 40 feet deep in the lake at the end of a line and 4 more on other payloads:


Here are some of the views we got:

For size reference: Lake Tahoe is almost 22 miles long and a bit more than 11 miles wide. (35 km long X 19 km wide). The lake is 1645 feet deep (501 meters).

Lake Tahoe, Carson City, Nevada, Reno and Pyramid Lake from 90,000 feet + (near space)


Then the balloon burst somewhere between 95,000 and 100,000 feet – follow the link to see the frame by frame of the burst:

https://www.flickr.com/photos/101610181@N02/sets/72157644958349838/

And the video:


Then it landed and we went and got it:

There was some animal byproduct to deal with:

It was a great day!

Here is a link to more photos.

NOTE: This launch was part of a project being developed by the University of Nevada, Reno- Mechanical Engineering Department, the 21st Century Division of the Washoe County School District, and Nevada’s Northwest Regional Professional Development Program (who I work for now). We were trying out some technologies and possible engineering and science problems to turn over to area K-12 students to solve for a similar launch next April or May – still in the planning stages.

Learning is messy!

Messy Balloon Launch – Failure is a Teacher

I’ve been “Tweeting” out from time to time lately about our latest “High Hopes” balloon launch. This balloon launch is different from launches we’ve done in the past in that students are not directly involved … but this flight is really all about getting students to be involved.

Lake Tahoe From Near Space during a previous flight (blue object in upper corner is a party balloon attached to the payload)

IMG_4969


We have big plans for a project next year that will involve students, but we need to try out a few new twists and some new technology and that is complicated. In addition, one of our ulterior motives is to try things that won’t necessarily work or go well …  and so we’ll turn our ideas, results, and  problems over to students for them to engineer and re-engineer. It’s all part of that engineering design process.

In fact, some of what we are attempting is so complicated we experienced a failed launch yesterday. Part of the failure was trying to figure out the procedures required to launch a balloon from and in the water. This involves having divers in the water and has not been tried before so we were working it out. Our failure mostly resulted however, from trying to launch when the wind was just too gusty and unpredictable. Here is the video of the second balloon that popped on the ground:

This video was actually shot by a camera that was laying on its side waiting to be dropped into the lake … I rotated the image so it is easier to watch. The balloon is blown right into the kayak paddle … and that was that. We are monitoring the wind and will make a new attempt to launch next week when all members of the team have time and it isn’t a windy day … AT ALL … so watch for the results … if things go as planned we should get back some great photos and videos.

A more important reason for this post however is that if school was still in session I would be sharing this story with students and teachers … and I plan to in the future. I would also share this video of a NASA balloon launch gone astray that almost killed people and caused millions of dollars in damage. I have shown this commercial of Michael Jordan explaining the power of failure as well. (How many examples can you think of right now to add here? I bet a bunch.)

Students have to understand that adults and even “experts” have things, “not go as planned,” and that how we process and handle that is vital. This is the crux of “messy learning.” That the process should not purposely involve careless, especially dangerous mistakes born of disregard, but that analyzing and learning from mistakes is how learning evolves. We should be teaching this through the experiences happening in and out of our classrooms.

That takes time … learning and doing  that are important involve dealing with complexity and the complications that can only be realized by attempting complicated things. That kind of learning and doing can’t always be put on a tight schedule, nor should it. It also can’t always be planned or experienced the same across 2 or more classrooms on the same grade level when teachers are meeting in PLCs. Complexity and learning happen beyond what we can plan and we must embrace that more in our schools. To be fair I think most believe that, where we fall down is in not REALLY embracing it and allowing it to happen … even sometimes.

This messy learning is a big part of what STEM is about. Beyond the learning being messy, the planning, administration, scheduling and implementation are messy as well. And somehow it has to be OK that they are messy.

Sharing our failures and our thinking, planning and implementation after failure is one important aspect we don’t often give the respect it deserves in our schools.

Learning is messy!

Ball Chain Inquiry – STEM

Yeah, I know. Ball chain inquiry?

Ball chain is that chain that keychains and the like have been made out of for years. I’ll bet some of you have seen this before – there are several videos online and “Mythbusters” included it in an episode.

IMG_2035


When I saw those videos I had ideas right away for an inquiry piece that would be fairly cheap and easy to do. I haven’t thought enough about it yet to match it to specific standards … but I’m always on the lookout for easy / quick ways to demo inquiry during professional development trainings I do and I saw potential for this right away.

This 250 foot roll came in a few weeks ago but I haven’t had a chance to try out my ideas yet – today not many folks are in the office, so I jumped at the chance to finally mess around with it and see how it works.

Before saying more let’s take a look – click the video below:


One thought I’ve already had besides, “So what exactly causes that to happen?” (is it somewhat on the same principle as a siphon? –  Not sure – just wondering) is to measure out lengths of the ball chain (10 meters say) and time how long it takes to empty the container. Then ask, “How long do you think it would take for say… 20 meters?” (exactly twice as long? … or does it speed up as it falls?) NOTE – I wouldn’t share that with students, let them decide and then in writing explain their thinking. So they need to time it precisely (do more than one trial at each length – probably 3).

Next keep adding lengths to the chain with the connectors and see if students can become accurate at predicting the exact time. AND – then start including various lengths of chain, like 17.4 meters … can they predict that? What math do they require to figure that out? Or involve fractions instead of decimals – “How long would it take 47 3/4 meters to empty?”

Does height play a role? Does it drop at a different rate from different heights? How would we figure that out?

I see lots of possibilities for this. When I get a chance to try this out with teachers and/or students I’ll let you know what I find out … OR – if you get there before me, let us all know in the comments. Any other ideas how this could be utilized as a learning activity?

BTW – I got that 250 foot roll you see in the photo online for $20 and a bag (50 at least) of the connectors for a couple dollars more. (#10 ball chain – it comes in various sizes – that would be another exploration – does different size chain fall at different speeds?)

Learning is messy!

Story of a 3D Printed Whistle

Pavel Solin is an associate professor in the Applied Mathematics Department at the University of Nevada, Reno, and the founder of NCLab, an open public cloud computing platform that provides free web browser access to open source software related to computer modeling and scientific computing. I teamed up with him earlier this year to teach a coding class for teachers ….  well he taught it, I set the class up and took attendance basically.

Pavel contacted me this week with a story about elementary students engineering a whistle that might actually work – I’ve cut and pasted his blog post about it below. I am adding video clips of trying the printed out designs. One aspect that amazes me is that the printer prints out the ball inside the whistle … inside the whistle!

I’ve seen many examples of figures printed out on a 3D printer … and they are impressive. Students have to figure out and problem solve coding the design to get it just right. But this is different in that students aren’t just printing out a figure that looks like a whistle, they are using the engineering design process to make a whistle that actually works … hopefully.

Understand that in this instance students were scaffolded along the way by their teacher. I was thrilled when Pavel gave me the 3 whistles to use as examples. I’m really looking forward to trying projects like this once the 3D printer I am building from a kit is finished (2 days from now is the goal!).

 Pavel’s post with my addition of video clips:

Story of a Whistle

Few days ago, kids from the Schurz Elementary School in Mineral County School District, supervised by Jeremy Elsmore, designed a whistle. I was amazed by the idea of creating something that works. So far, all 3D models I saw were just for display. Here it is. The ball inside the chamber is cool. Once printed, it will remain trapped there forever.
01a

Naturally, the students were anxious to see whether the 3D print would produce sound. Me too.
01b

Click the video link below to see if this whistle design works!


But unfortunately, it did not. The symmetry cutplane reveals that all the air blown into the whistle leaves through the large opening before entering the chamber, and even before hitting the opposite edge.


01c

Second Design

Kids sometimes tend to give up when something does not work. This example can be used to show them that when something does not work, that’s not the end at all. On the contrary – it’s the beginning. To force the air into the chamber, the design was changed:
02a

To better see how the whistle is arranged inside, here is the symmetry cutplane again:
02c

And, this is the 3D print:
02b

Click the video link below to see if the second “re-engineered” design works.


Nice, right? Do you think that it worked? Nope. Argh!


Third Design

The whistle is not a simple thing at all. We googled for schematics of whistles but those we found were not very useful. We also watched several YouTube videos showing how to create a whistle. But all of them were using a different design, without the ball and chamber, based just on a short straight piece of wood. Nevertheless, in all of them, the edge that is hit by the streaming air was sharp. That’s what we did in the third design:
03a

Again, here is the symmetry cutplane that reveals the internals:
03c

And finally, this is the 3D print:
03b

Will the third try be the charm? Click the video to find out:


So what else could be designed and printed that actually is a working product? I already thought up designing a whirlybird design that flies on its own. What else?


Learning is messy!